As many of your know, we have recently launched Crunchify Forum just dedicated to all our readers to ask and submit queries you may have regarding WordPress tricks, Adsense Setup, Java exceptions, etc.
Few days back we got a questions from Simeon about how to add BLOG POST or BLOG PAGE ribbon like on Crunchify.
Instead of replying to thread I’ve decided to create complete detailed tutorial which will help all Crunchify readers.
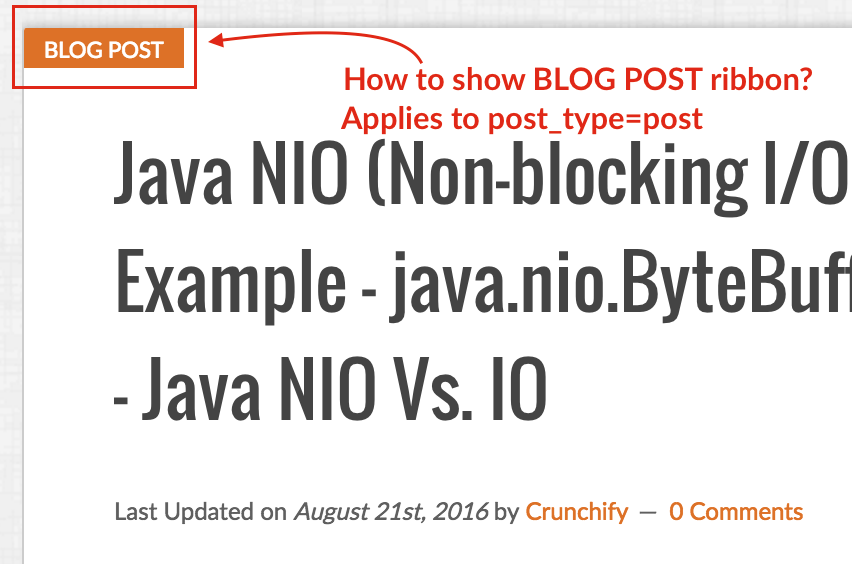
Here is a screenshot for BLOG POST.

Let’s get started:
Step-1
As I’m using Genesis Framework, I do have below HTML structure for my blog. Just right click on any post or page on Crunchify.com and select inspect and you could verify below.
For page:

For Post:

Step-2
As I know I have just modify CSS property for post and page, here is my code which I’ve put into style.css file.
NOTE: here I do have entry too which will add ribbon to front/home page too.
.post:before, .entry:before {
    background: #dd7127;
    content: "Blog Post" !important;
    position: absolute;
    font-size: 11px;
    text-transform: uppercase;
    top: 0;
    left: 0;
    padding: 1px 10px 0;
    color: white;
}
.page:before {
    background: #dd7127;
    content: "Blog Page" !important;
    position: absolute;
    font-size: 11px;
    text-transform: uppercase;
    top: 0;
    left: 0;
    padding: 1px 10px 0;
    color: white;
}
Step-3
- Just save style.css file
- Clear your blog cache
- If you are using CDN then flush
style.csscached files - Reload page
And you should see ribbon like above image.
What about non GenesisWP themes?
Well, idea is simple. Just try to find CSS property which is unique for your post and page and update above CSS code.
It should work for other themes too.
