Today I installed WordPress locally on my Mac and I used MAMP to achieve my goal. With MAMP it’s very easy to run WordPress on Mac within 10 mins. Install MAMP on Mac.
Let’s get started. You just have to follow below simple steps and you should be good to go.
Step-1
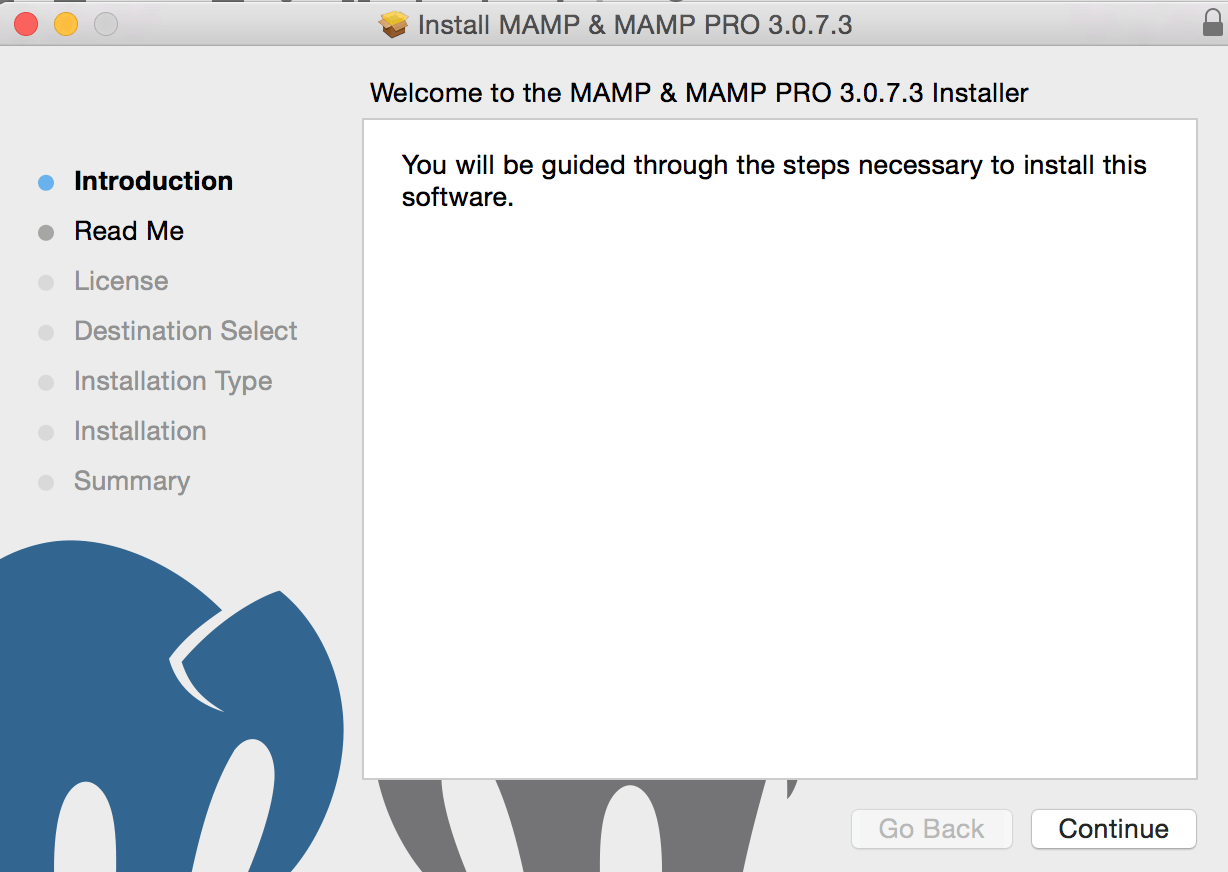
We need Apache Server and MySQL in order to run WordPress locally. Download MAMP and double click on binary to install it.
Step-2
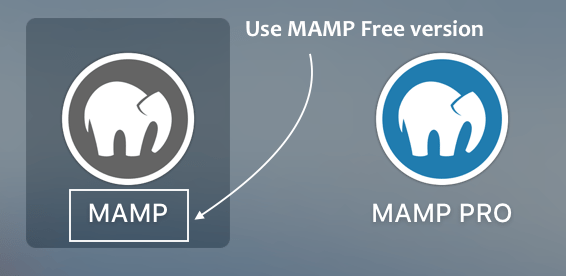
Open MAMP. You may also see MAMP Pro as a part of install. We are going to use MAMP Free version.
Step-3
Change Apache Port to 80 and MySQL Port to 3306 as per below snapshot.

Step-4
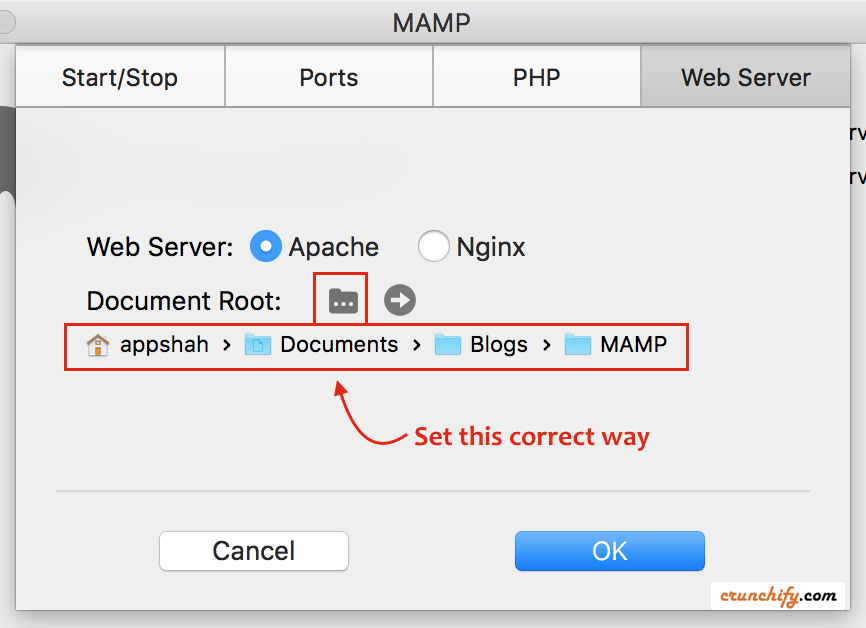
Change Document Root as per your need. Mainly under /Document folder.
Step-5
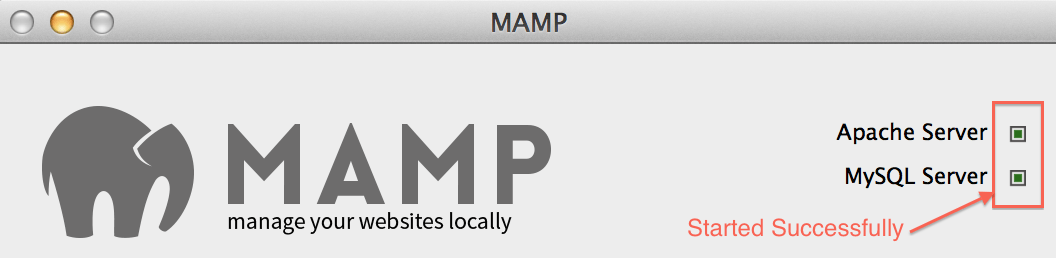
Then click OK and click on Start Servers. Provide administrator username and password as we are going to start server on port 80. You should see both green icons as shown in below diagram.
This page by default opens in default browser: http://localhost/MAMP/. Keep that page open and move to next step. We will come back again on that page.
Step-6
Now Download WordPress.
Step-7
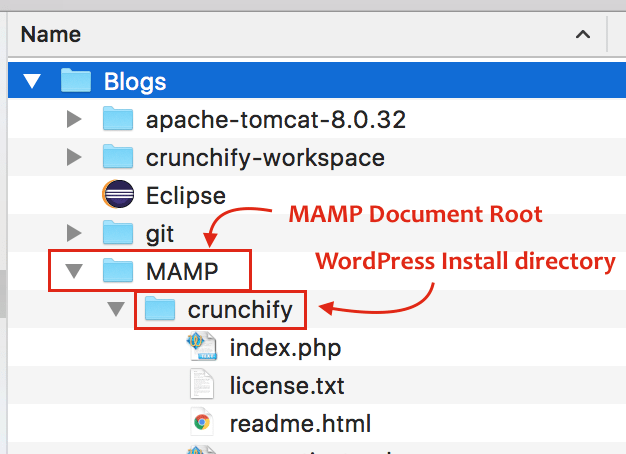
Extract wordpress.zip, change name to crunchify and copy folder under Document Root, i.e. MAMP
Step-8
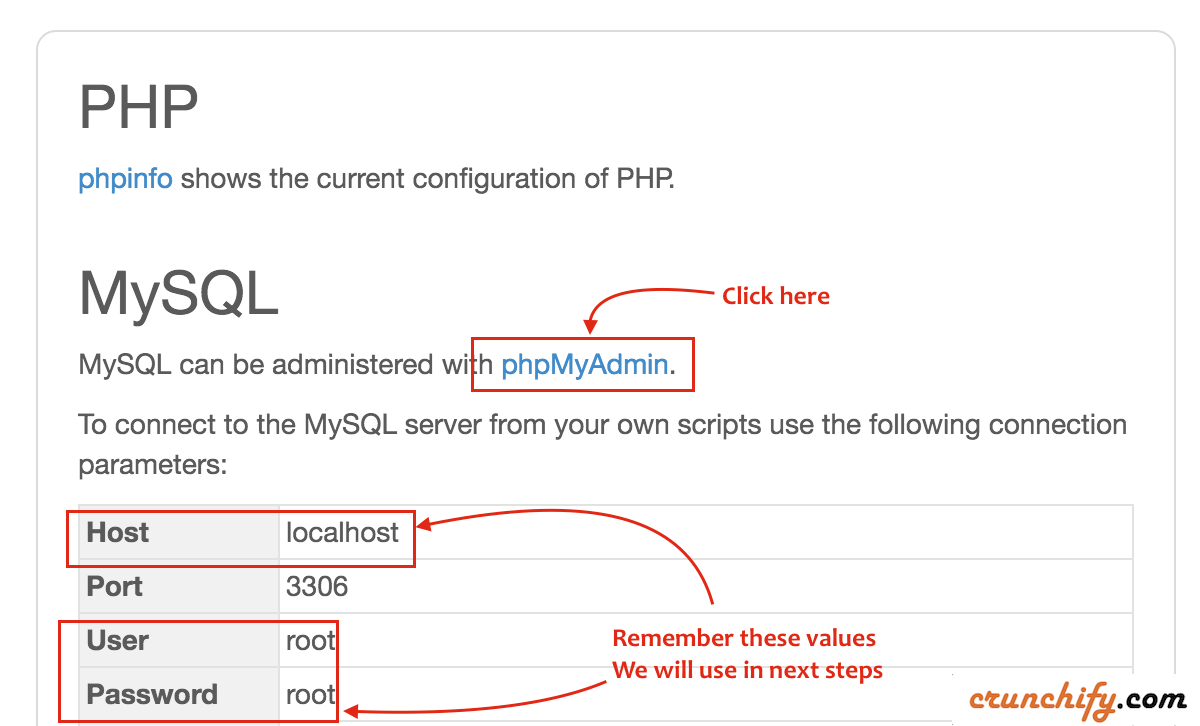
Now go to your browser page http://localhost/MAMP/ again. Click on phpMyAdmin.
Step-9
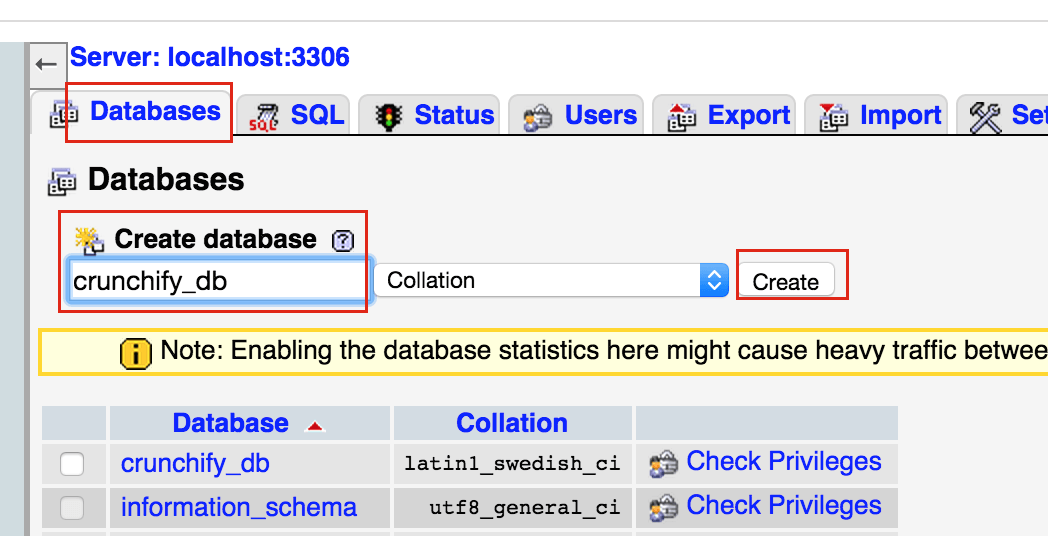
Create new DB called crunchify_db and click on Create.
Step-10
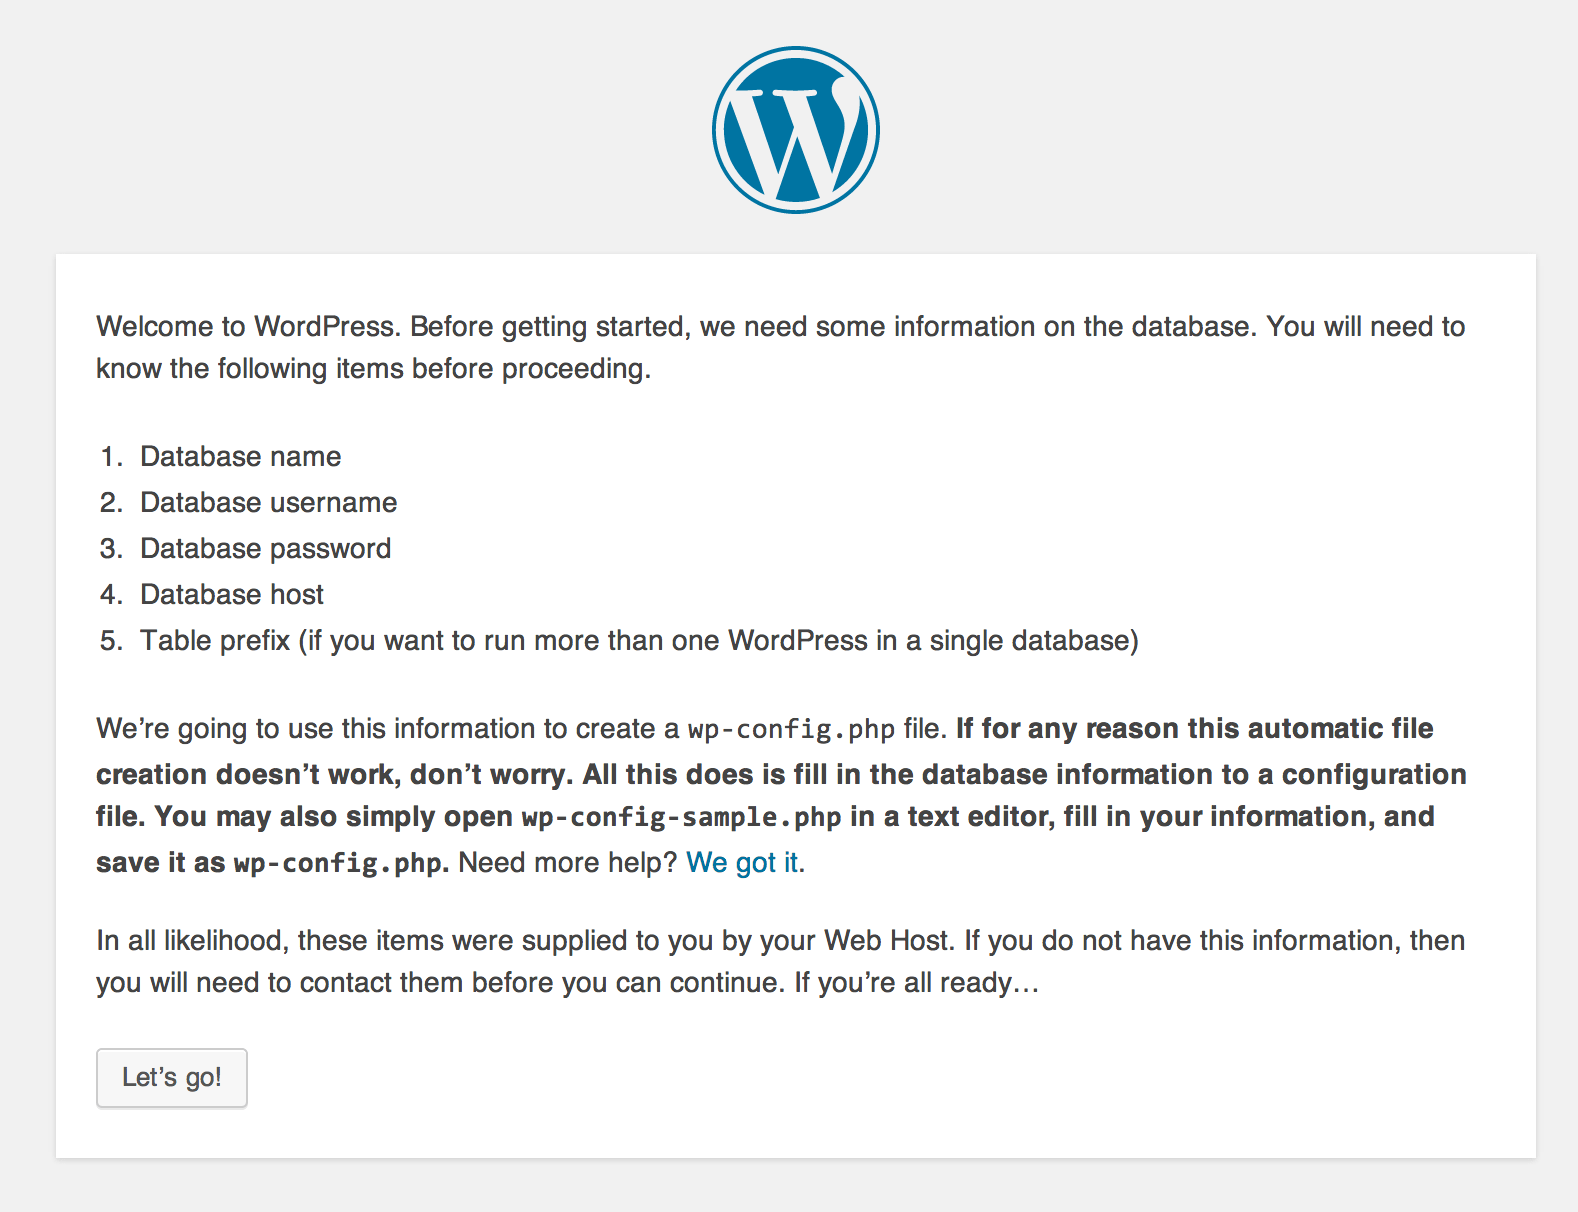
Point your browser to http://localhost/crunchify to install WordPress locally. Provide all appropriate information as mentioned below.

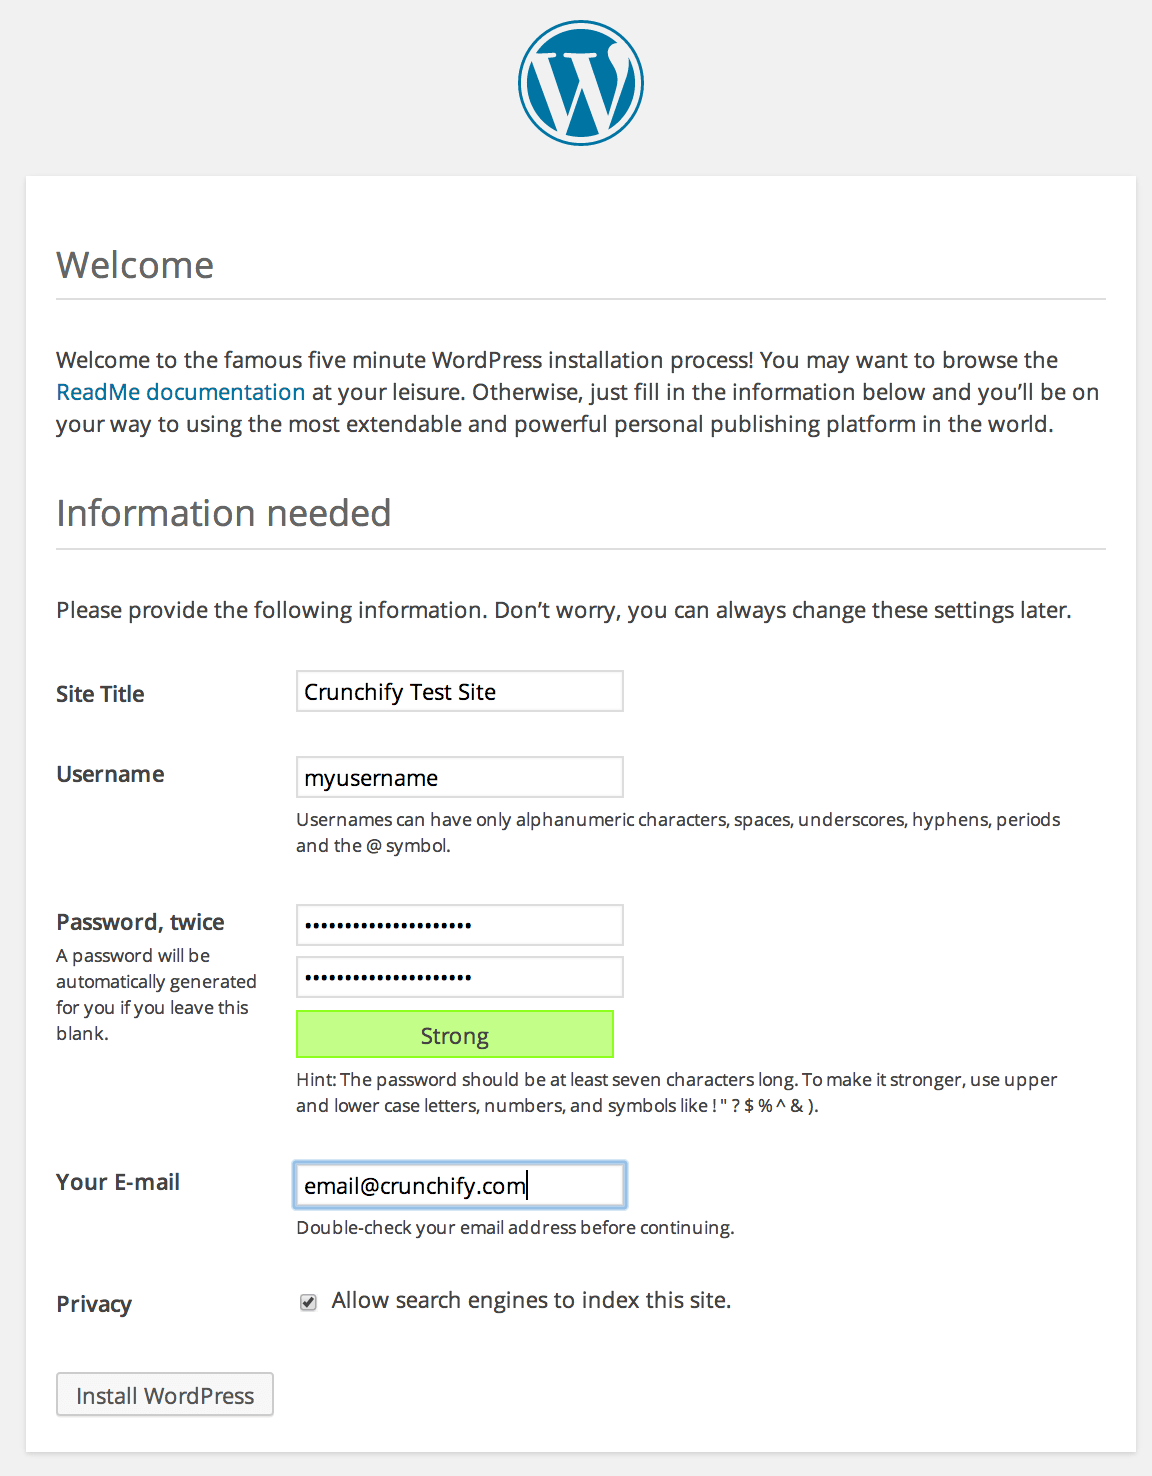
Step-11
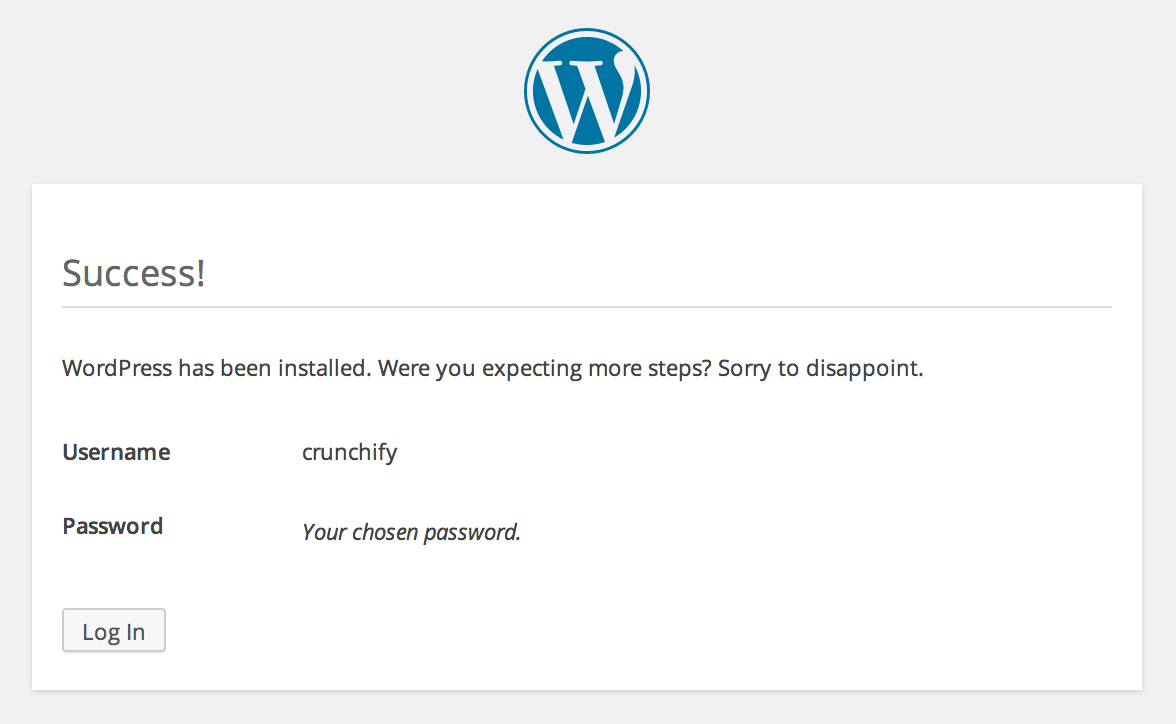
Now check your browser again pointing http://localhost/crunchify and you should be all set.

mamp wordpress install tips.