How to Setup SmartGit for your BitBucket / GitHub Repository?
Let me 1st explain why I choose SmartGit for my ButBucket Git Repository…
SmartGit/Hg's main user interface is similar to those of typical file managers in that it has a directory tree on the left and a file table on the right which shows recursively all files of your repository and working tree. Moreoever, SmartGit/Hg makes extensive use of file-manager concepts such as dialogs, wizards and drag & drop, through which all common versioning tasks (committing, branching, etc.) as well as higher-level operations not directly provided by Git/Mercurial can be performed.
The history of an opened repository is displayed in a separate window, the so-called Log window, and many Git/Mercurial commands can be performed both on the main window and the Log window, such as switching between branches, merging branches, creating branches and tags, etc.
SmartGit/Hg comes bundled with numerous features that are frequently needed in conjunction with version control. Thus, unlike command-line based tool chains, the program can be used ‘out of the box’ without requiring the user to install and set up additional tools. These bundled features include:
- A file diff viewer that shows two text files side by side, highlights the differences between them and allows editing the files.
- A so-called ‘conflict solver’, which is basically a 3-way merge. It is used for resolving merge conflicts.
- A built-in SSH client (optionally, external SSH client can also be used).
Another must read: How to Configure BitBucket Git Repository in you Eclipse?
Steps to Setup SmartGit for your BitBucket Git Repository:
Step-1
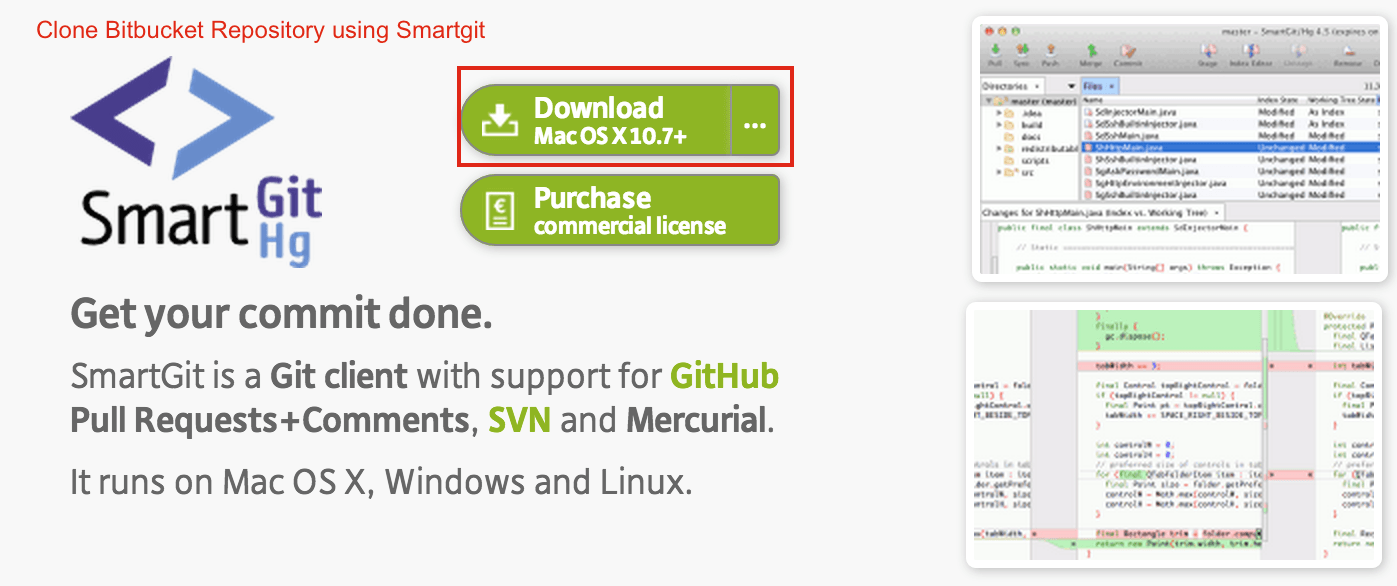
Download SmartGit.
Step-2
Install using Windows / Mac OS X installer. In case of Mac OSX installer, copy smartgit to your Application folder.
Step-3
Open SmartGitHg from Application folder.
Step-4
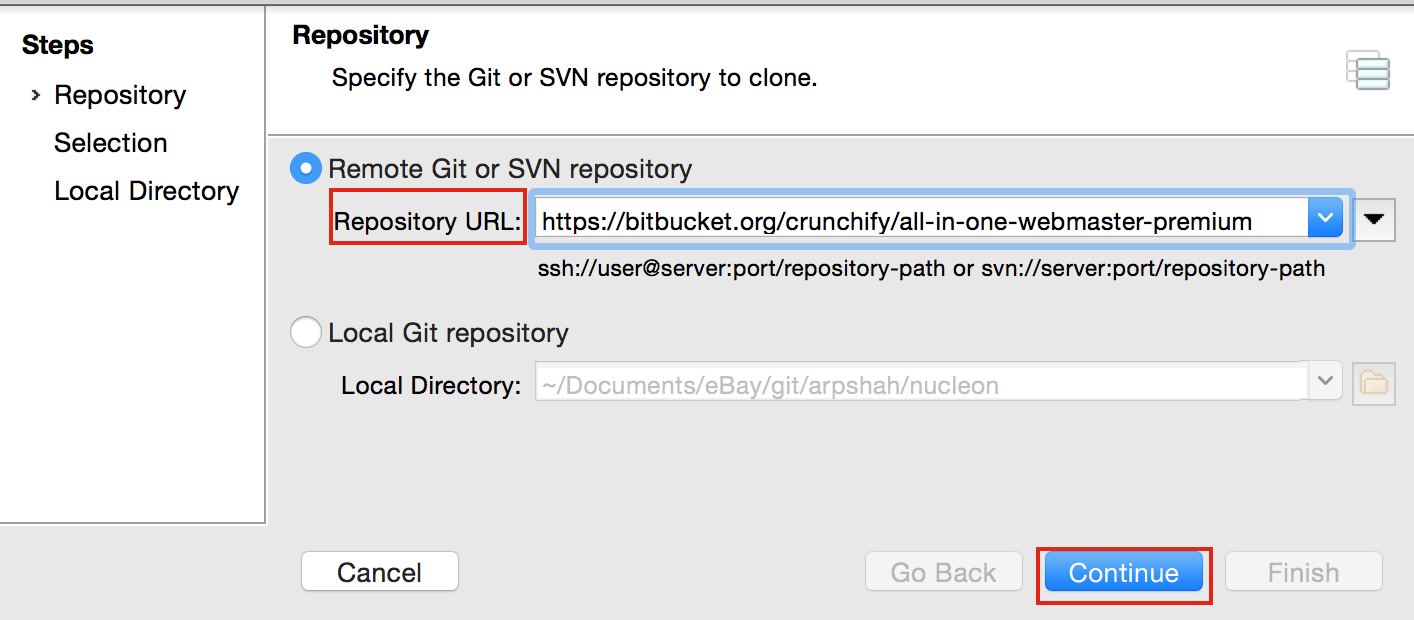
Now clone your BitBucket Repository. (I’m using MAC OS hence you will find MAC commands)
Project -> Clone -> Remote Git / SVN repository
Step-5
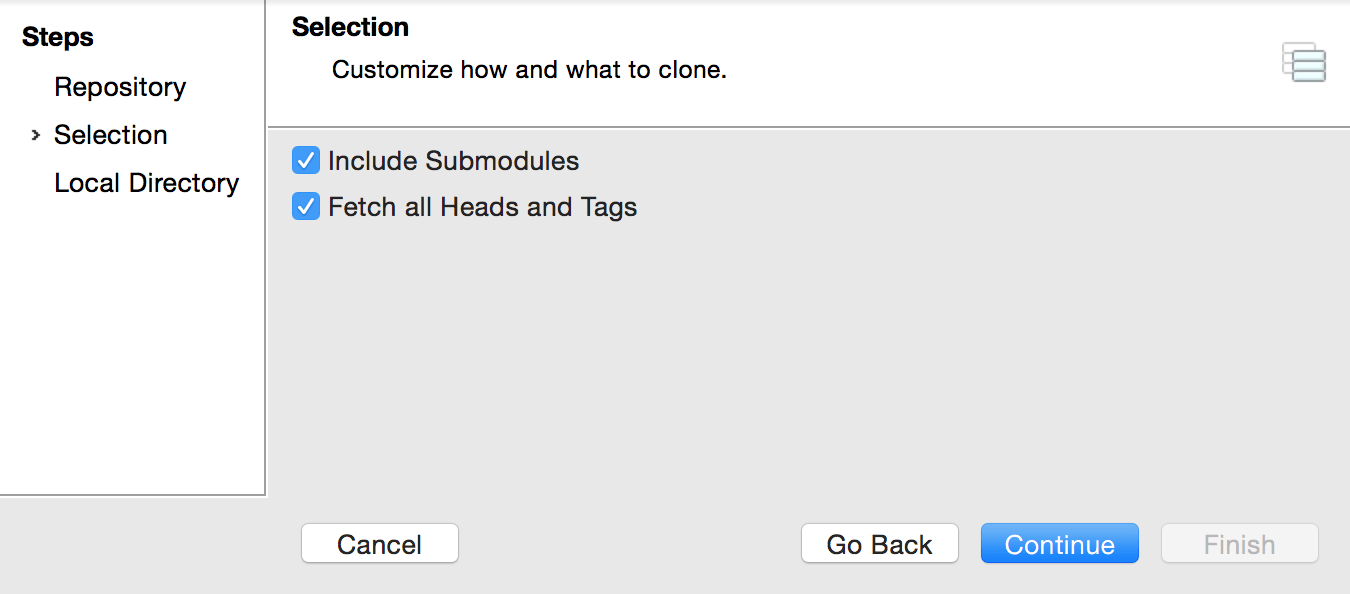
Click Continue -> Select Git -> Provide Username/Password -> Select Checkboxes
Step-6
Select Local Repository
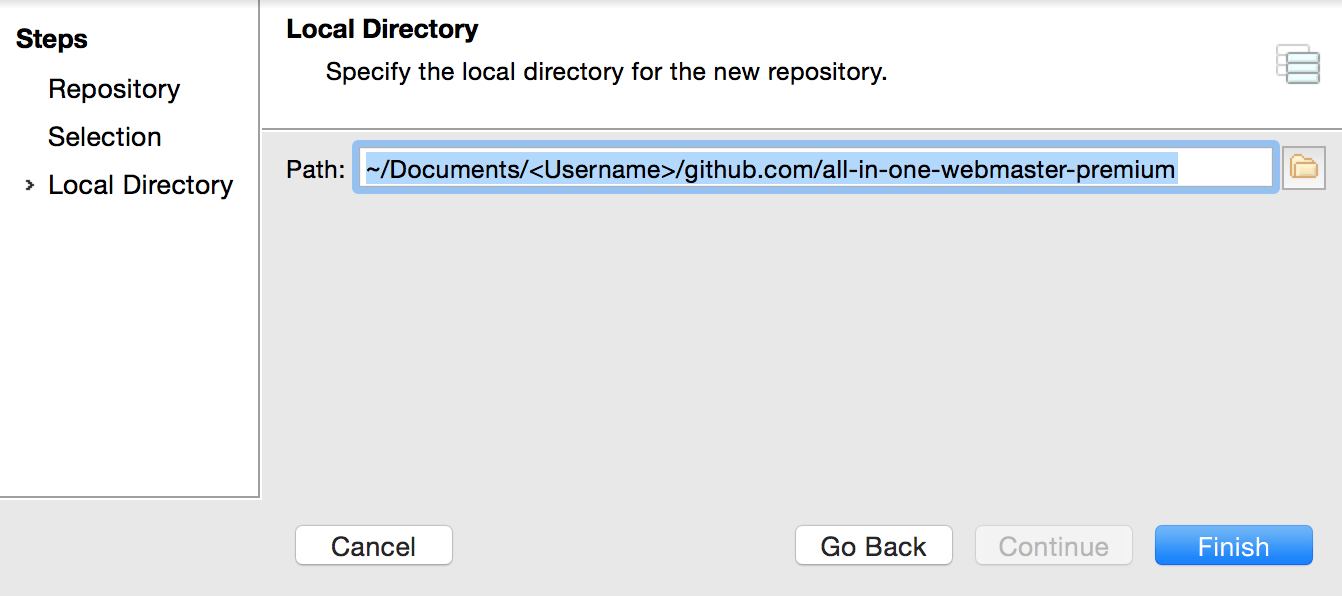
Step-7
Click Continue and you are all set.
PS: Provide your Bitbucket Username /Password when ever required..