
IntelliJ IDEA is no doubt one of the best Java IDE out there. On Crunchify, we have published number of articles on Eclipse IDE and how to generate Maven project and run your complete end to end enterprise grade application.
In this tutorial we are going to discuss two parts.
- How to create IntelliJ IDE Java Maven Project and add support for Web Application.
- How to Commit and Push Java Project to Github without using any other Git tools and leaving IntelliJ IDEA.
1. How to create IntelliJ IDE Java Maven Project and add support for Web Application
If you have any of below question then you are at right place:
- Add Maven support to an existing project
- Maven projects – Help | IntelliJ IDEA – JetBrains
- Creating a new Maven project in IntelliJ IDEA
- Maven – IntelliJ IDEA IDE Integration
- Java for Beginners #1 – Prepare an IntelliJ Maven Project
- Create a Maven Project with Servlet in IntelliJ IDEA
Let’s get started:
Step-1.1)
- Open IntelliJ IDEA
- Click on
File - Click on
New - Click on
Project...

Step-1.2)
- Click on
Maven - Click
Next
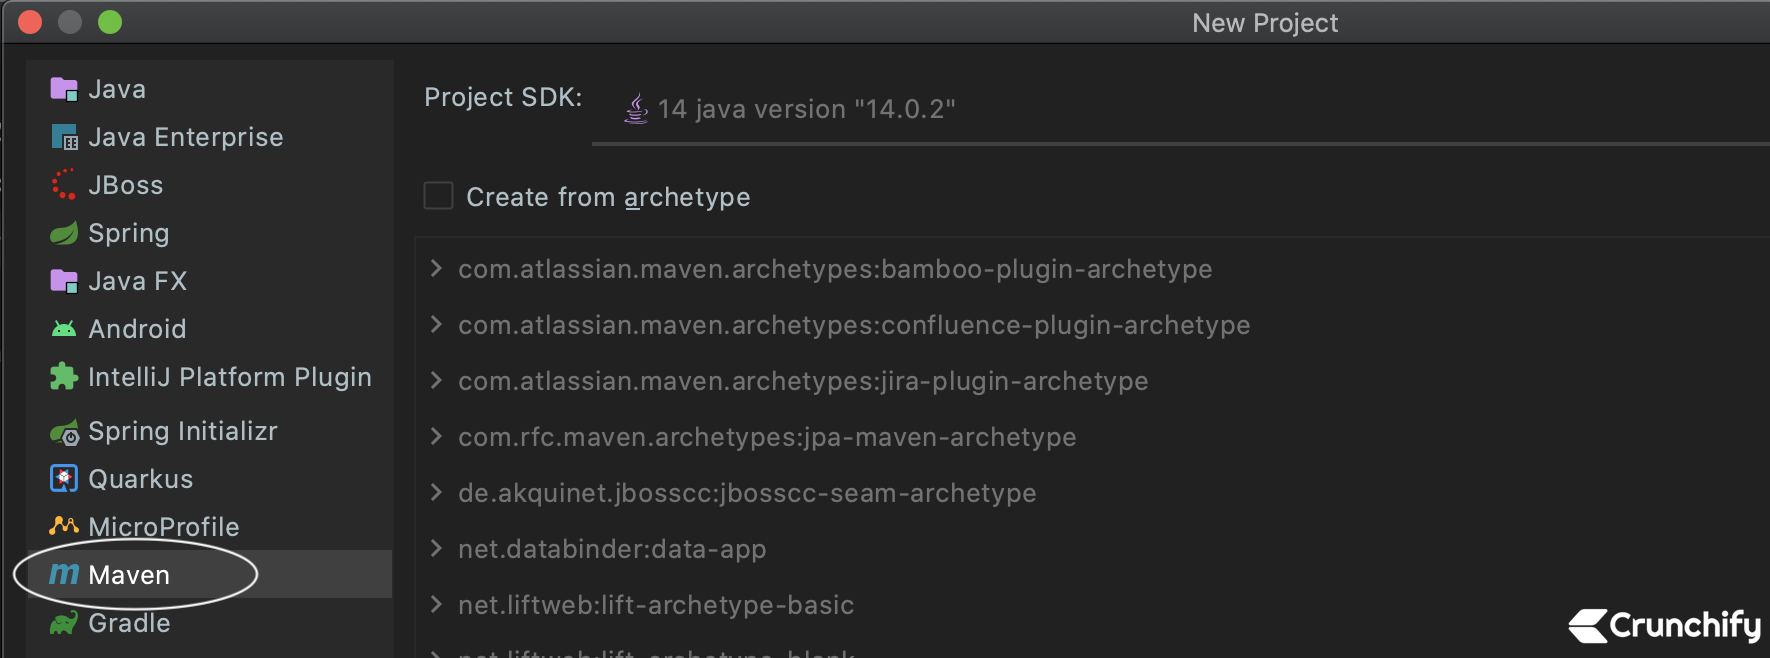
Step-1.3)
- Enter Project Name:
CrunchifyJavaTutorials - Click Next
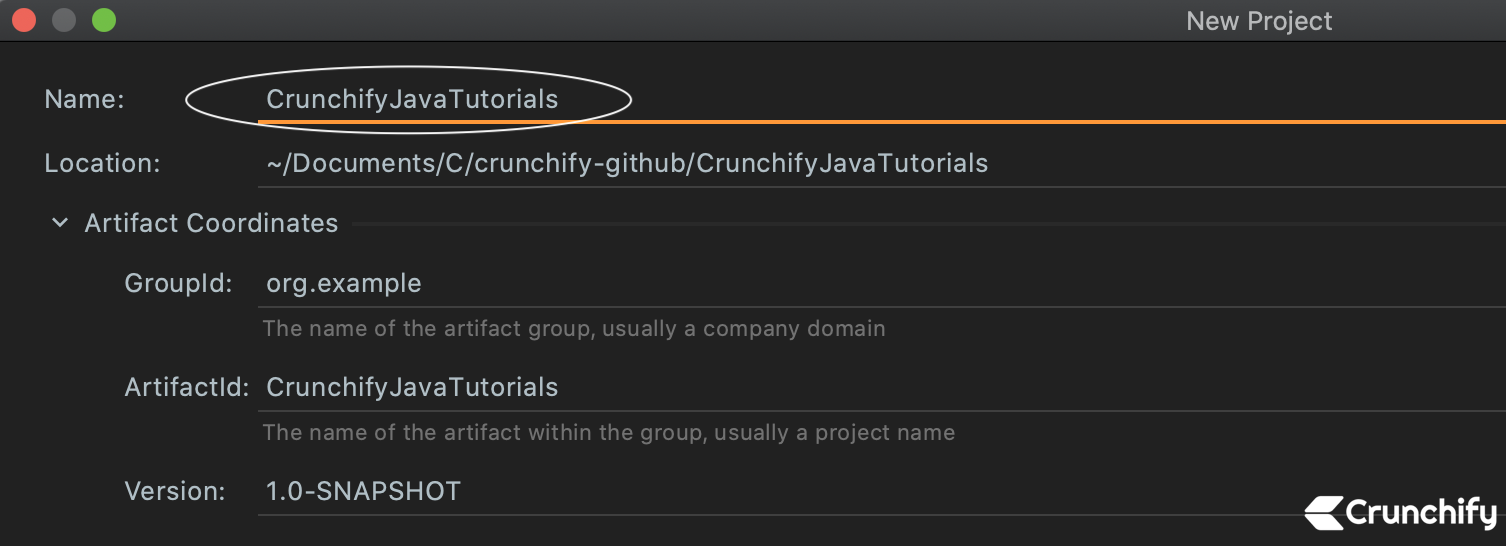
Step-1.4)
- Right click on Project (CrunchifyJavaTutorials)
- Click on
Add Framework Support... - Select Web Application (4.0)
- Click Ok

Congratulation. Now you have successfully created Maven Java Web Application.
Step-1.5)
Next is to create simple Java hello world program. In our case it’s CrunchifyStreamExample.java.
package crunchify.com.tutorials;

public class CrunchifyStreamExample {
    public static void main(String args[]){
        System.out.println("Hey.. Thanks for visiting Crunchify.com. We are now pushing file to github from IntelliJ IDEA.");
    }
}

2. How to Commit and Push Java Project to Github without using any other Git tools and leaving IntelliJ IDEA
If you have any of below question related to Github and IntelliJ then you are at right place:
- How to add an IntelliJ project to GitHub?
- Intellij add project to existing git repository
- Set up a Git repository – Help | IntelliJ IDEA
- Intellij IDEA how to upload project to remote branch?
- Building Github Project with IntelliJ IDEA
- IntelliJ IDEA task integration with github. Add my intelliJ project to an already existing Github repository.
Let’s get started:
Step-2.1)
- Click on
VCS - Click on
Enable Version Control Integration... - Select
Gitfrom dropdown.
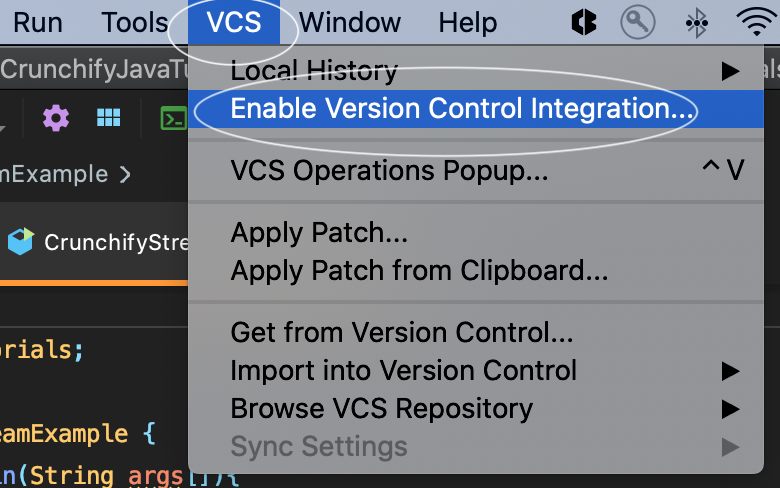

Step-2.2)
You should see green message saying Created Git repository /Users/crunchify/Documents/…/…

Step-2.3)
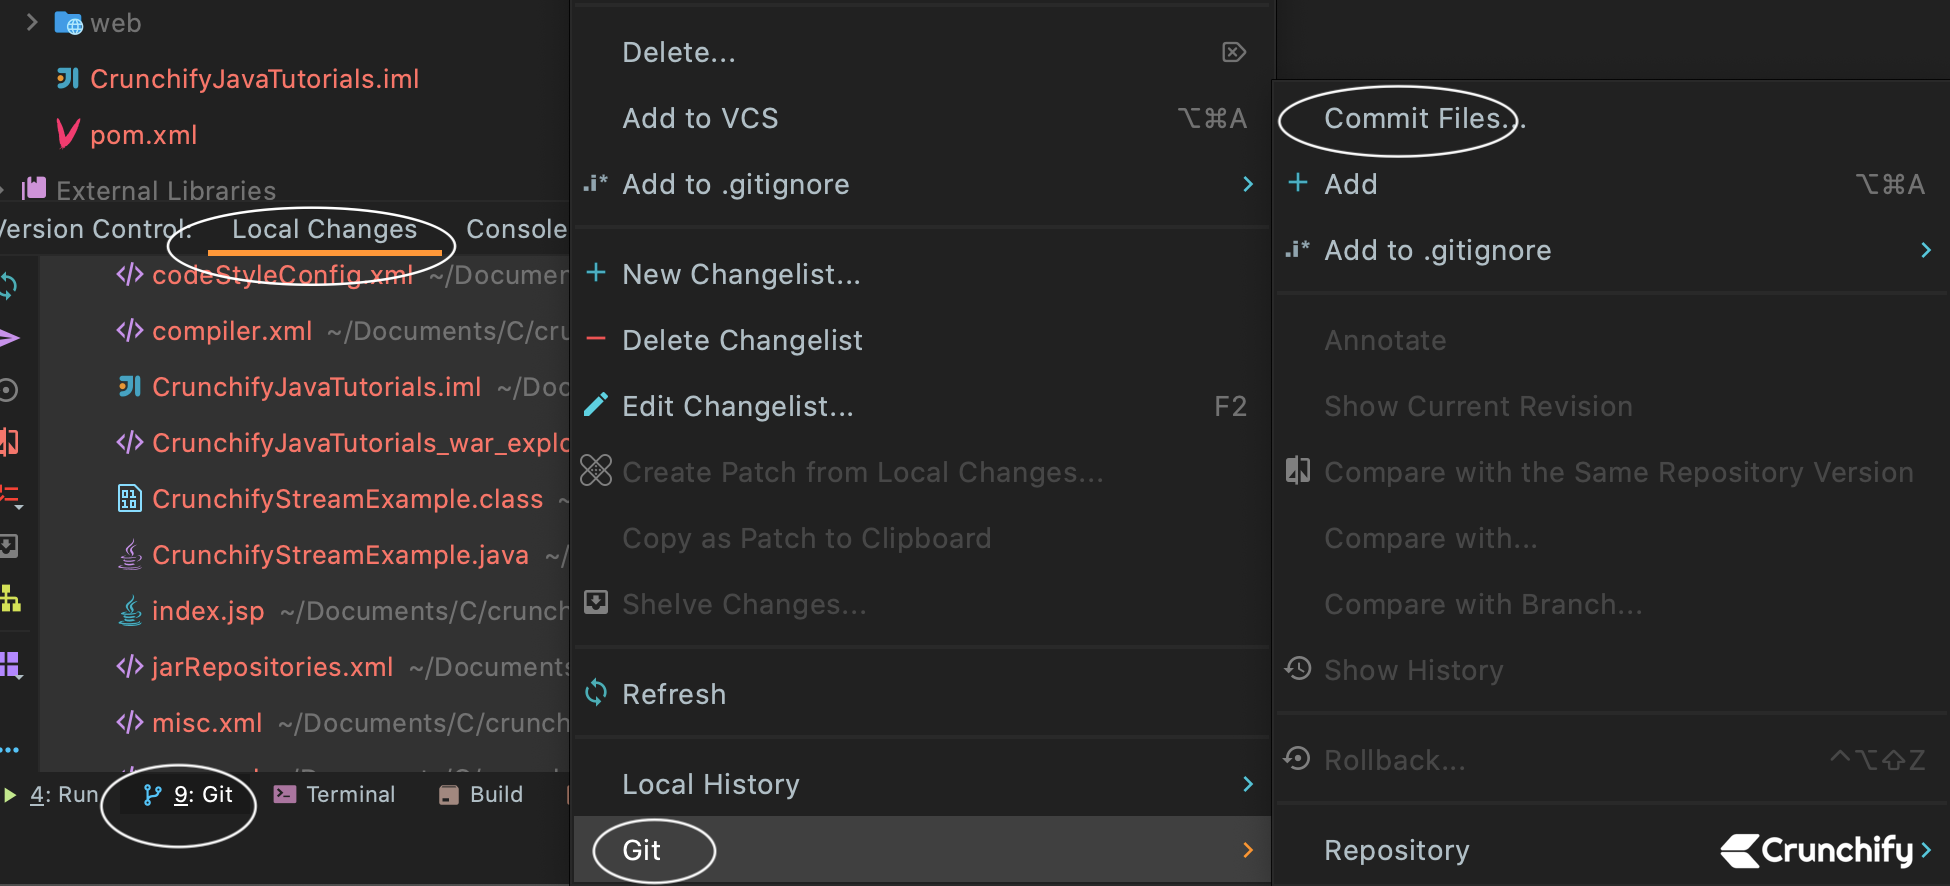
- Click on
Gitfrom bottomtoolbar
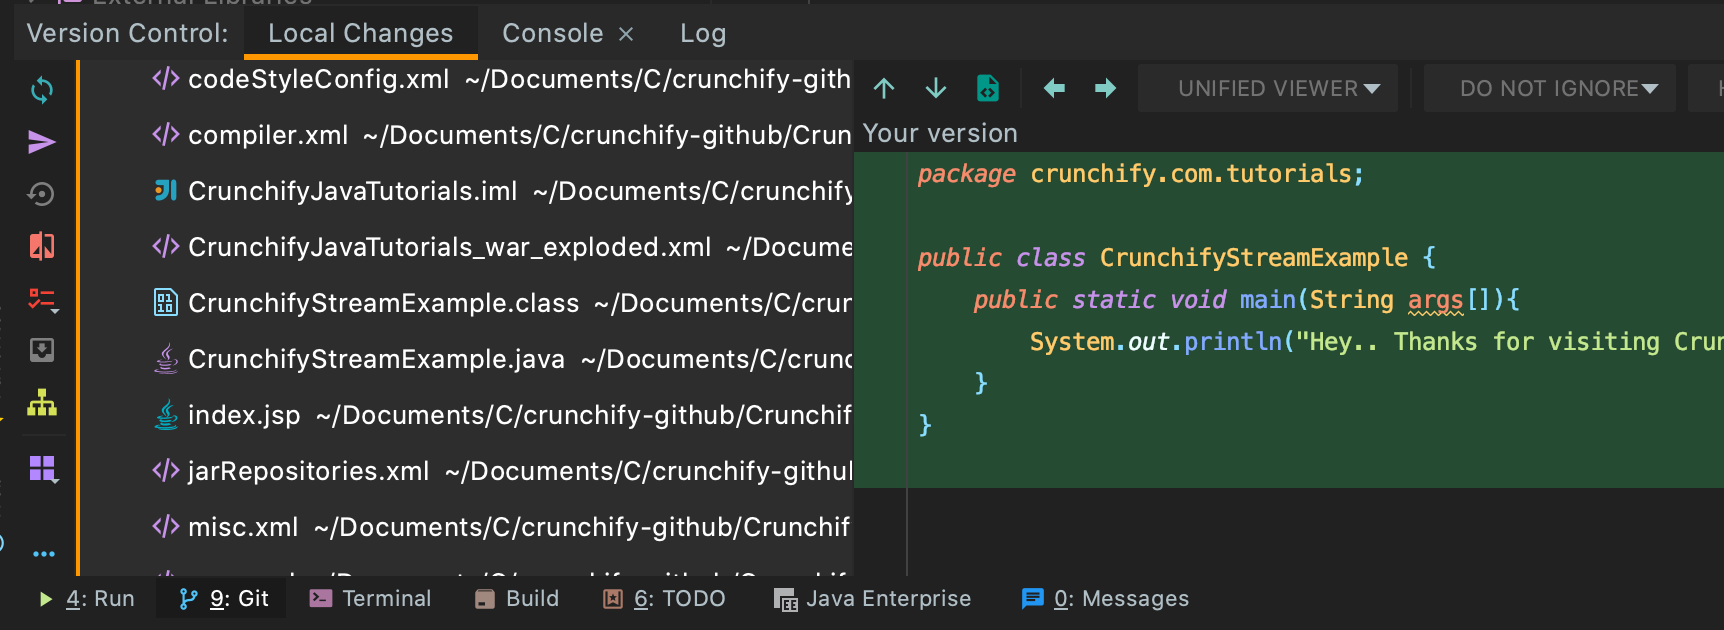
Step-2.4)
- Select all files
- Right click on files
- Select
Git - Select
Commit Files...
Step-2-5)
- Enter
Commit Message - Click on
Commit

Step-2.6)
- Go to
VCSfrom Menu - Click on
Git - Click on
Push - It will ask you for Github repository, which is mentioned in next steps.

Step-2.7)
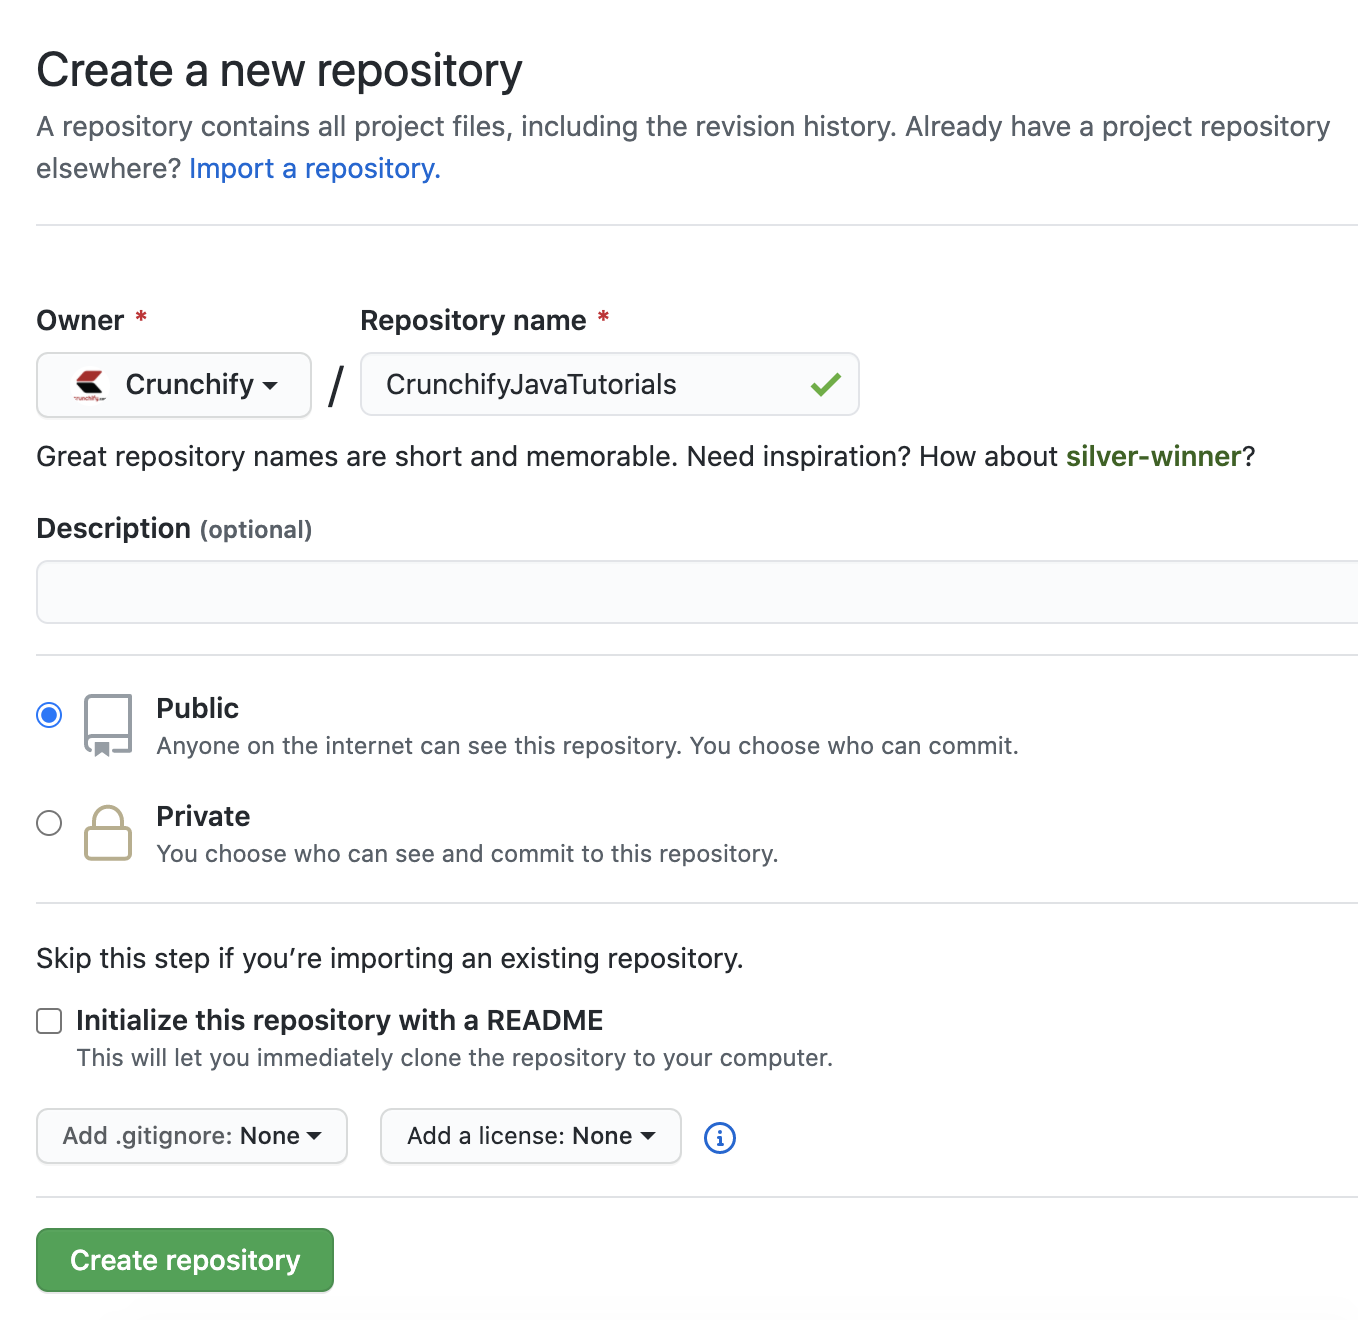
- How to create
newGithub repository? - In our case, I have created new repository: CrunchifyJavaTutorials
- Provide it in IntelliJ IDEA when it asks you for
Origin URL.
Step-2.8)
Once you push code, you should see success message as Pushed master to new branch origin/master.

How to verify if code is pushed to Github?
Just visit your Github repository and you should see newly pushed files.
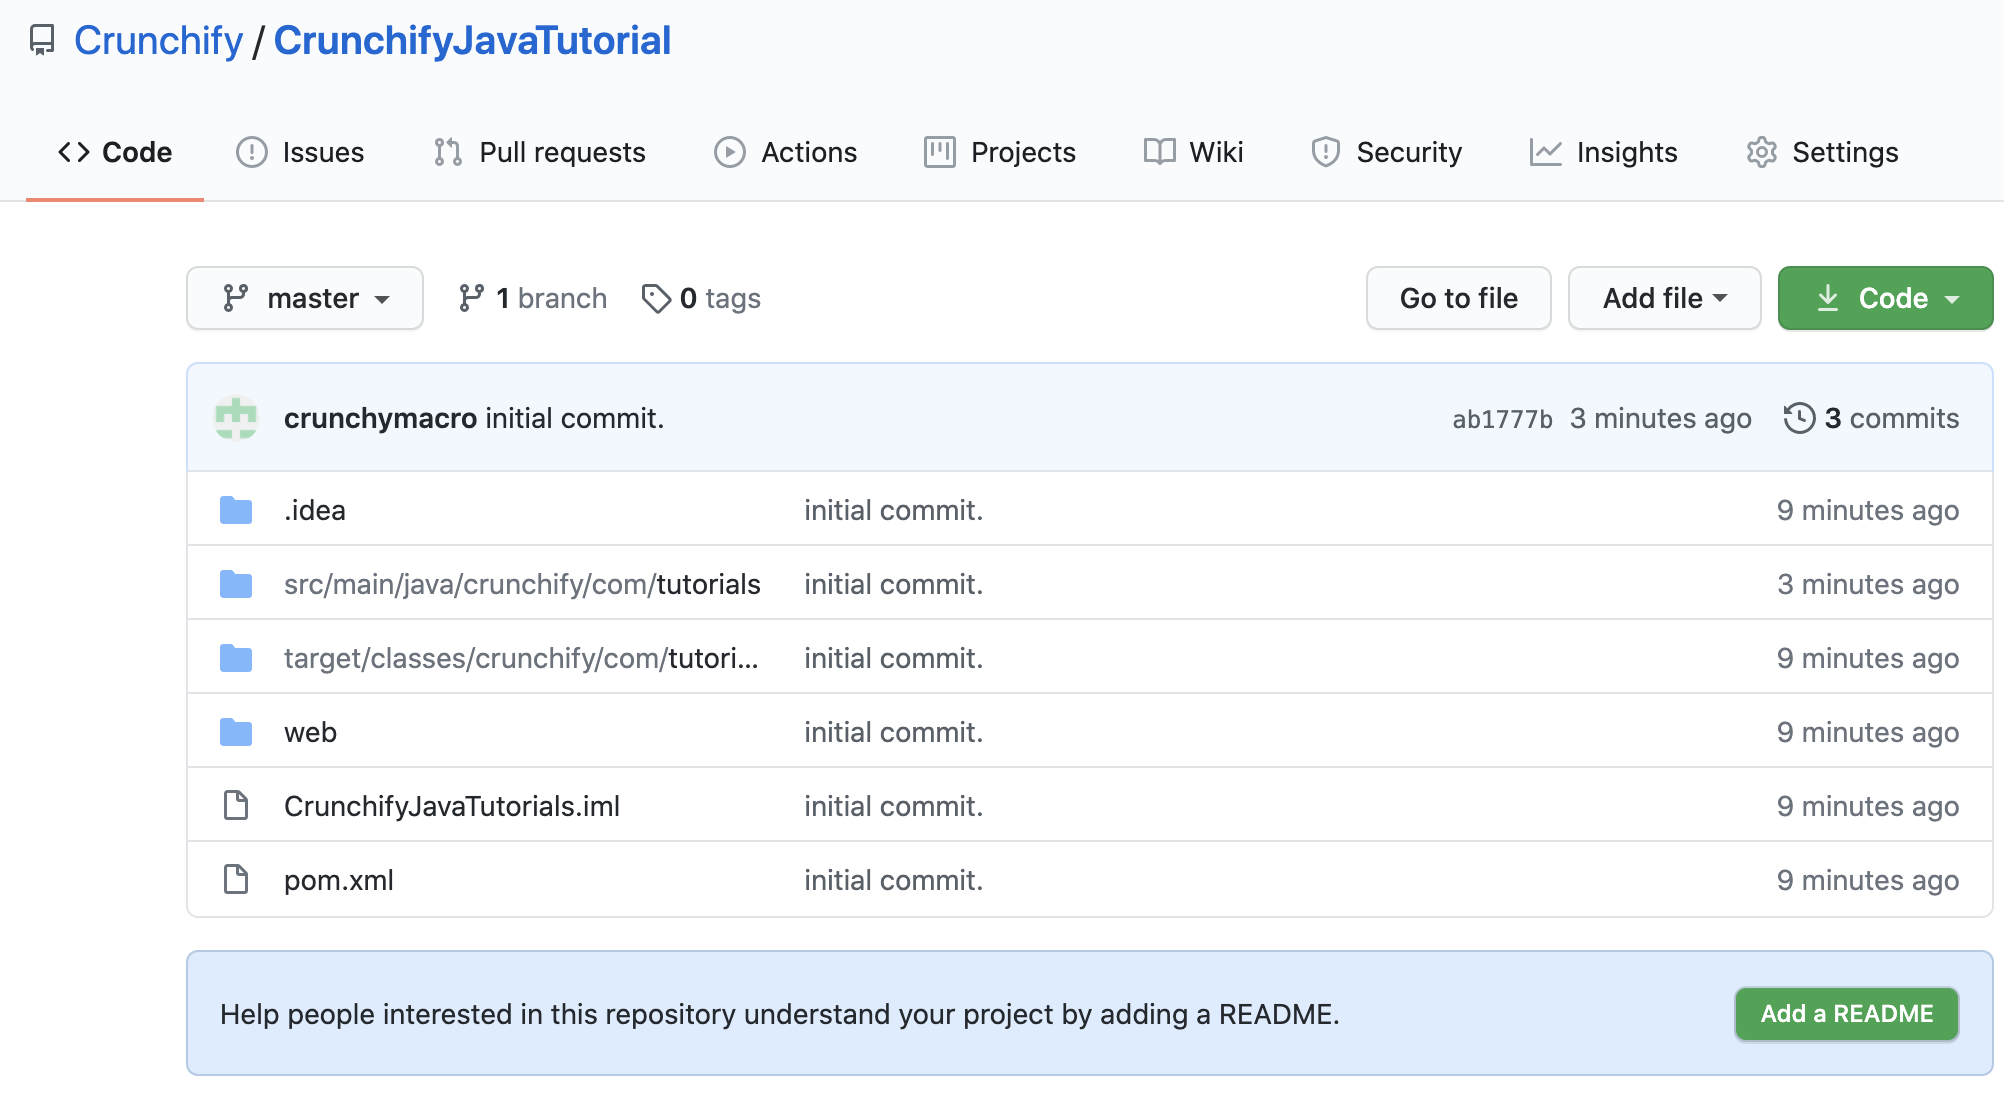
Congratulations. You have successfully integrated Github with IntelliJ IDEA without using any external tools.
Now keep pushing your changes after your code changes and you should be good. Happy coding.

