
Font Awesome is really awesome 🙂
We have been using it since very long time like almost 3 years. Sometimes back I’ve written an article on how to add Font Awesome to your WordPress site.
Above tutorial perfectly works without an issue. But what if you want to leverage new Font Awesome 5 and more fonts? It has 189 new icons from their old version 4.7.0. It covers almost all vector icons and social logos for your need. Are you looking to include SVG icons then that’s what you need.
Let’s get started on how to include Font Awesome 5 to your WordPress blog:
Step-1
Add below URL’s to your site’s header section just in-between <head> ... </head> section.
<link href="https://use.fontawesome.com/releases/v5.0.8/css/all.css" rel="stylesheet">
I’m using Genesis theme and added above CSS to Header Scripts section.

Step-2
Let’s say you want to include Twitter icon. Just add below to your HTML section.
<i class="fab fa-twitter"></i>
In the sidebar if you want to add the same icons then just modify your HTML as you need. Here is a sample:
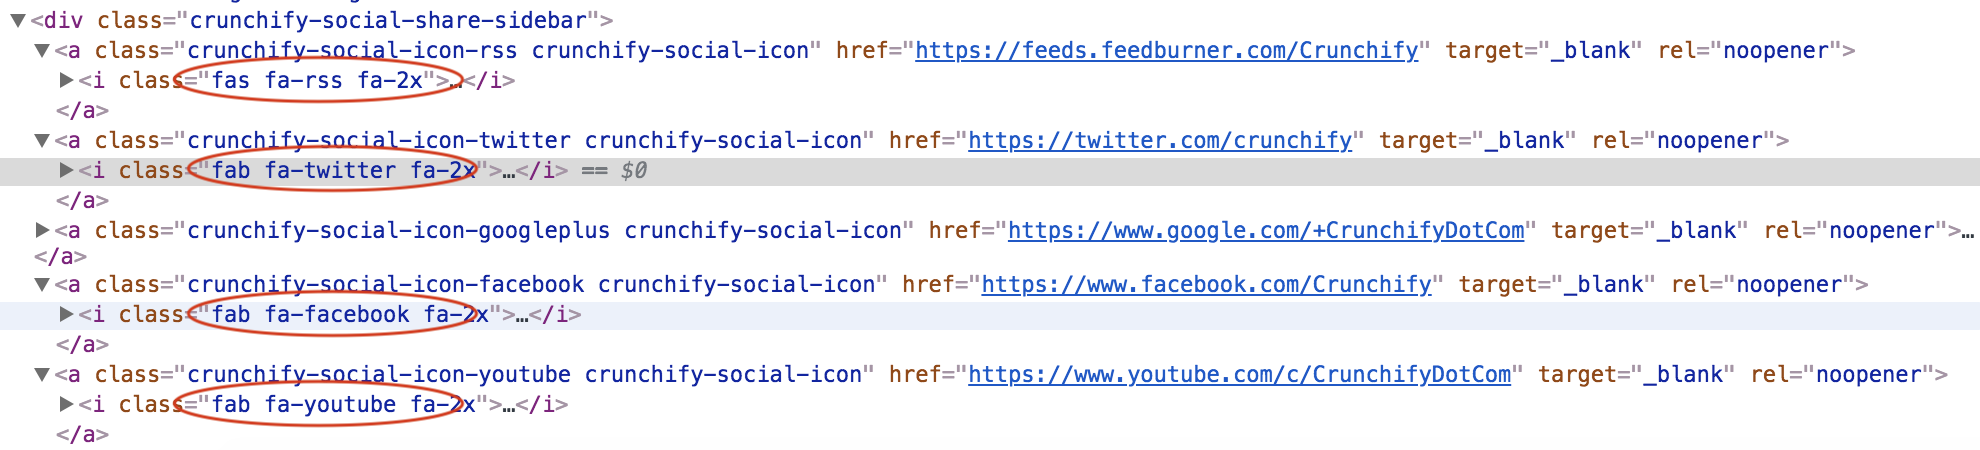
But please note:Thefaprefix has been deprecated in version 5. The new default is thefassolid style and thefabstyle for brands.
If you are using ::before tag anywhere then try using below CSS for your site’s style.css file:
.coolh3::before {
	color: #b11f24;
    content: "\f058";
    font-family: "Font Awesome 5 Free";
    margin-right: 10px;
}

.entry-categories a:before, .entry-tags a:before {
	vertical-align: top;
    content: "\f0a4";
    font-family: "Font Awesome 5 Free";
    color: #b11f24;
    margin-right: 8px;
}