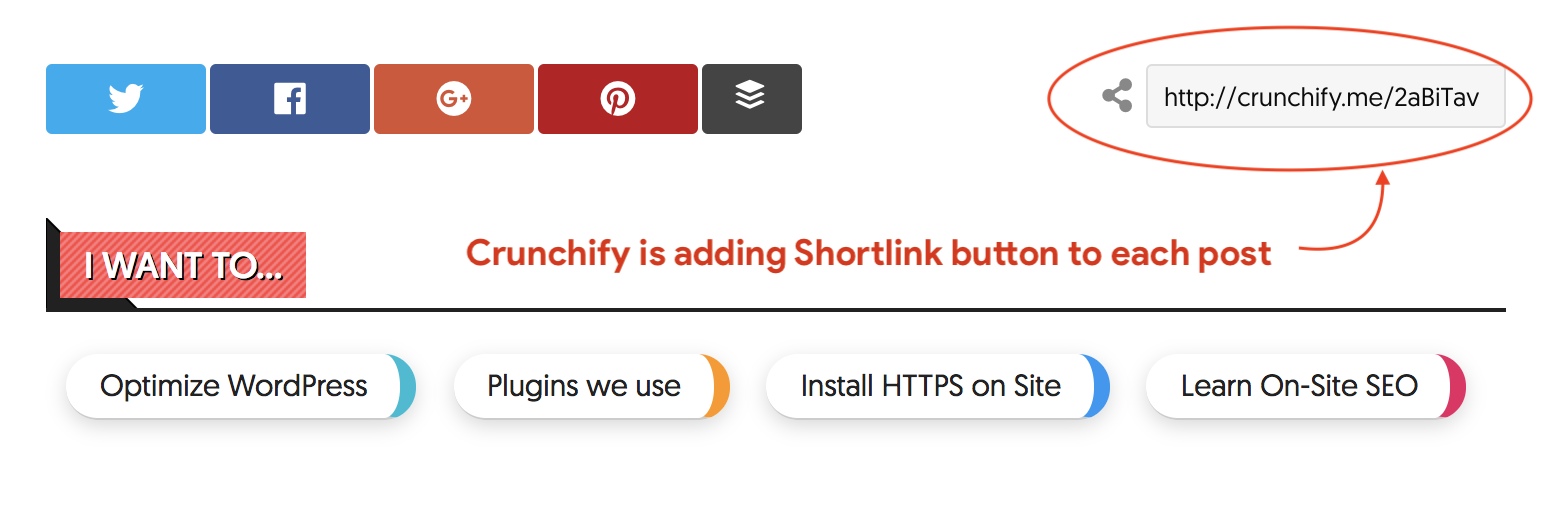
Crunchify is adding Bitly Shortlink at the bottom of each post. I’m sure you must have seen it long time back.
In this tutorial we will go over steps on how to integrate and show bitly short link for your site on each individual post.

How to beautify and integrate Short URL into your theme’s single post?
URL shortening is a technique on the World Wide Web in which a Uniform Resource Locator (URL) may be made substantially shorter in length and still direct to the required page. This is achieved by using an HTTP Redirect on a domain name that is short, which links to the web page that has a long URL.
I’m using crunchify.me ShortLink and so far loving it. This gives me a unique URL I can use that will be safe and reliable.
It’s perfect to use on Twitter, Facebook, and cell phone text messages where every character counts. With this below simple code you can show Short Link for your post/page’s on your blog.

You could use by default WordPress’s short link too.
Let’s get started:
Step-1
Prerequisite: Below simple trick will help you put Short URL to your Genesis theme’s Single Page. Make sure you have integrated short-link correctly to your WordPress.
Please follow below two tutorials:
- Detailed steps mentioned in tutorial completely to setup URL Shortening service correctly
- Reason why I use WP Bitly WordPress Plugin
Step-2
Put below code to your child theme’s functions.php file.
NOTE: This step-2 code will add short URL after Post Title.

add_filter( 'genesis_post_info', 'crunchify_add_updated_date_info' );
function crunchify_add_updated_date_info($post_info) {
	$post_info = 'Last Updated on [post_modified_date] by [post_author_posts_link] [post_comments] [post_edit]';

		// Show on only single post
        if (function_exists('wpbitly_shortlink') && is_single()) {
		?>
		<p class='entry-meta-shortlink'><span class='custom-shortlink'>Short link: <input type='text' class='shortlink-textbox' value='<?php echo wpbitly_shortlink(); ?>' onclick='this.focus(); this.select();' /></span>
	        <?php
		 	return $post_info;
		?>
		</p>
		<?php
	}else{
		return $post_info;
	}
}
Step-3
Put below code to style.css file
.custom-shortlink {
	color: #fff;
	background: #a6abaf;
	border-radius: 2px;
	text-transform: uppercase;
	padding: 3px 0px 5px 5px;
	-webkit-font-smoothing: antialiased;
}

.entry-meta-shortlink {
	color: #5F5F5F;
	font-size: 12px;
	margin-bottom: 15px;
	float: right;
}

.shortlink-textbox {
	margin-left: 10px;
	width: 140px;
	height: 32px;
	border-radius: 3px;
	color: #4e5860;
	font-size: .938em;
}
Step-4 (we are using this technique)
To add Custom Short URL at the end of post bottom exactly same as Crunchify, then follow below steps:
- As you see it’s been integrated with Social Sharing buttons, follow tutorial to add social sharing after each post.
- Add below line of code just above last
$content .= '</div>';
$content .= '<p class="entry-meta-shortlink hide-on-mobile"> <i class="fa fa-share-alt fa-2x" style="padding: 4px;"></i> <input readonly type="text" class="shortlink-textbox" value="' . $crunchifyURL .'" onclick="this.focus(); this.select();" />';
Step-5
By default, WP Bitly Plugin adds full HTML tag.
In order to fix that you need to open functions.php file located under /plugins/wp-bitly/includes folder.

Change above function to:
if (!empty($shortlink)) {
     $output = apply_filters('the_shortlink', $text, $shortlink, $text, $title);
     $output = $before . $output . $after;
}
Let me know if you need any help setting it up and I’m more than happy to set it up for you 🙂
