Updated with Bitly’s new DNS A records
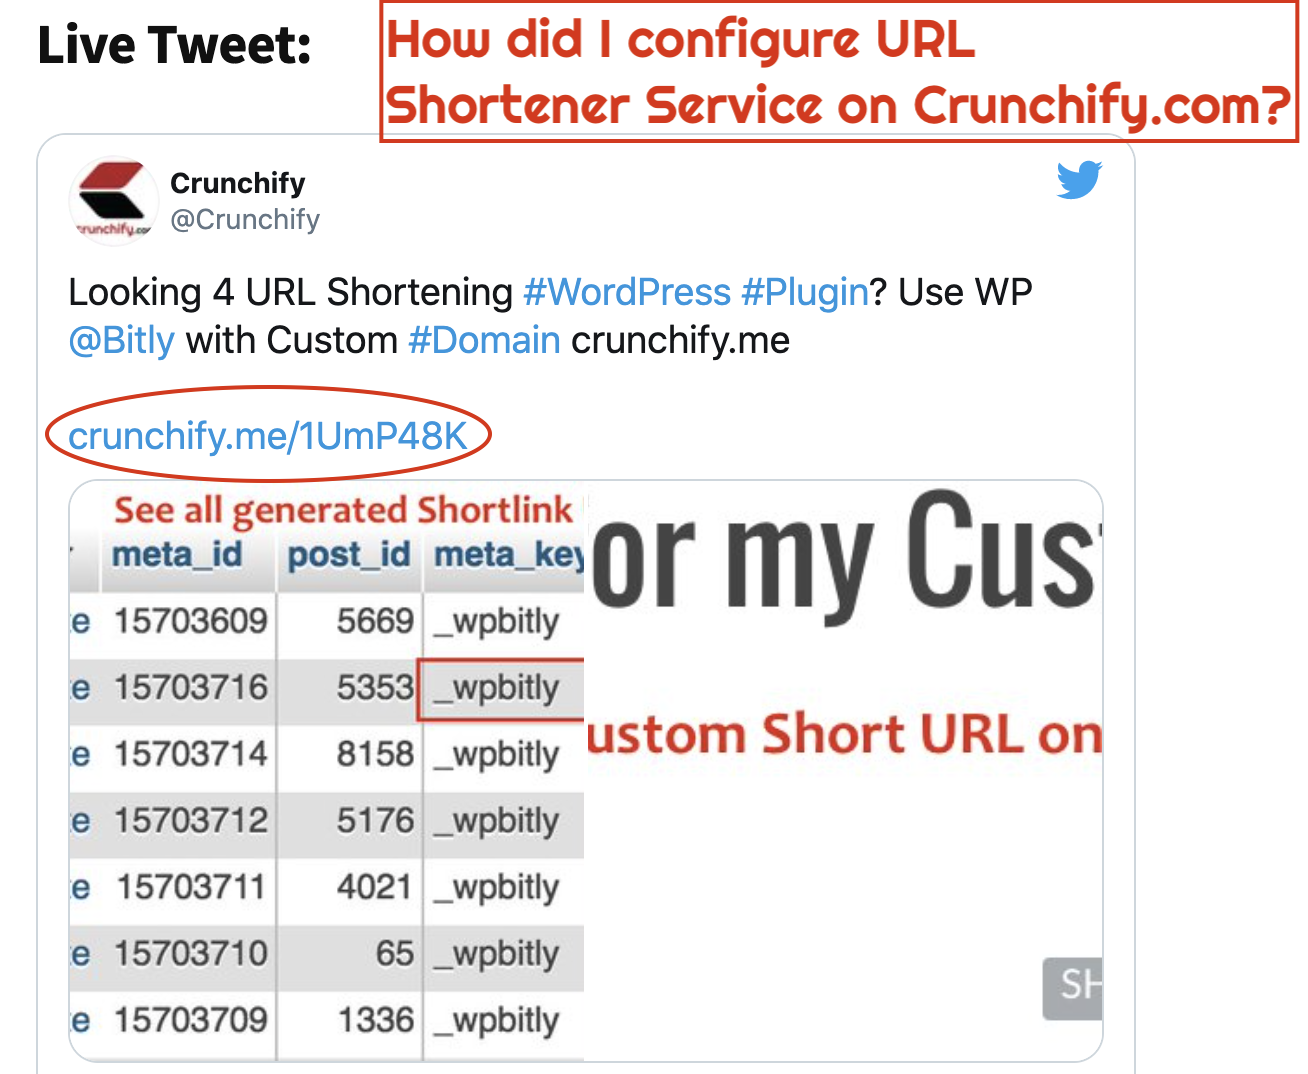
Since last couple of days I have been thinking of having URL Shortener Service for Crunchify.com. A custom short domain is a great way to brand your content across the web! Finally I’ve created crunchify.me for the same.
Perform below steps to setup URL Shortener server correctly for your WordPress blog
Step-1
Get your short domain. I got my new Domain crunchify.me using Google Domains Service.
- Click on your short domain
- Click on Configure DNS
- Choose Google Domains name servers

Step-2
Scroll down little bit on the same page and look for Custom resource records option.
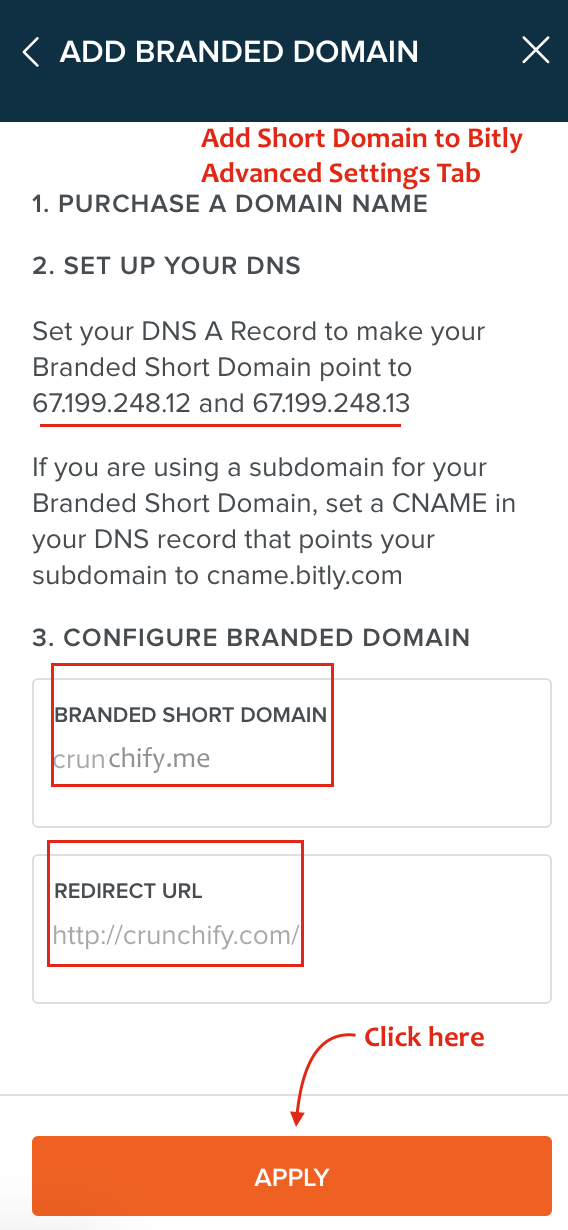
Update your DNS A Records to point to
67.199.248.12and67.199.248.13

NOTE: If you your domain name registrar are GoDaddy, NameCheap, etc then you need to go to your admin panel or cPanel to make above changes. It should be fairly simple in each case.
Step-3
- Login to
bitly.comsite - Click on
Settingstab – click onright-top cornerhamburger menu icon. - Click on
Advanced Settingsoption Add your short domainand click Add. Provide

Step-4
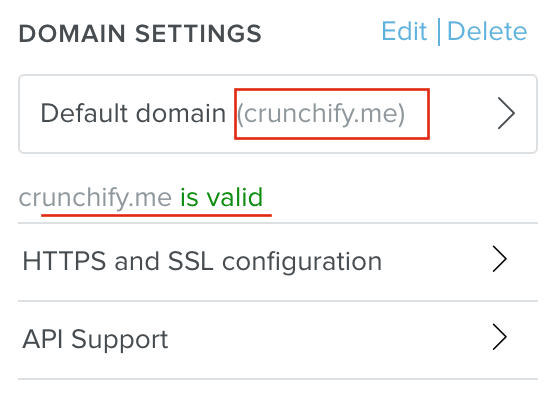
Click on Validate button to verify your short domain is pointed to correct DNS A records.

At this point you are all done setting up Domains and Bitly options. Now let’s perform next task at WordPress admin panel side.
Step-5
- Install Plugin WP Bitly. Reason why I use WP Bitly WordPress Plugin.
- After activation – go to Settings -> Writing
- Provide OAuth token and click
Save Changes
And you are all set. Let’s verify.
Step-6
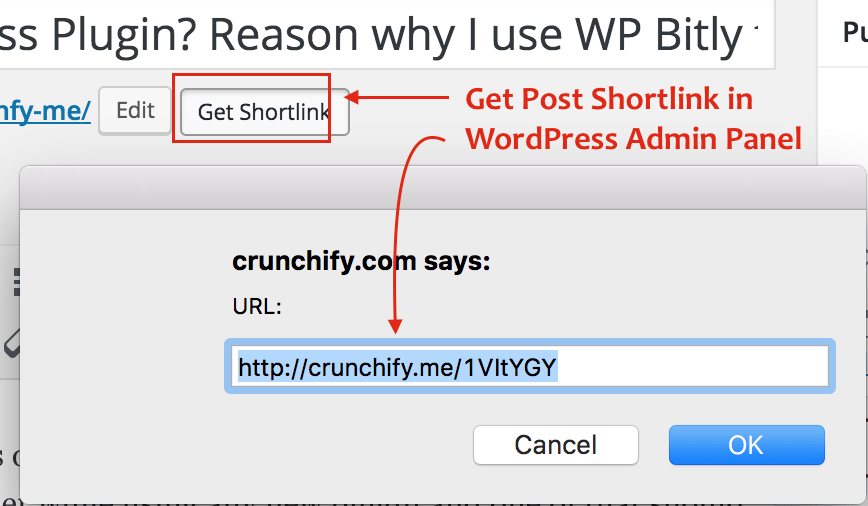
Open any post’s edit panel and click on Get ShortLink.

If you are a developer then can call wp_get_shortlink(); anywhere and it should return Short URL.
Ref: http://codex.wordpress.org/Function_Reference/wp_get_shortlink
Last but not least, post short URL’s to your social media site and rejoice.

