In WordPress, the JPEG image quality can be controlled using the jpeg_quality filter. By default, WordPress uses a JPEG quality setting of 82, which can result in slightly compressed images with a small loss of quality. To increase the JPEG image quality back to 100%, you can follow these steps.
How to Stop WordPress compressing images?
WordPress Media Library is compressing uploaded jpeg images by default to 82% of their original quality. Before WordPress version 4.5 it was set to 90%.
If you want to have JPEG image quality back to 100% then it’s very simple.
Add below code to your theme’s functions.php file.
add_filter( 'jpeg_quality', function ( $arg ) {
	return 100;
} );
After above step, regenerate the thumbnails for your images using a plugin like “Regenerate Thumbnails” or “Force Regenerate Thumbnails“. This will ensure that your images are displayed at the new, higher quality setting.
If you have already uploaded images to your website, you may need to re-upload them to take advantage of the new image quality setting.
Is there any other way to achieve this without code?
Yes.
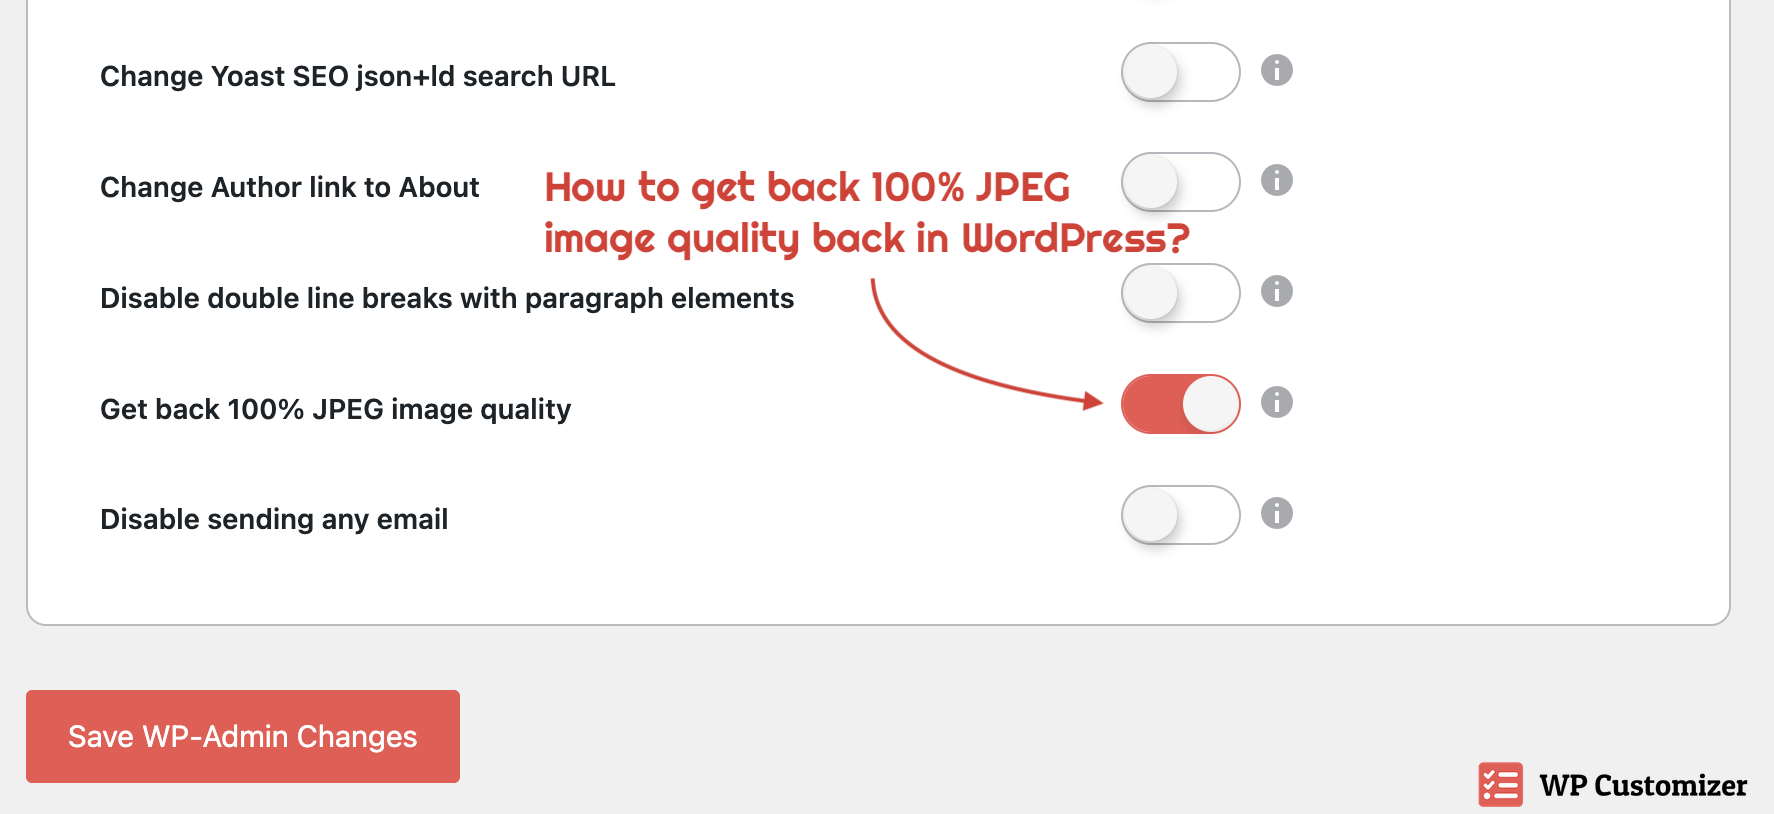
- Download Crunchy Booster WordPress Plugin.
- Enable toggle: Get back 100% JPEG image quality.

And you are all set.
Crunchy Booster is the Simplest WordPress Optimizer & Customizer Plugin!
It provides simplest, light weight, most powerful All-in-One 50+ Optimization, Customization, Webmaster, Database, Configuration, WordPress fine-tuning options in single plugin.
Once you have added this code, WordPress will use a JPEG quality of 100% for all JPEG images that are uploaded to your site.
This will help ensure that your images are displayed with the highest possible quality, although it may also result in larger file sizes and slower website loading times.
Therefore, it’s important to carefully consider the impact of using 100% JPEG quality and to test your website performance after making this change.
