Eclipse IDE has been evolved so much in last few years. Version 4.7 Oxygen is out in June and we have been using since then.
Recently we noticed a strange behaviour which I never observed older version of Eclipse IDE. We have very detailed article on Crunchify about How to setup Subversion in Eclipse for WordPress Plugin Development.
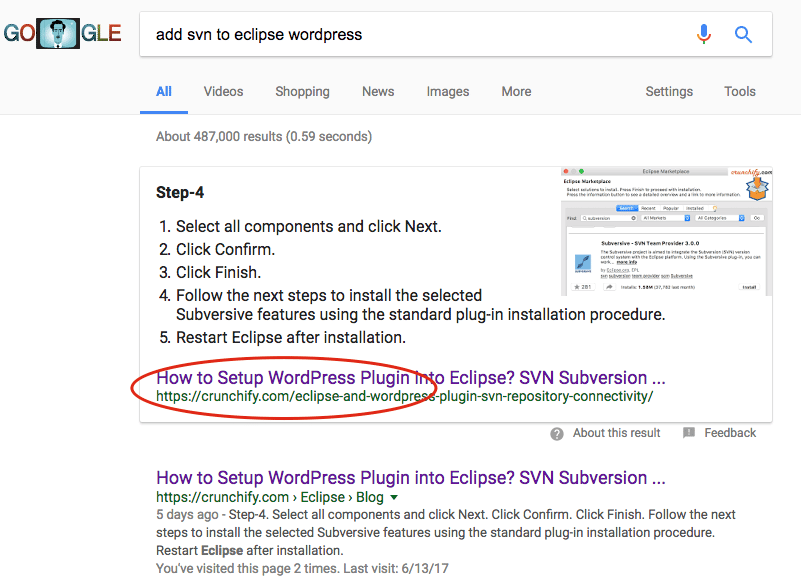
Article has been featured in Google Search Result page for quite a few times as you see below.
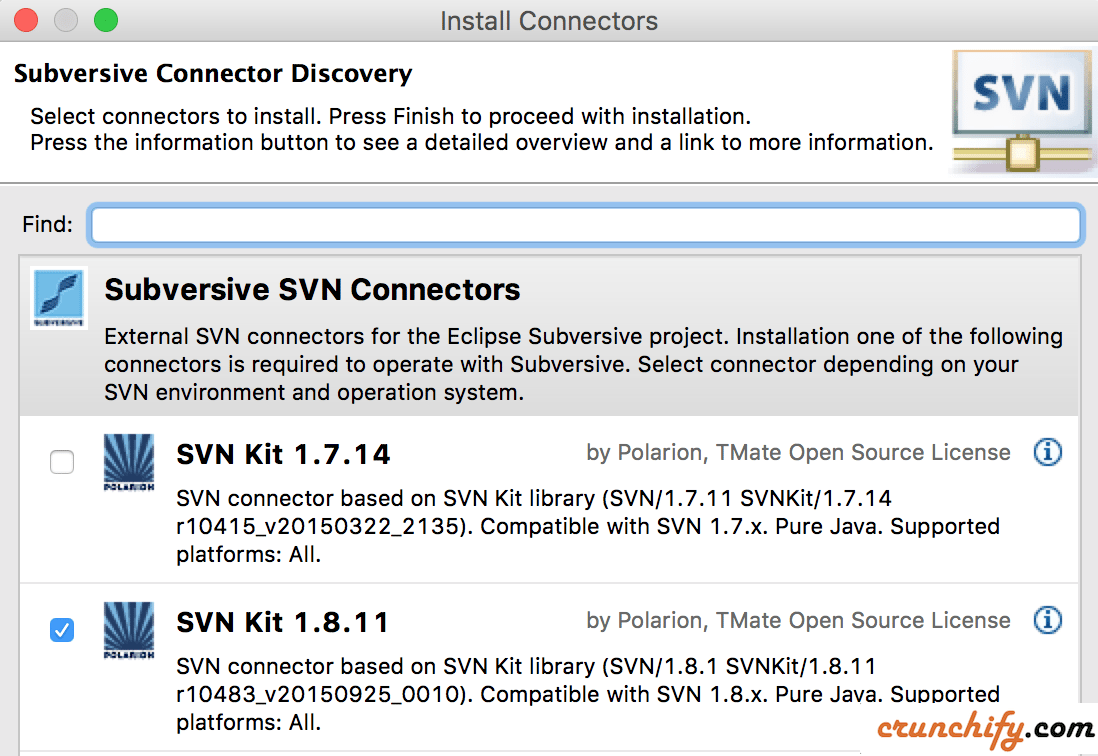
I was reinstalling again Subversion into my new Eclipse IDE and noticed strange behavior on Step-6 in that tutorial. There was no pop-up appeared for me for Subversive SVN Connectors.
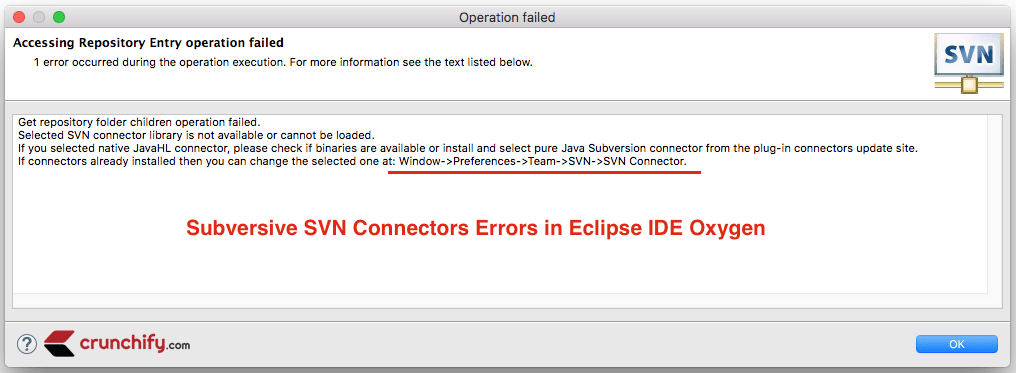
Because of that – I was getting below errors.
How to fix this SVN Connector Error?
Step-1
- Go to Eclipse
- Click on Help
- Click on
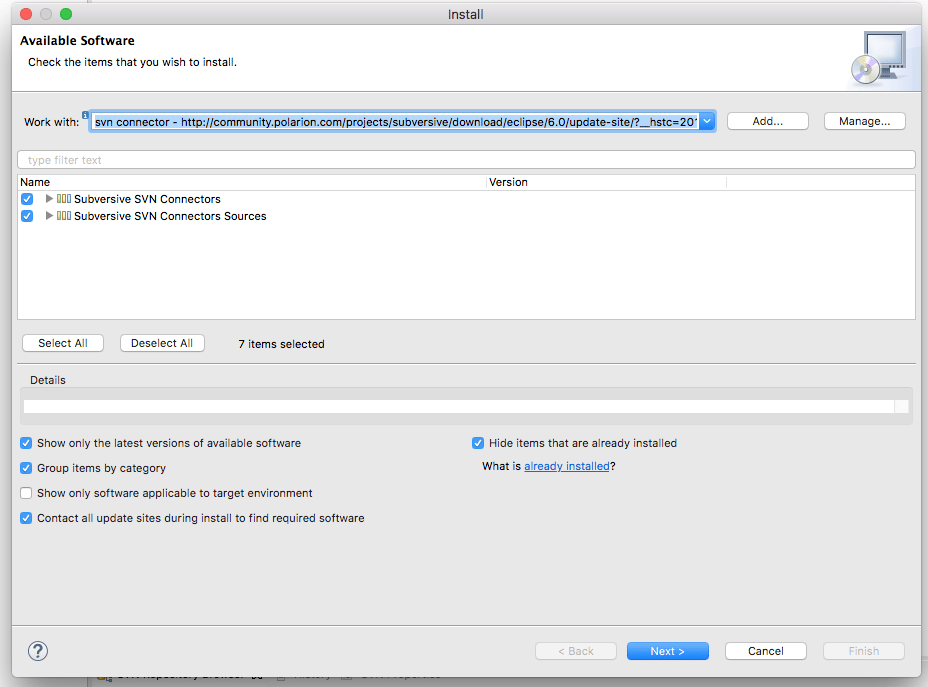
Install New Softwares - Click on Add Button
- Provide Name
SVN Connector - Add URL:
http://community.polarion.com/projects/subversive/download/eclipse/6.0/update-site/ - Click OK button
Step-2
You will see two available packages for Subversive SVN Connectors. Select both and click Next.
Step-3
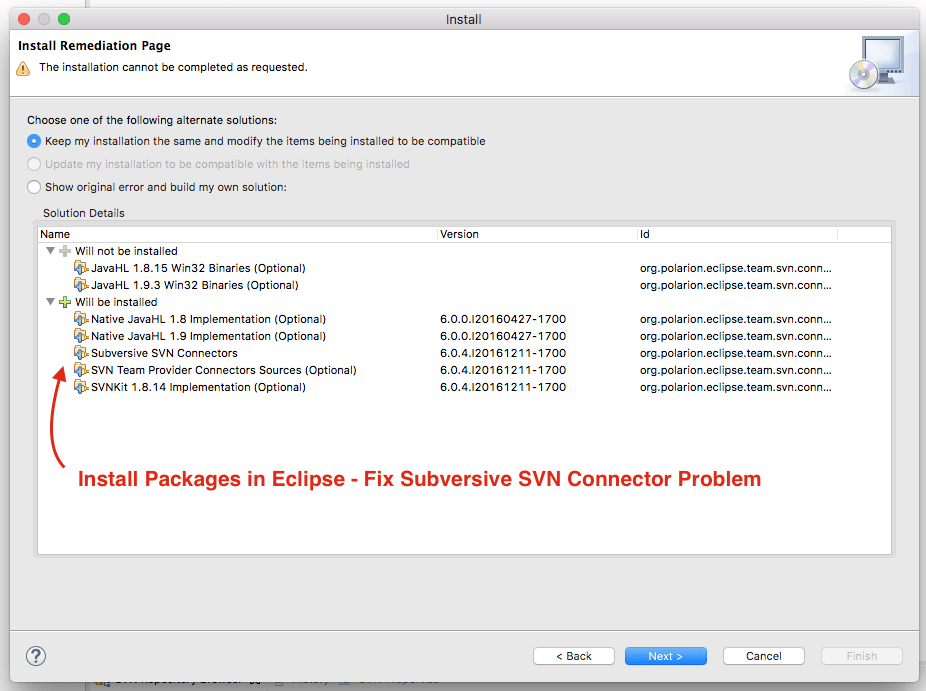
On next screen, you will see all packages which will be installed on your Eclipse IDE.
Click Next and Install packages. Once done – please restart your Eclipse.
How to verify if SVN Connector is installed correctly or not?
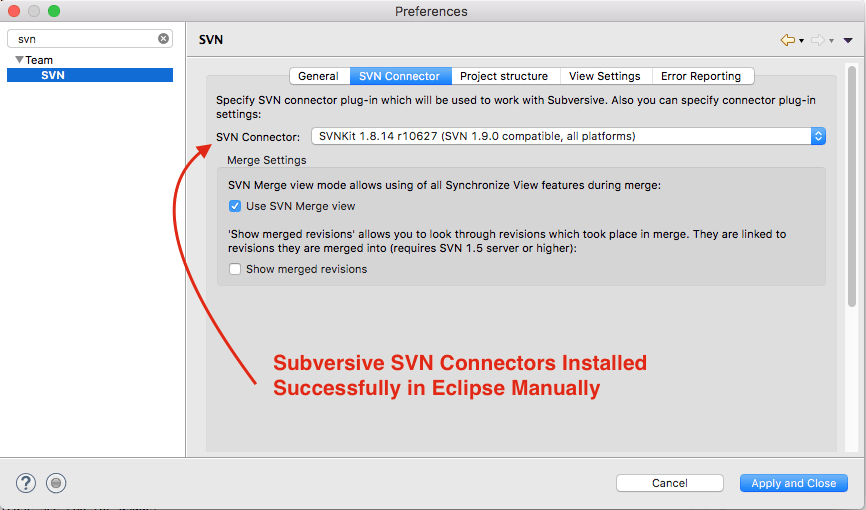
- Go to Eclipse Tab
- Click on Preferences
- Search for SVN
- Click on SVN Connector Tab
- You should see
SVNKitname there instead of Blank space.
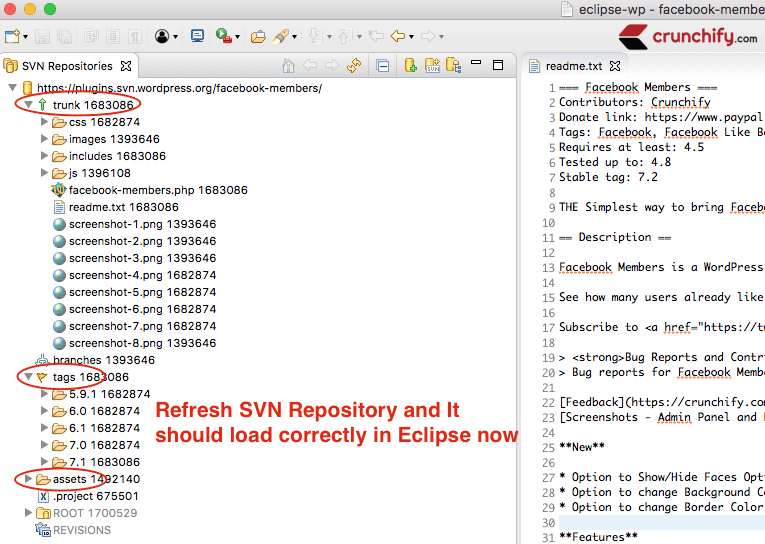
Other way to verify:
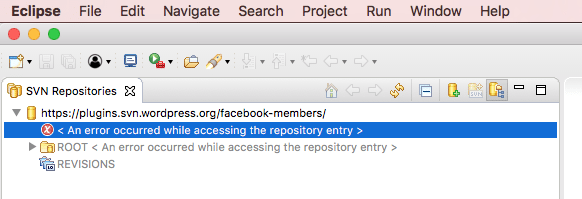
Just refresh your SVN Repository and you should see all folders from SVN like tags, assets, trunk, etc will be loaded successfully.
And you are all set. Now continue following step-6 onwards from other tutorial which we mentioned above. Happy coding and developing WordPress plugins.

