How to enable SSL for your MaxCDN account?
Are you running your WordPress site over HTTPS (SSL)? MaxCDN is one of the best and greatest Content Delivery Provider in the current market. We love using MaxCDN since last 2 years and highly recommend using the same.
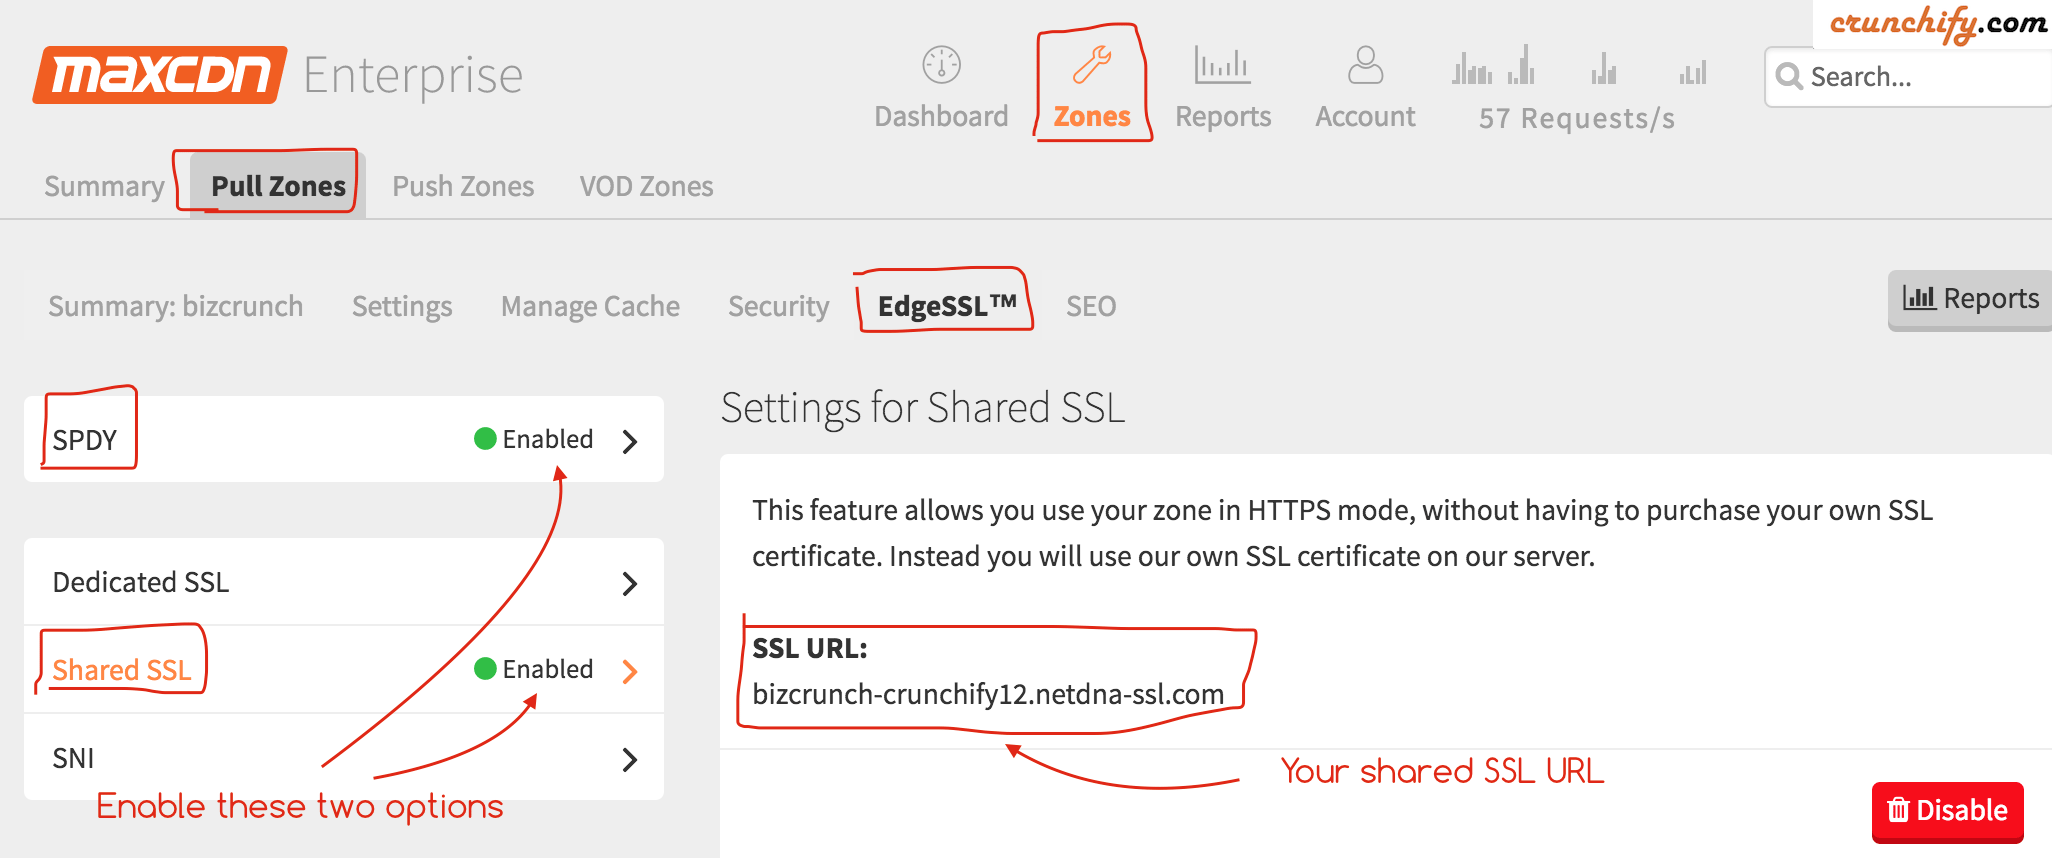
On Crunchify.com we have enabled SSL certificate from day one. As we do have MaxCDN Enterprise Account it comes with EdgeSSL option in Admin Panel as you see in above image.
Let’s follow below steps to configure SSL correctly on your WordPress site
Step-1
- Go to MaxCDN account
- Go to your Pull Zone
- Click on
EdgeSSLtab - Go to SPDY sub-tab
- Click on
Enablebutton - Go to
Shared SSLsub-tab - Click on
Enablebutton - Copy SSL URL
SPDY: It manipulates HTTP traffic, with particular goals of reducing web page load latency and improving web security. Checkout above image.
Step-2
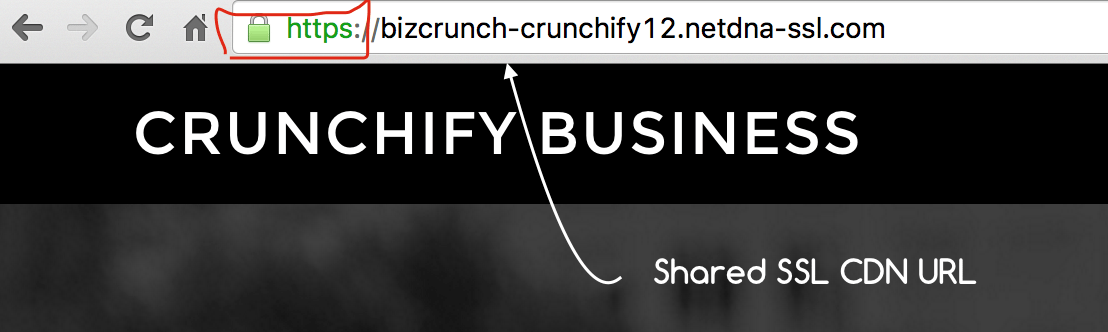
You will be assigned SSL URL once you enable Shared SSL. In my case it’s bizcrunch-crunchify12.netdna-ssl.com. If you paste that URL to browser then it will point to your own blog.
Step-3
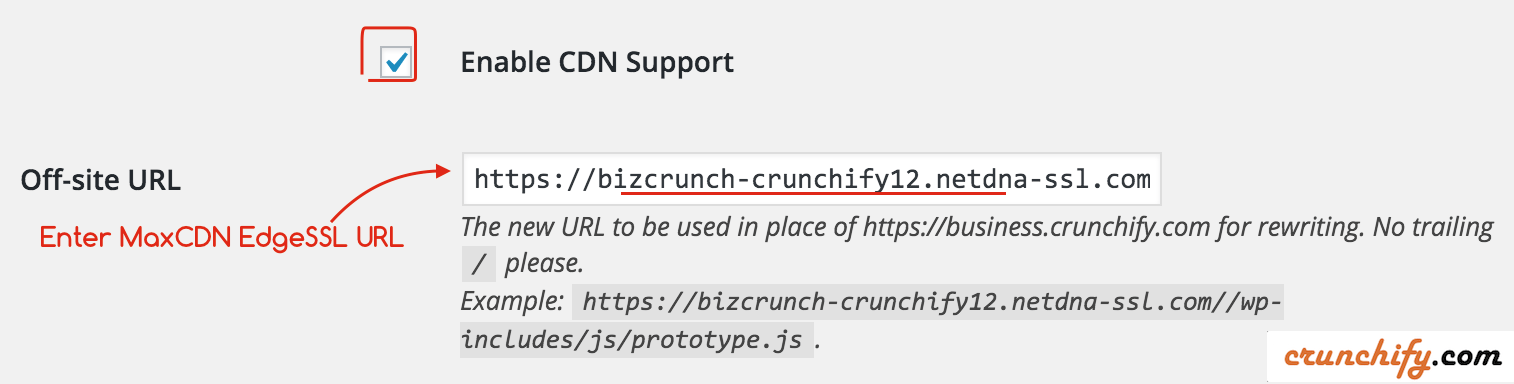
- We are using WP Super Cache WordPress Plugin.
- Go to Settings -> WP Super Cache -> CDN tab
- Enter Off-site URL:
https://bizcrunch-crunchify12.netdna-ssl.com - Click
Save Changes - Clean your cache
And you are all set.
How to verify if CDN setup successfully on your WordPress site?
- Try loading your site
- Right click on page and Click Inspect Element
- You should see all your contents loaded from CDN
