Today we enabled HTTPS site-wide on Crunchify Premium site. It was something I wanted to do since last 6 months and finally made my mind to move to HTTPS. This is THE handy Checklist and Complete Guide Moving over to HTTPS (How to Migrate from HTTP to HTTPS).
Check it out our premium site: https://crunchify.com/wordpress-consulting/
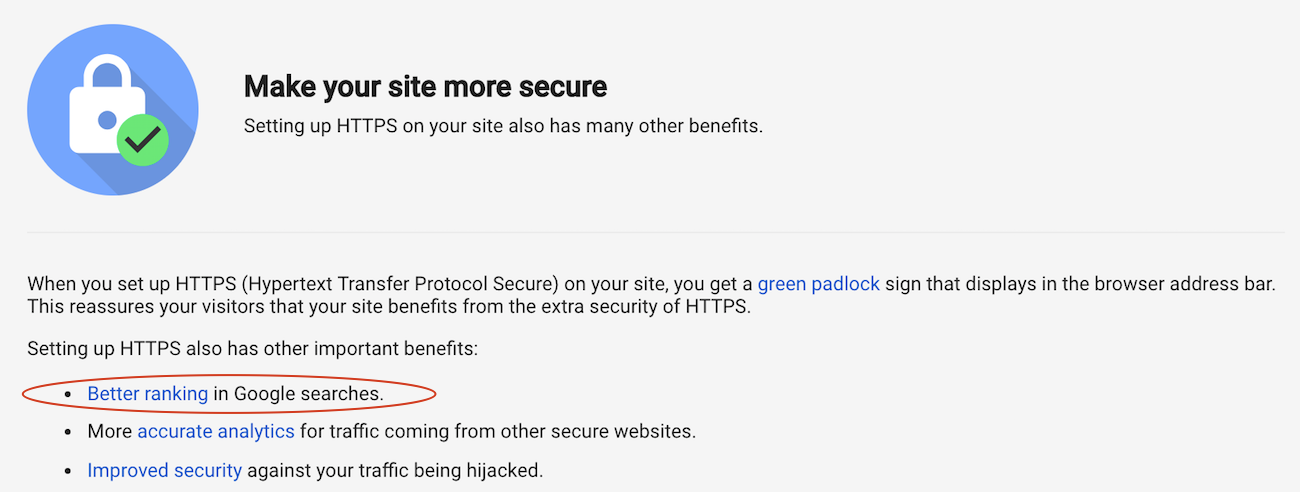
You must have seen and heard a lot about moving site over to HTTPS secure connection. Here are the key benefits:
- As per Google Webmaster blog, it has
SEO advantage. Google SERP (Search Engine Result Page) will honor HTTPS as a ranking signal and for any blogging business, it’s a big deal. Trust– More secure website experience avoidingman-in-middleattack.- If you have
Shop,Cart and Checkoutpages then it helps encrypts all communication, including site addresses, which guards credit/debit card numbers, social security number (SSN), browsing history, etc. - Better company/site reputation and
identity verification.
In addition to that even Google sends reminder moving over to HTTPS 🙂
Let’s get started: Total 4 parts:
- Prepare for HTTPS
- List of tasks to move over to HTTPS
- Fix mixed content warning if any
- After migration verification steps
Part-1. Let’s get ready & prepare things before moving to HTTPS
Step-1.1
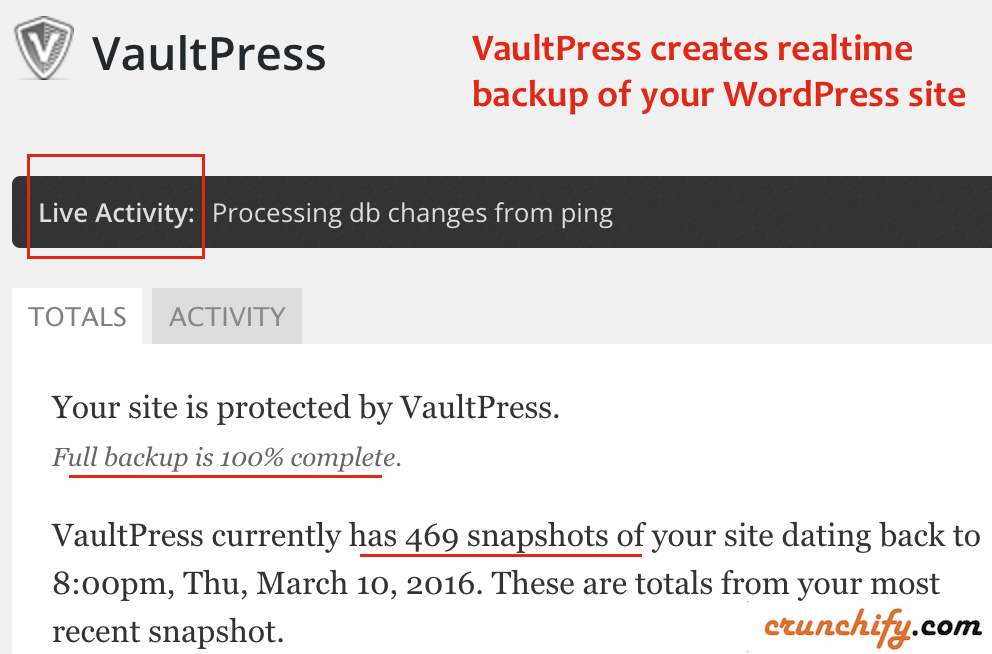
Backup your Database. I use VaultPress realtime backup solution but still perform a simple DB backup.
Step-1.2
Buy SSL Certificate. It’s just $9 at Namecheap. If you are using CDN then buy SSL cert for your CDN domain too. In my case I purchased Two SSL certificates.
For us it’s https://crunchify.com and https://cdn.crunchify.com.
There are few options for you. You could buy wild card multiple subdomain certificate or you could purchase two single domain certificates which I got.

Step-1.3
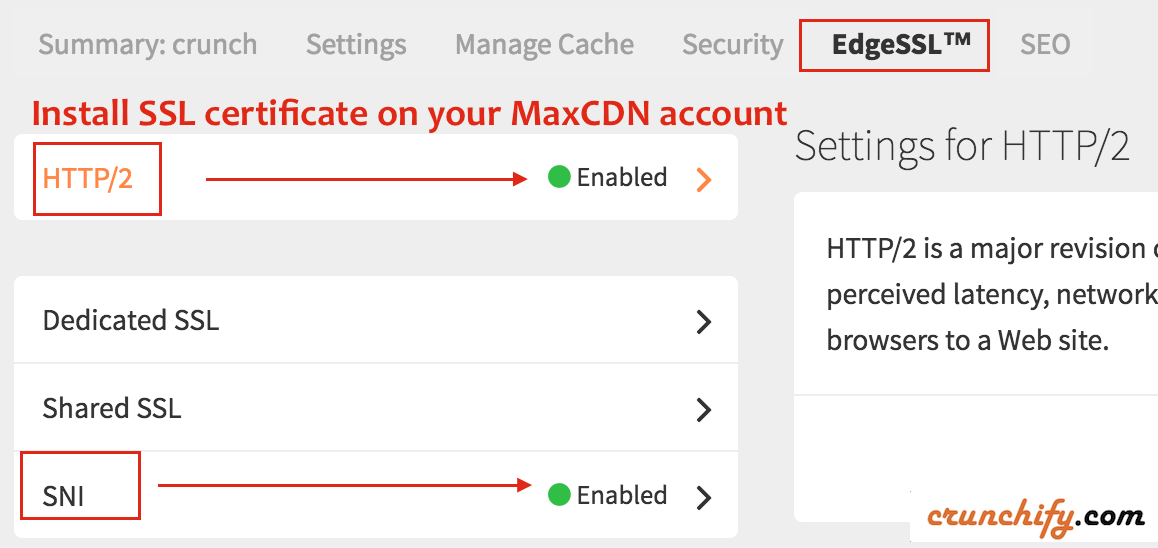
Install SSL Certificates:
- On your
Origin Domain: Follow detailed steps on How to Install SSL Certificate on cPanel. - On
CDN: I use MaxCDN as my CDN provider. Go toEdgeSSLand install your certificate. - I’ve enabled
HTTP/2too.
Step-1.4
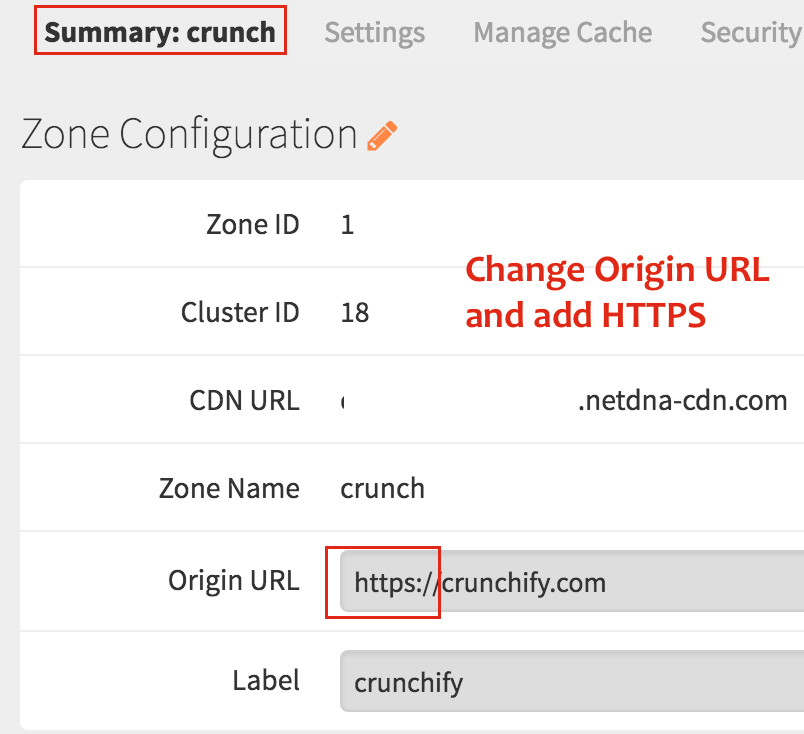
Change Origin URL to https:// under your Zone Configuration tab.
Step-1.5
Make sure https://crunchify.com and https://cdn.crunchify.com is working correctly. Do you have any of below questions? Then you are at right place:
- Migrating your WordPress website from HTTP to HTTPS
- In-Depth HTTP to HTTPS Migration Guide for WordPress
- How to Add SSL and HTTPS in WordPress
Part-2. Let’s perform migration. Follow each steps.
Step-2.1
- Go to your site’s admin panel
- Click on
Settings - Click on
General - Change WordPress Address (URL)
- Change Site Address (URL)

Step-2.2
- Download plugin Better Search Replace
- Go to Tools -> Better Search Replace page
Searchfor string:http://crunchify.comandreplaceit withhttps://crunchify.com- This will replace all your site’s
http://reference withhttps://🙂
- This will replace all your site’s
Step-2.3
Change to HTTPS URL on WP Super Cache -> CDN tab.

Part-3. Fix Mixed content warning issue if any.
Step-3.1
Fix Mixed Content Warnings. What does that means? If your site is loading non-https contents then you may not see green Padlock on your site.
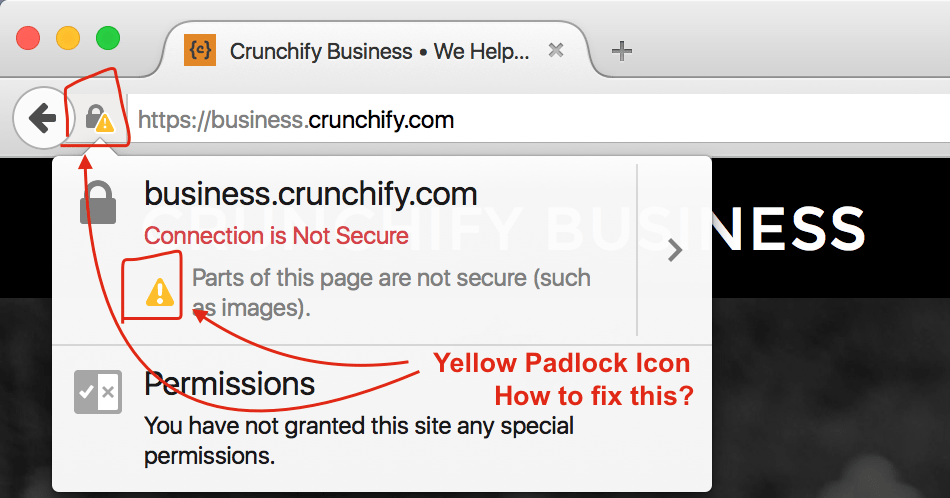
- I would suggest to keep looking for http URL which is loading on your site and move it to https.
- Try following article on How to fix yellow pad lock issue?

Part-4. After HTTPS migration verification steps
Step-4.1
Go to Why No Padlock site and verify if everything is fine.
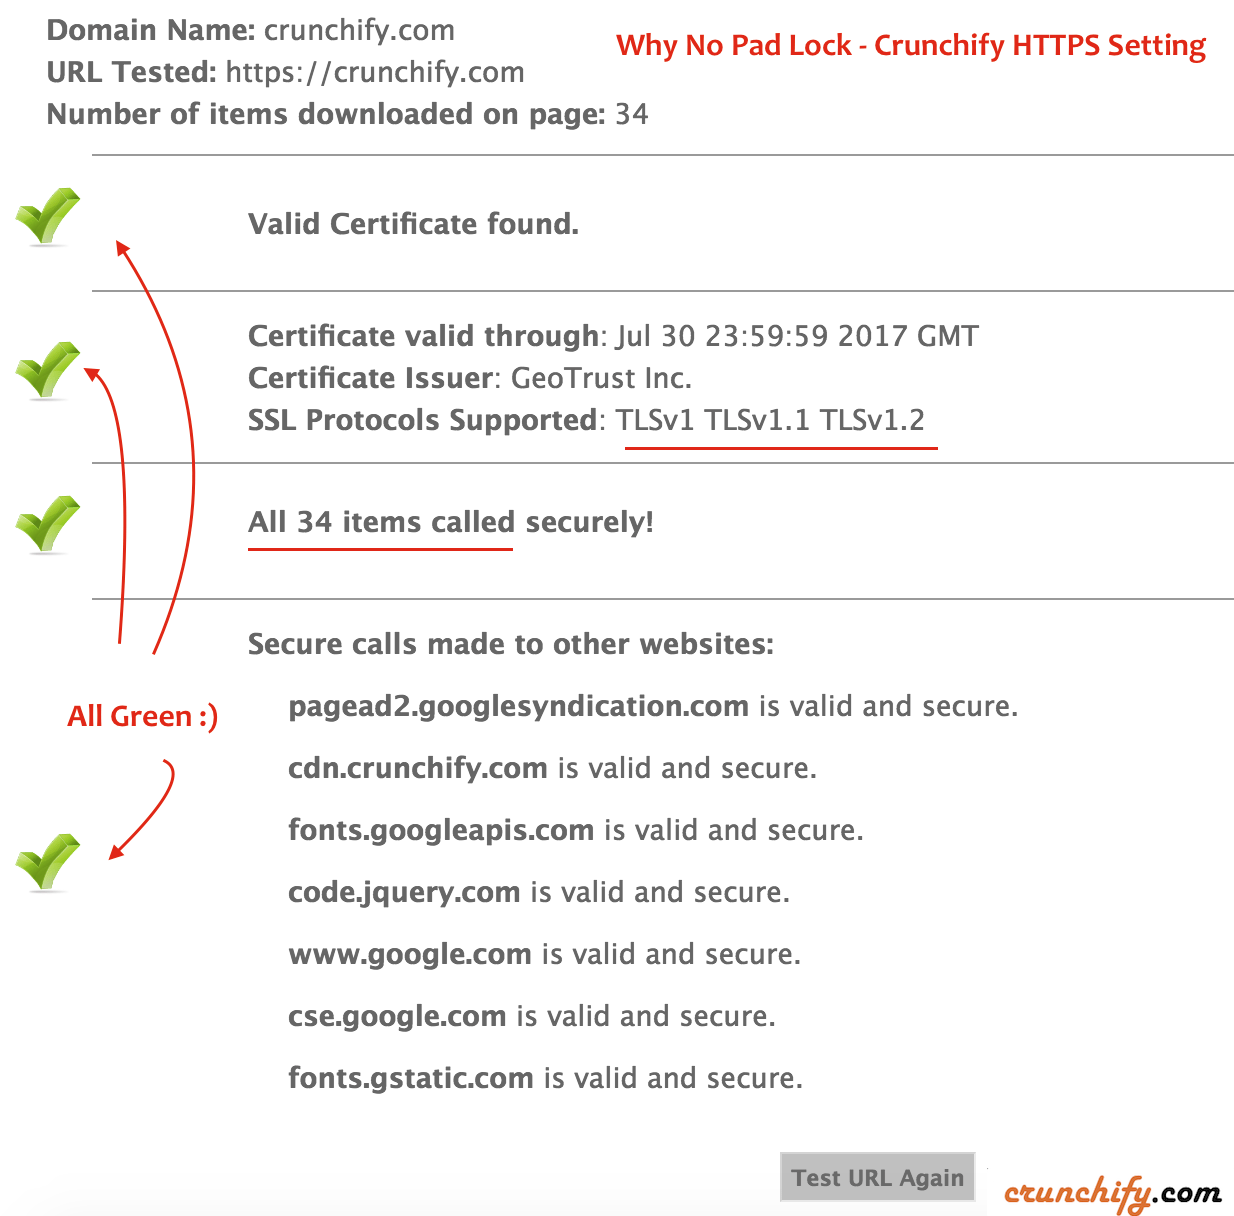
Step-4.2
It’s time to force everything over to HTTPS. Add below code to your site’s .htaccess file.
# Force HTTPS everywhere - Crunchify Tips
RewriteEngine On
RewriteCond %{HTTPS} off
RewriteRule (.*) https://%{HTTP_HOST}%{REQUEST_URI} [R=301,L]
This code will redirect all non-secure http incoming urls to secure https.
Step-4.3
If you have followed this tutorial to Fix CDN and Image index issue then change URL in functions.php file too.

Step-4.4
Once you are done with all above steps and you verify your site’s most important pages, try changing your site URLs to all of your Social Profile, Webmaster tools, etc.
What else?
Here is a complete list of sites you need to visit and update site URL with https in it 🙂
No need to submit a
change of addressin Google Search Console if you are only moving your site from HTTP to HTTPS.
- Facebook Page Profile
- Twitter, Pinterest, Flipboard Profile URL
- WordPress.org and WordPress.com site Profile
- Google Webmaster Tool / Search Console
- Add new site: https://crunchify.com
- Verify new site
- Add your sitemap
- Update robots.txt file and change sitemap URL. Sample:
https://crunchify.com/robots.txt - Change Google Analytics URL
- Submit new Sitemap to Bing Webmaster tool and Yandex
- And more if you have more accounts
Is there any immediate implications?
- We may see
drop in search. This fluctuations can happen with any bigger site change and moving to https from http is a big change. How longwill a move from HTTP to HTTPS take? It may take up-to few weeks or more in some cases.- Do I have to remove http version of site from Google Search Console?
- I don’t think so. I’ll keep HTTP URL and sitemap in Google Search Console.
Question from our readers:
Should I remove HTTP sites from Google Search Console?


- I moved over to HTTPS
- Added HTTPS to search console
- Modified sitemap file
- It took 3 weeks to completely reindex https side
- Above diagram is for HTTP site… and I saw spike also at the same time HTTPS.
Now all is good.

