Do you have any of below questions?
- Flushing your DNS cache in Mac OS X and Linux
- How To Clear DNS Cache in your PC, Mac and Flush Google Public DNS Cache
- How To Flush DNS Cache (Windows, macOS, & Linux)
- How to clear the local DNS cache in Mac OS?
- How do I flush my DNS cache?
- How to Flush your DNS cache on Mac
- Flush DNS cache locally in macOS, OSX, Linux and Windows
I’m sure if you are in Blogging business then you must have changed hosting provider at least couple of times. Ideally moving site from one hosting provider to another provider might be simple.
But issue is – if you have very large site and multiple contributor then after moving to new hosting provider, before you publish any new post make sure you are serving from new IP address.
It takes some time between 24 to 72 hours to propagate all DNS changes. Your site will be served from both hosting provider for some days.
What if you want to clear your DNS cache on your laptop to see latest changes? Well, with few simple commands you would be able to clear DNS cache.
This is the best way to clear the DNS cache on your computer and steps to flush your DNS cache in Mac OS X and Linux.
How Do I Flush Mac DNS Cache?
Step-1
If you have on Mac OS X then just open Terminal window and enter below command to clear DNS flush.
sudo killall -HUP mDNSResponder
Step-2
If you are on Windows 10 then open Command window and enter below command.
C:\Users\Crunchify > ipconfig /flushdns
Above command will Clear, Reset, Flush Windows DNS Cache and Reset in Vista, Windows 7, and Windows 8, Windows 10.
Step-3
If you are on Linux environment then open Shell terminal and enter below command.
sudo /etc/init.d/dns-clean start
Step-4
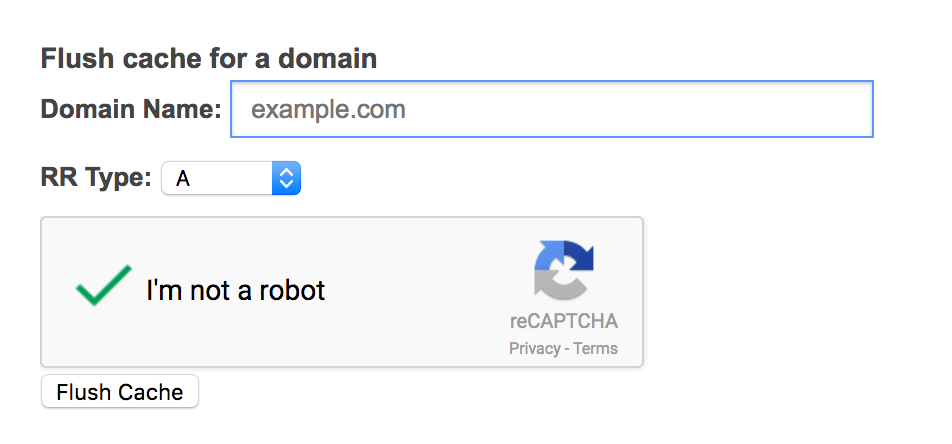
Flush Google Public DNS Cache.
Just follow https://developers.google.com/speed/public-dns/cache URL and enter your site name and flush A or CNAME records.
That’s it. You should have updated DNS entries locally. Try loading your site and your site should be loading from your new IP address.


