On my personal Macbook Pro I changed the JDK location and installed version 1.7.0_79. Initial version I was using was JDK 1.8.
After changing JDK version when next time I opened my Eclipse Workspace I noticed so many environment errors because Eclipse was not able to find version 1.8 as it wasn’t my default JDK version for Eclipse.
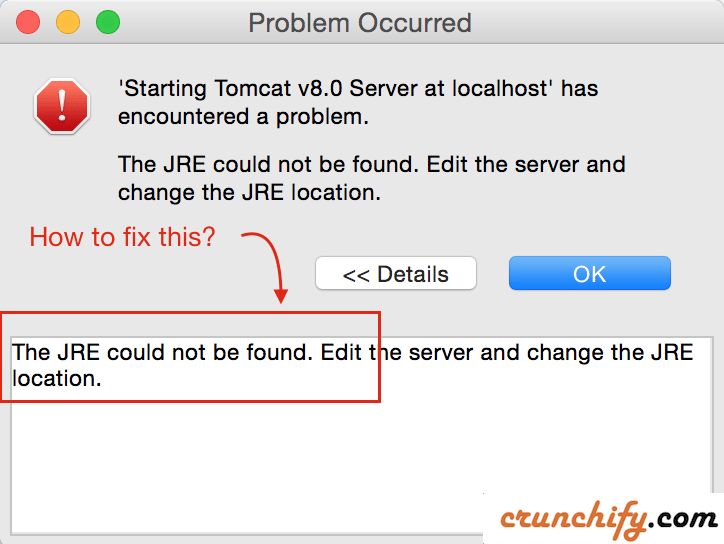
In addition to that Apache Tomcat was giving me an error The JRE could not be found. Edit the server and change the JRE location as mentioned in above diagram.
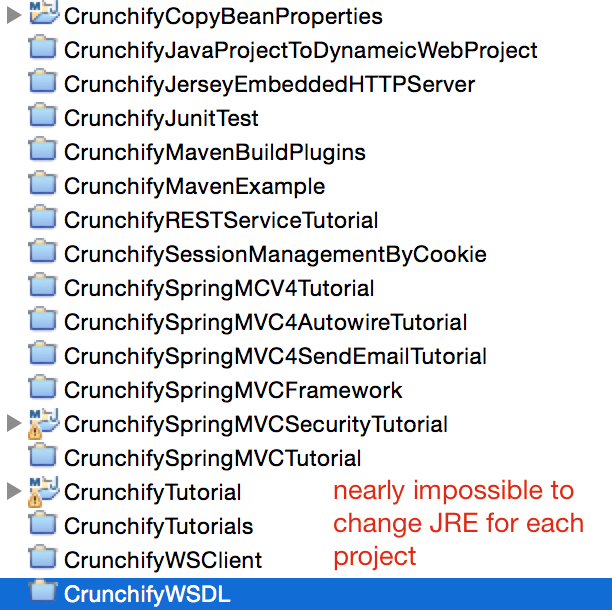
Well, there is a simple solution: just change JRE for each project and Tomcat. But what if you have so many projects in Eclipse workspace?
You need to change JRE for each project separately. It’s kind of inconvenient to change setting for each project.
Pro Tips:
It’s always good idea to use Eclipse Default JRE for all of your projects. So, if you change your JRE version in the future then you have to just update your default JRE only once and all your projects will get updated.
Now let’s take a look at steps to change default JRE:
- Go to
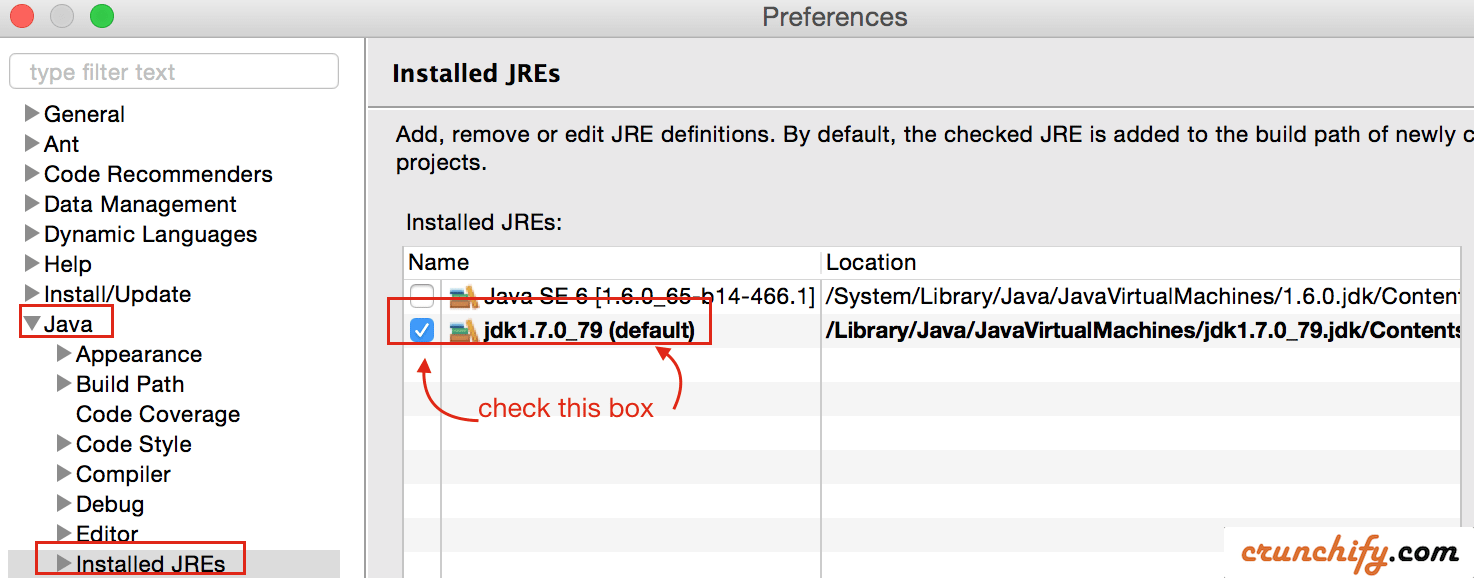
Eclipse->Preference(for Mac) - Go to Java -> Installed JREs
- Add new JRE and click
checkboxto make that JRE default - Once done. Click on
Project -> Clean(Make sure you follow Pro Tips mentioned above) - All your projects error should go away
How to fix an error for Apache Tomcat?
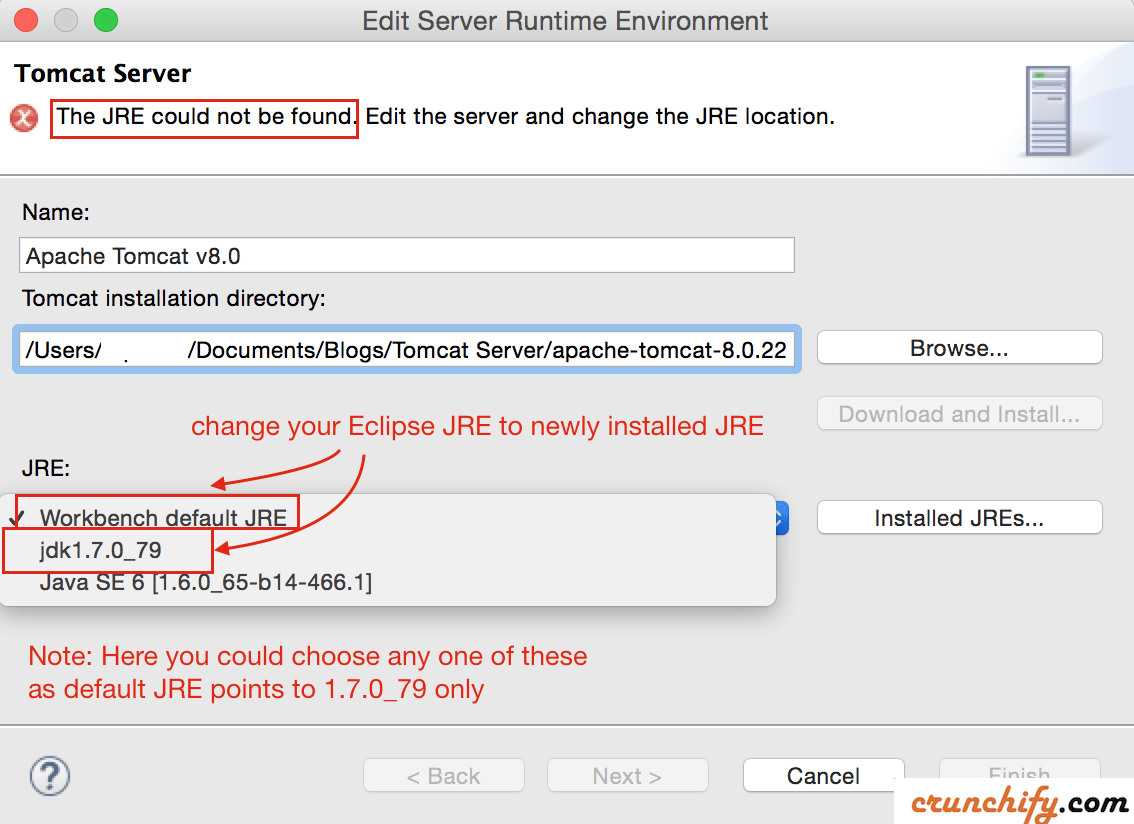
Step-1
- Go to
Eclipse->Preference - Search for
runtime - Click on
Runtime Environments - Select Apache
Tomcat 8-> clickEdit
Step-2
- Change JRE to Workbench default JRE or jdk1.7.0_79
- Click on Finish and your error should go away by now
Let me know if you face any issue.


