Installing Apache Tomcat Server should be very easy in Eclipse Environment.
Here are the simple steps:
- If you do not have Apache Tomcat on your machine, you will first need to download and unzip Apache Tomcat.
- Start the Eclipse workbench.
- Open Window -> Preferences -> Server -> Installed Runtimes to create a Tomcat installed runtime.
- Click on Add… to open the New Server Runtime dialog, then select your runtime under Apache (Apache Tomcat v7.0 in this example).
- Click Next , and fill in your Tomcat installation directory :
- Ensure the selected JRE is a full JDK and is of a version that will satisfy Apache Tomcat. If necessary, you can click on Installed JREs… to add JDKs to Eclipse.
- Click Finish .
Other must read:
Last week I faced some issue with this. I was trying to add Tomcat 9 in my Eclipse on Mac OS X.
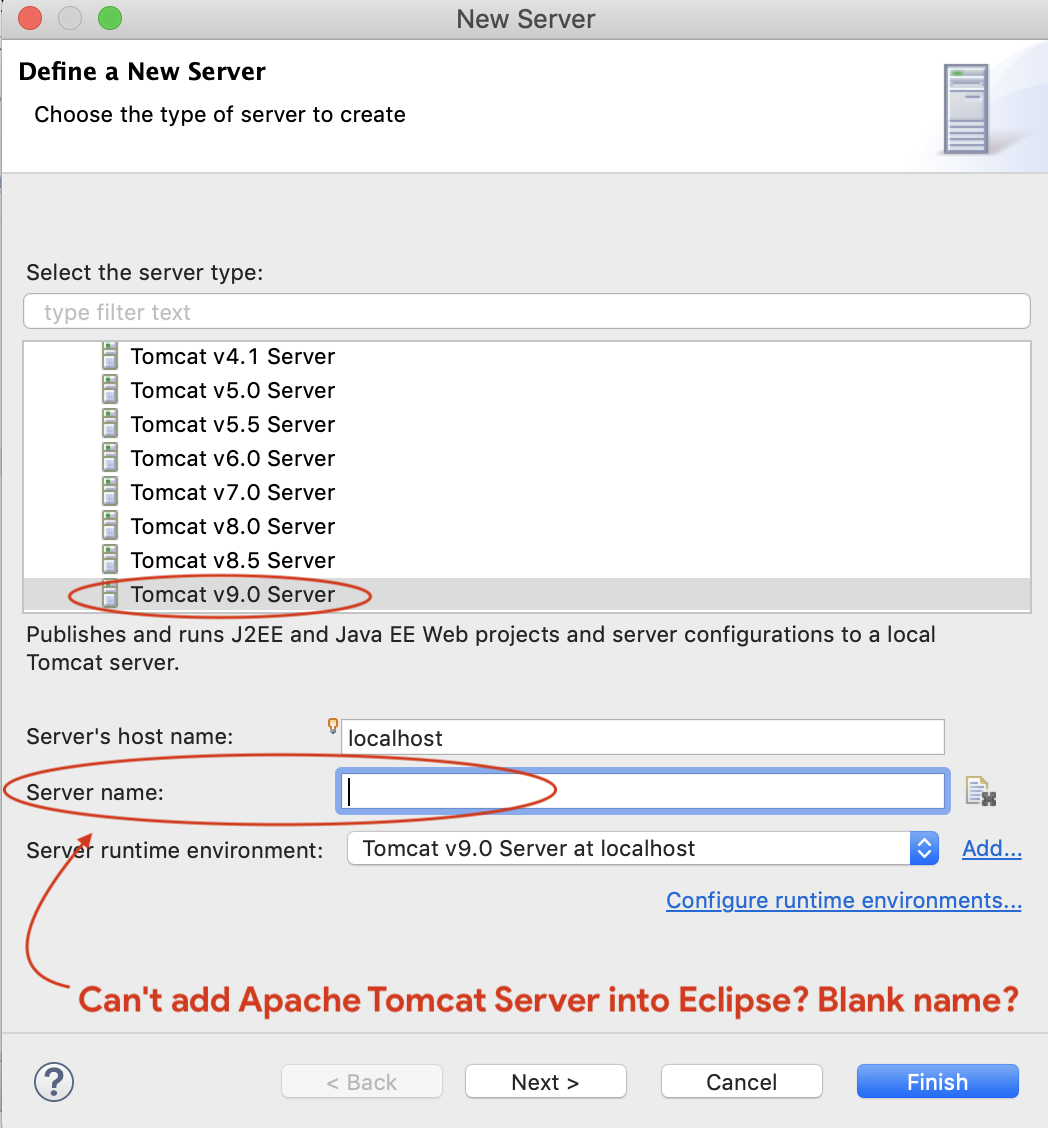
When I click Add new server in Eclipse and select Tomcat v9.0 Server, the field Server Name was blank and I cannot type in anything in that Textbox as shown below:
What I did before is I deleted a Tomcat 9 server from Eclipse and I was trying to reinstall Tomcat 9.
But it doesn’t allow me to type anything in that textbox and I cannot proceed to the “Next” button. After some time I found a bug in Eclipse.
Here is the workaround that worked for me:
- Close Eclipse
- In
{workspace-directory}/.metadata/.plugins/org.eclipse.core.runtime/.settings.Delete the following two files:org.eclipse.wst.server.core.prefsorg.eclipse.jst.server.tomcat.core.prefs
- Restart Eclipse


