Genesis Framework for WordPress is pretty amazing with all latest features. With responsive HTML5, SEO Optimization, Different widgets and layout options it’s one of the widely used Framework for WordPress.
On Crunchify I’m using Genesis Framework and Authority Pro Child theme. In the tutorial we will go over steps on how to setup Genesis eNews Extended widget correct way on your blog.
Step-1
Download and install Genesis eNews Extended WordPress Plugin.
Step-2
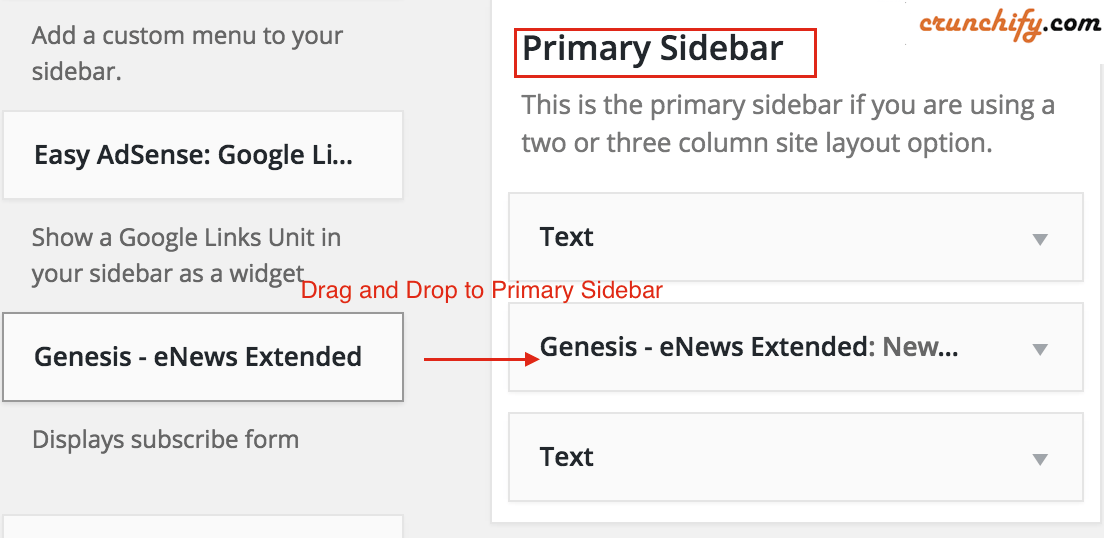
- Go to
Appearance->Widget area - Drag and drop a widget to Primary Sidebar

Step-3
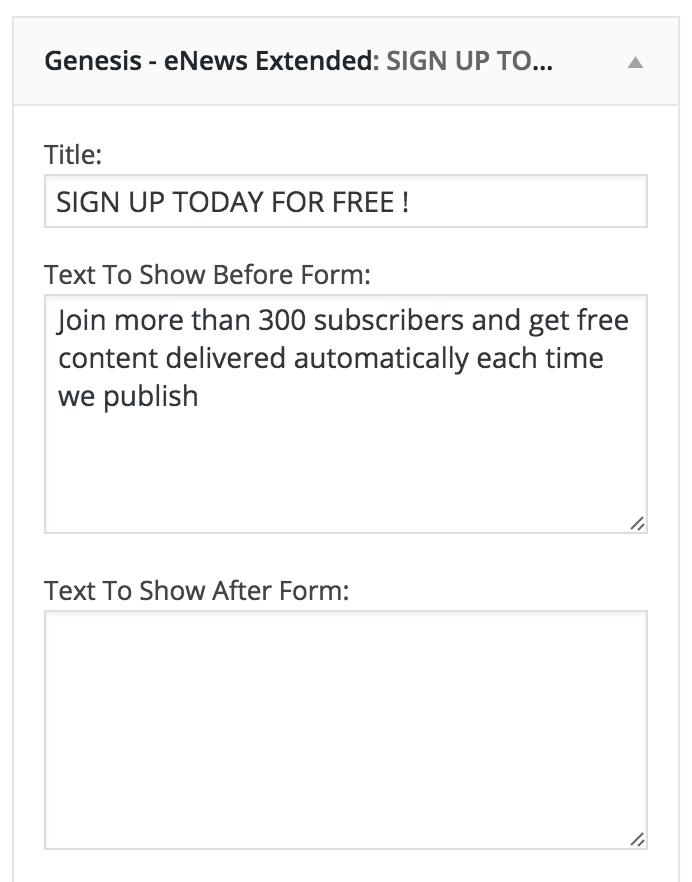
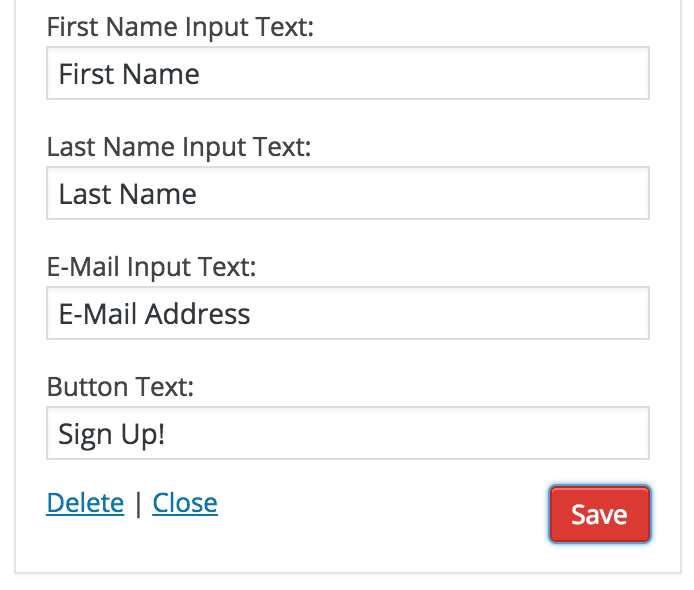
Provide all details as per your requirement. Go to Appearance -> Widgets area.


Step-4
Modify CSS as per your need.
For me I’ve modified below CSS properties. Put below changes to your child theme’s style.css file.
.enews {
  color: #fff;
  background: #222;
  padding: 2px 40px 24px;
  margin-bottom: 40px;
}

.enews #subbox {
  border: 1px solid #ddd;
  font-size: 13px;
  padding: 15px;
  width: 100%;
}

.enews-widget input[type="submit"] {
  cursor: pointer;
  padding: 11px 3px 13px 3px;
  width: 100%;
  -moz-background-clip: padding;
  -webkit-background-clip: padding-box;
  box-shadow: inset 0 -3px 0 rgba(0,0,0,.2);
  -moz-box-shadow: inset 0 -3px 0 rgba(0,0,0,.2);
  -webkit-box-shadow: inset 0 -3px 0 rgba(0,0,0,.2);
}
Step-5
Clean up your site’s cache files and refresh your site. You should be able to see Widget like below.

Let me know if you face any issue configuring Genesis eNews Extended widget.
