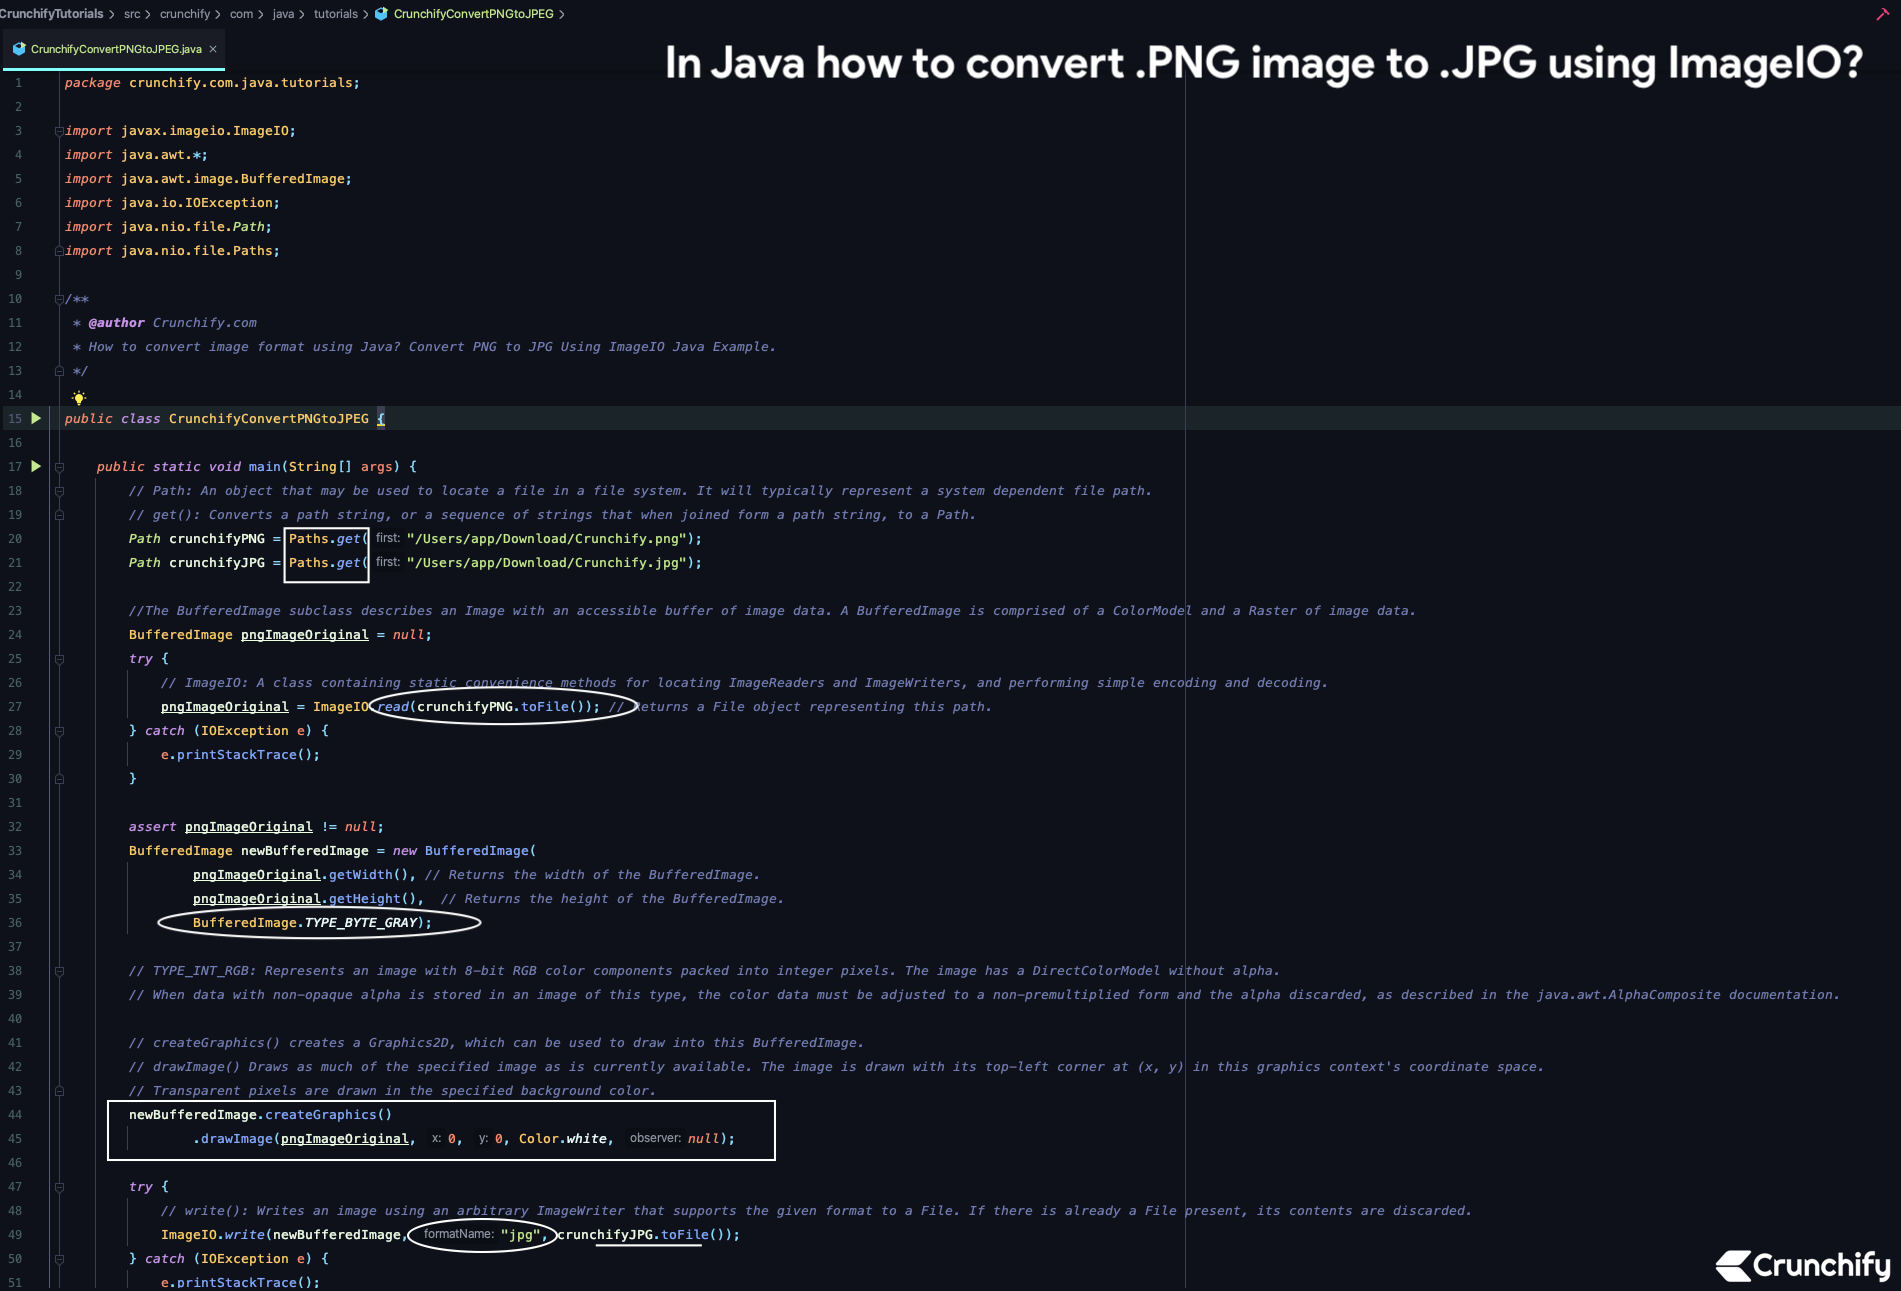
In this tutorial we will go over steps on how to convert PNG image to JPG image?
The BufferedImage subclass describes an Image with an accessible buffer of image data. A BufferedImage is comprised of a ColorModel and a Raster of image data.
ImageIO: A class containing static convenience methods for locating ImageReaders and ImageWriters, and performing simple encoding and decoding.
If you have any of below questions then you are at right place.
- Reading/Loading an Image
- Writing/Saving an Image
- Saving a BufferedImage as a PNG, JPEG etc
- Java Examples – Convert images to JPEG, PNG, BMP, WBMP
- Convert png image to jpg format image with java
Let’s get started:
- Create file: CrunchifyConvertPNGtoJPEG.java.
- Put below Java code into file and save it.
Here is our original image under path
/Users/app/Download/.
package crunchify.com.java.tutorials;

import javax.imageio.ImageIO;
import java.awt.*;
import java.awt.image.BufferedImage;
import java.io.IOException;
import java.nio.file.Path;
import java.nio.file.Paths;

/**
 * @author Crunchify.com
 * How to convert image format using Java? Convert PNG to JPG Using ImageIO Java Example.
 */

public class CrunchifyConvertPNGtoJPEG {

	public static void main(String[] args) {
		// Path: An object that may be used to locate a file in a file system. It will typically represent a system dependent file path.
		// get(): Converts a path string, or a sequence of strings that when joined form a path string, to a Path.
		Path crunchifyPNG = Paths.get("/Users/app/Download/Crunchify.png");
		Path crunchifyJPG = Paths.get("/Users/app/Download/Crunchify.jpg");

		//The BufferedImage subclass describes an Image with an accessible buffer of image data. A BufferedImage is comprised of a ColorModel and a Raster of image data.
		BufferedImage pngImageOriginal = null;
		try {
			// ImageIO: A class containing static convenience methods for locating ImageReaders and ImageWriters, and performing simple encoding and decoding.
			pngImageOriginal = ImageIO.read(crunchifyPNG.toFile()); // Returns a File object representing this path.
		} catch (IOException e) {
			e.printStackTrace();
		}

		assert pngImageOriginal != null;
		BufferedImage newBufferedImage = new BufferedImage(
				pngImageOriginal.getWidth(), // Returns the width of the BufferedImage.
				pngImageOriginal.getHeight(),  // Returns the height of the BufferedImage.
				BufferedImage.TYPE_INT_BGR);

		// BufferedImage.OPAQUE);
		// BufferedImage.TYPE_INT_ARGB);
		// BufferedImage.TYPE_BYTE_GRAY);
		// BufferedImage.TYPE_3BYTE_BGR);
		// BufferedImage.TYPE_INT_BGR);

		// OPAQUE: Represents image data that is guaranteed to be completely opaque, meaning that all pixels have an alpha value of 1.0.

		// TYPE_INT_RGB: Represents an image with 8-bit RGB color components packed into integer pixels. The image has a DirectColorModel without alpha.
		// When data with non-opaque alpha is stored in an image of this type, the color data must be adjusted to a non-premultiplied form and the alpha discarded, as described in the java.awt.AlphaComposite documentation.

		// createGraphics() creates a Graphics2D, which can be used to draw into this BufferedImage.
		// drawImage() Draws as much of the specified image as is currently available. The image is drawn with its top-left corner at (x, y) in this graphics context's coordinate space.
		// Transparent pixels are drawn in the specified background color.
		newBufferedImage.createGraphics()
				.drawImage(pngImageOriginal, 0, 0, Color.white, null);

		try {
			// write(): Writes an image using an arbitrary ImageWriter that supports the given format to a File. If there is already a File present, its contents are discarded.
			ImageIO.write(newBufferedImage, "jpg", crunchifyJPG.toFile());
		} catch (IOException e) {
			e.printStackTrace();
		}

		System.out.println("New image created successfully... at location" + crunchifyJPG);
	}

}
Make sure to change file path location and image in above program. Just run it as Java Application and you will see new file being generated at specified location.
Here is a result:
drawImage() Draws as much of the specified image as is currently available. The image is drawn with its top-left corner at (x, y) in this graphics context’s coordinate space. Transparent pixels are drawn in the specified background color.
createGraphics() creates a Graphics2D, which can be used to draw into this BufferedImage.
Let me know if you face any issue running this program.


