WordPress Hosting and keeping it up and running is not an easy task.
On Crunchify, we have published an article on how to host your site on Amazon AWS EC2 cloud. Well, you could do that but managing server resources, keeping it safe, applying patches, monitoring suspicious activities is not a simple task.
You need like 24×7 monitoring, custom shell scripts and process up time monitoring and lot more.
Well, that’s where WordPress managed Hosting comes into picture.
Over last few weeks, we got chance to play with LiquidWeb hosting and want to share my feedback with you all. To be honest, this is a first time I worked on their infrastructure.
Let’s get started:
Step-1
Visit LiquidWeb to choose your WordPress hosting plan.
For $29/month, you will be able to select Single site hosting plan which includes.
- 20 GB SSD Storage
- 5TB Bandwidth
- Staging Environment
- 30-Day Backups
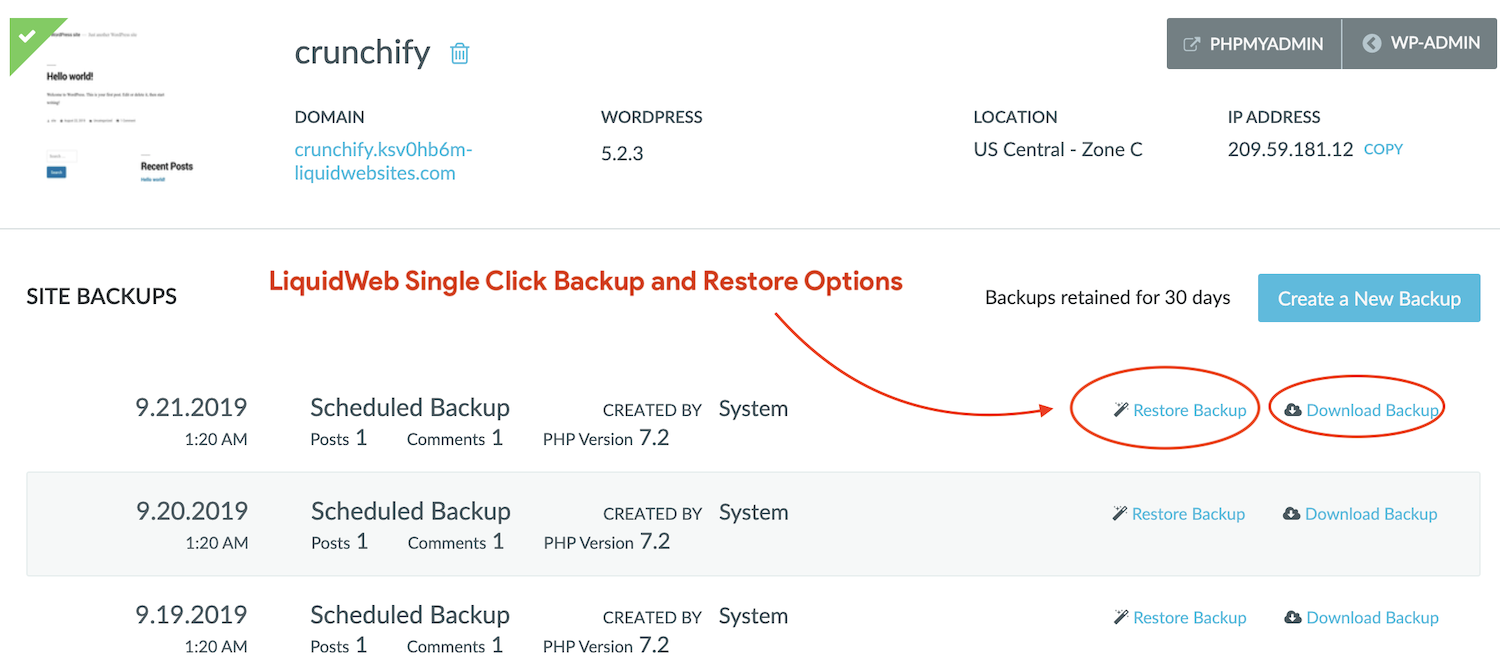
As you see that covers 30-Day backups, you don’t need to use any other WordPress Backup Solutions. Single click backup and restore simple works.
Step-2
LiquidWeb also owns some of other sites which comes handy for you.
One is WPMerge.io. Once you register for LiquidWeb, you will get a separate email explaining complimentary account access to WPMerge.
WPMerge is an automated database merging plugin that merges changes on the dev site to the live site without over-writing the changes made to the live site since cloning. Solution is smart and intelligent.
Second one is iThemes.com. iThemes.com is owned by LiquidWeb and all themes comes to you as a free package.
iThemes provide Web hosting toolkit which provides you all of below resources:
- 20+ Powerful WordPress Plugins
- 200 Customizable WordPress Themes
- 900 Hours of Pro WordPress Training
- 10+ iThemes Sync Pro Sites

Step-3
Let’s get back to LiquidWeb setup.
Register your domain. Visit https://manage.liquidweb.com/manage/create/create.html?product=DREG and register your favorite domain.
If you already have a domain then next step is to point your domain to LiquidWeb NameServers.
- ns.liquidweb.com
- ns1.liquidweb.com
Step-4
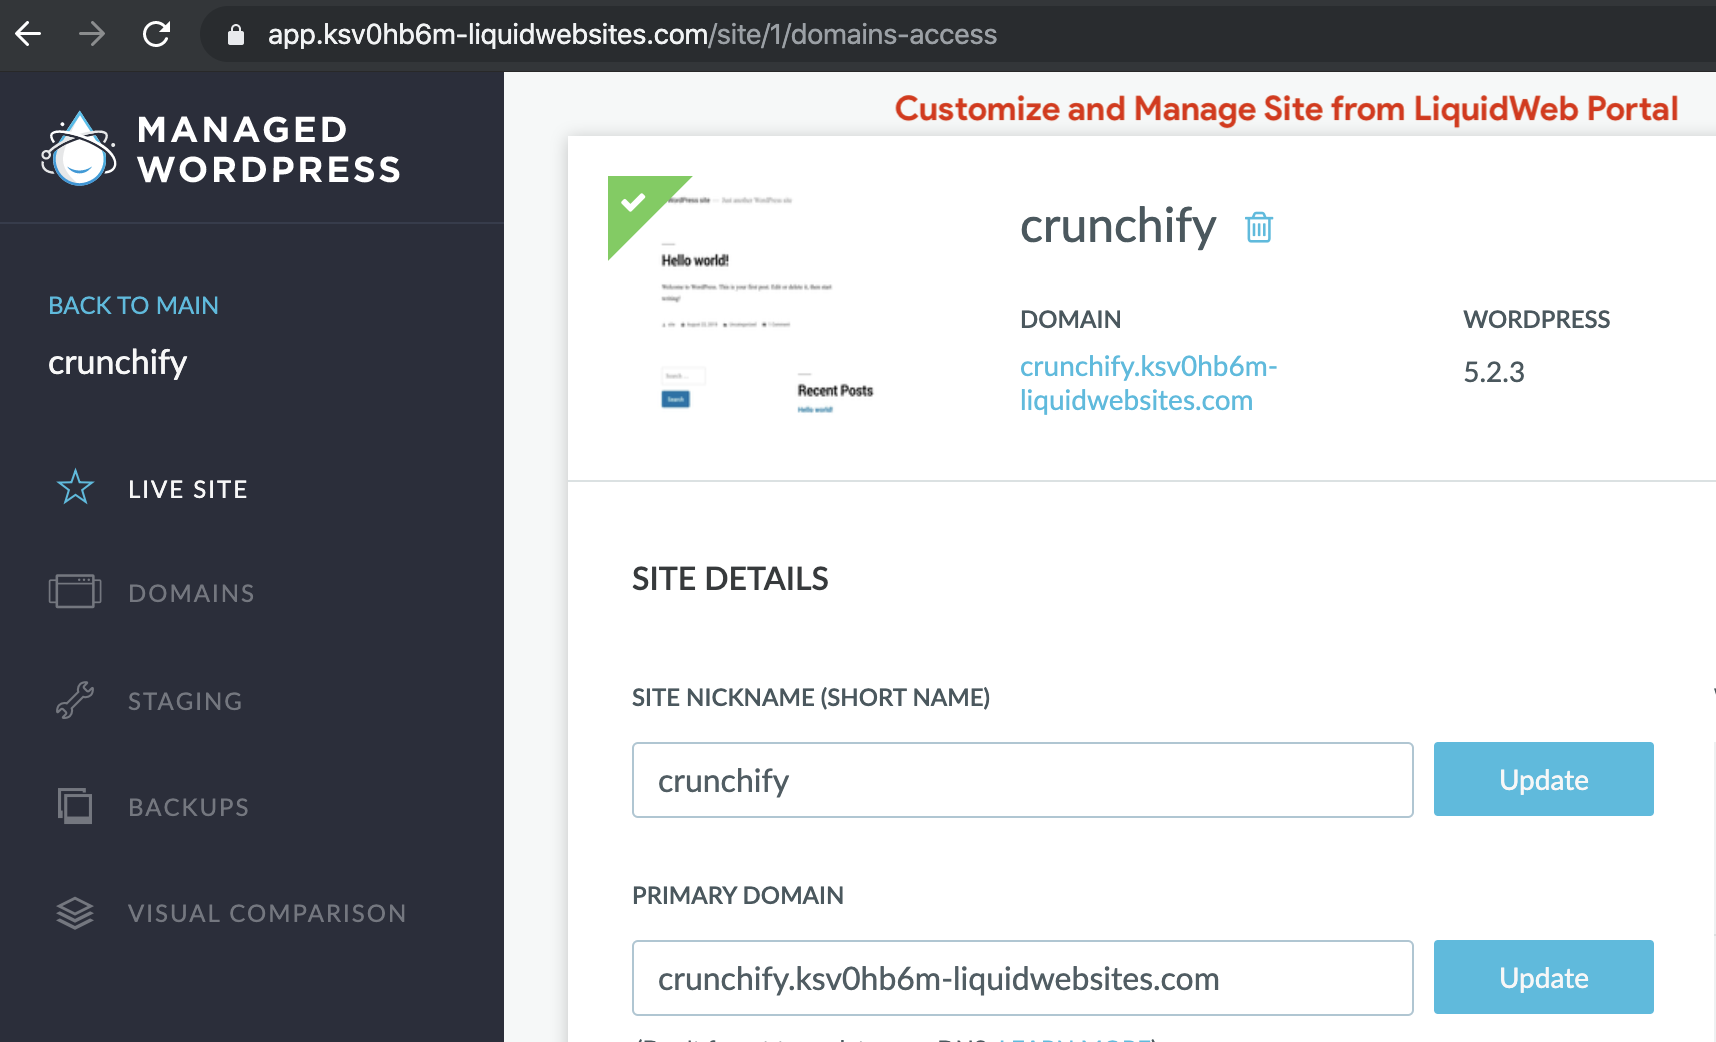
Once you register and setup a domain you will be redirected to managed WordPress hosting page.
Visit LiquidWeb Managed Page: https://manage.liquidweb.com/manage/

Link: https://app.ksv0hb6m-liquidwebsites.com/site/1/domains-access

Step-5
As you see in above image, LiquidWeb admin panel give vast majority of options which includes:
- Live Site Settings
- Domain Settings
- Staging Option
- Single click Backups and Restore
- Comparison Metrics

As you see in the Top-Right corner, you have handy option to login to your MySQL DB for any custom operations.
Step-6
Next step is to check for your LiquidWeb Setting options.
Account Tab provides very nice clean view of all of below options:
- Profile
- Users
- Public SSH Keys
- Secret
- Policies
Migration Center, Billing, Networking tabs are very well designed and provides very clear view.
How is LiquidWeb site performance?
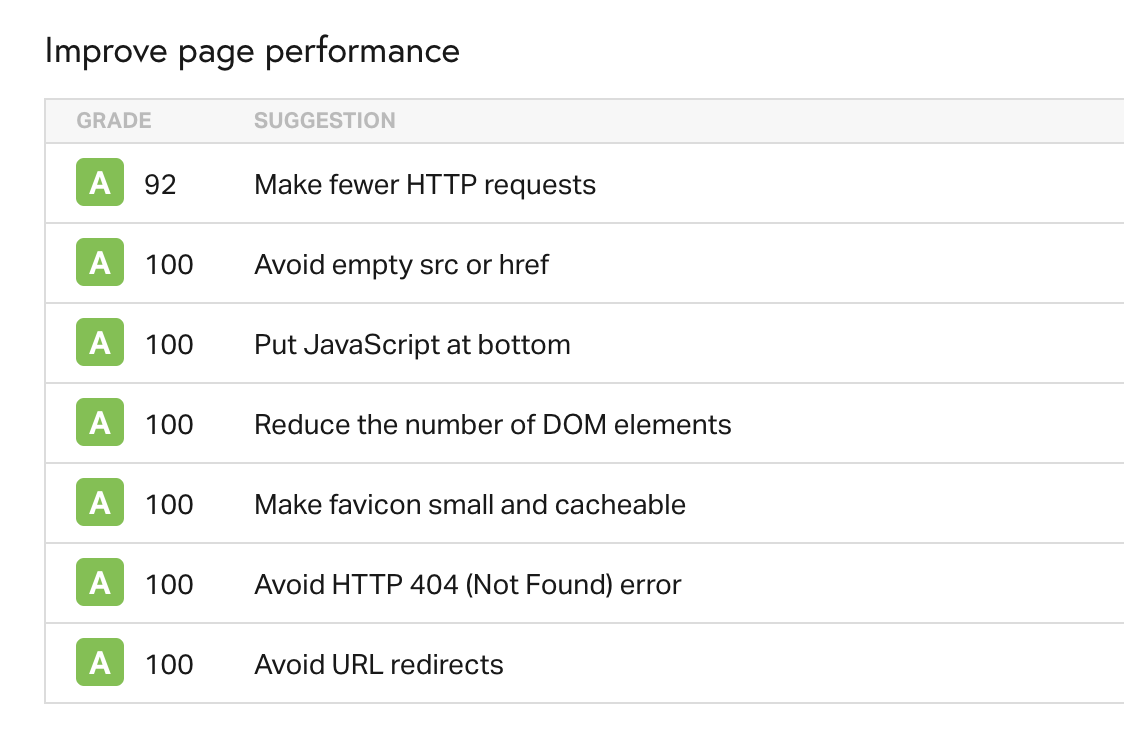
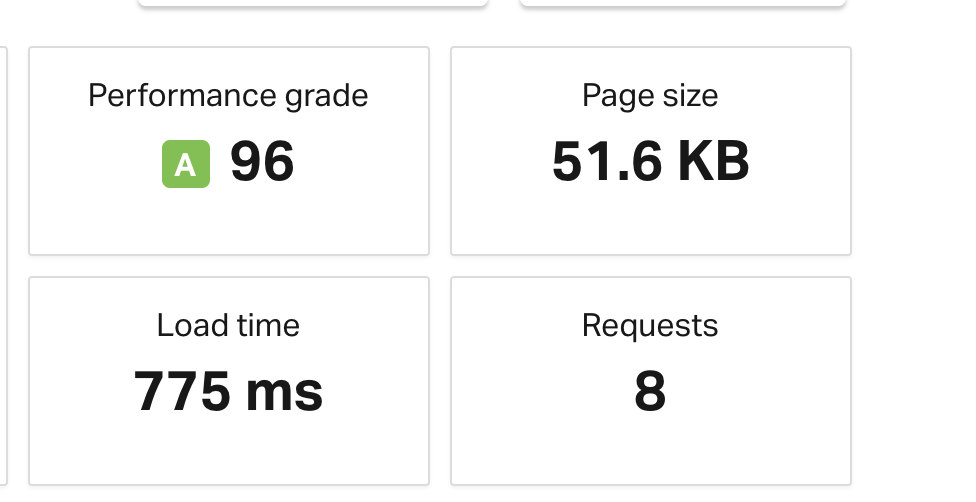
For our test time, we ran Pingdom Test and found great result.


How is LiquidWeb Support?
LiquidWeb has one of the industry leading customer support. You are just a single phone call or chat away for any of your support query / question.
With 24×7 support, you have peace of mind.
Conclusion
There are quite a few web hosting options out there for you to choose. In my opinion, LiquidWeb is a combination of reliable WordPress hosting with iThemes and WPMerge.io combination.
Also, it’s cheap compare to competition, provides more flexibility and configuration options. With great customer support and 99.99% uptime guarantee you are in the best hand for your WordPress need.
