If you are a WordPress user and running your site for buying selling goods, digital download then you know the importance of Hosting and availability of the same.
If your website goes down, you lose money every minute it is offline.
Security, availability and stability of the hosting providers are the key metrics before you choose any Web Hosting company for your site.
Google were also very small in their Cloud Business around 2012. But things are changing. Now a days, Google is really competing with Amazon and Microsoft in cloud business.
There is no doubt, we shouldn’t use Google’s Cloud service. Templ.io is a solid, well known and trusted by thousands WordPress Web hosting company based on Google Cloud Service.
Let’s dive in! In this tutorial and review, we will go over steps on how to completely setup Templ.io account and migrate site to new platform.
What is Templ.io?
Templ.io is a Sweden based company founded in 2017. In addition to WordPress hosting, Templ.io supports WooCommerce hosting.
Dedicated setup for your e-commerce site is a plus point at no extra charge.
How is pricing model?
If you have seen WPEngine, Kinsta and other pricing model, you will co-relate it with them very easily. Price range starts from $27 USD and goes upto $136 USD for large websites.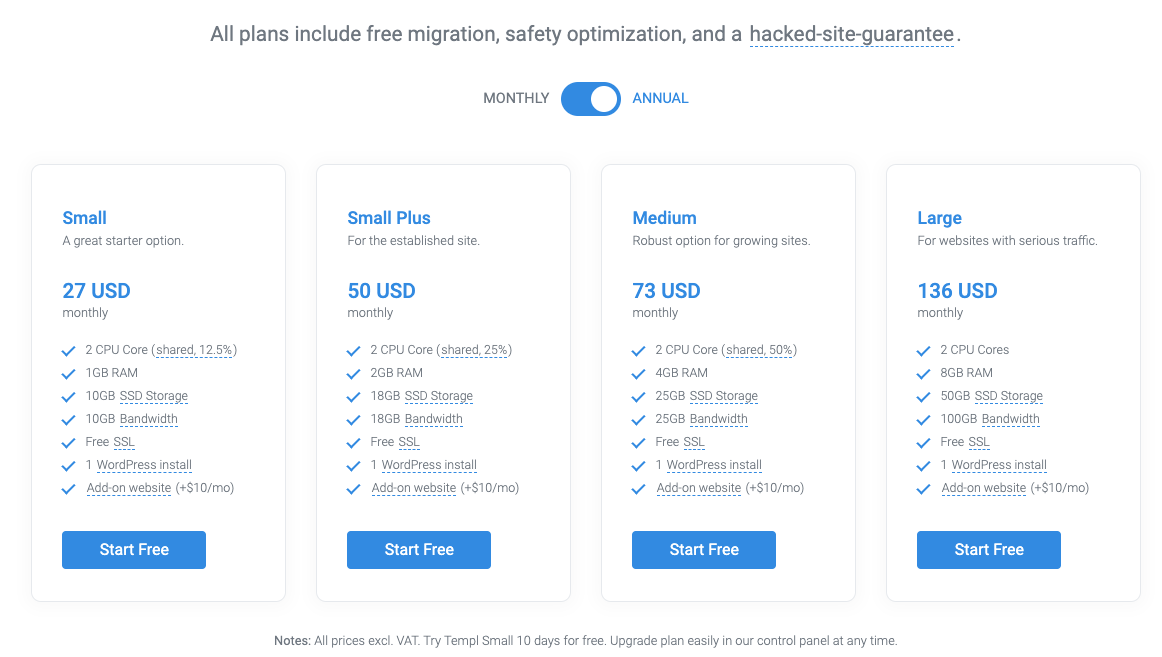
I was able to play with
Templ.io Dashboardfor few weeks and found it super intuitive and simple 🙂
Before we go over how to set up site on Templ.io, let’s go over some of the best features it supports.
List of some key features:
- Uptime check: Templ.io scans all websites
every 3 minutesto make sure they are accessible, so you can focus on what you do best – growing your business. - Custom Dashboard
- 24/7 quick and easy Support
- Easy Scaling as You Grow
- Latest version of PHP
- Nginx
- Free SSL – SSL-certificate from Let’s Encrypt is included out of the box. No installation required.
- Choose Data Center
- Managed Security
- Free migrations
- Free Debugging – this is big one
- Speed audit and fix
- Daily automatic backups – no need for VaultPress setup
Staging environment– Setup a copy of the live site, where you can test modifications before deploying them on the live site.- Free CDN – this is also big one. No need to pay for MaxCDN or other CDN provider.
- Fast SSD Storage 🙂
- Quic: Quic is a next generation internet protocol that is encrypted by default and can decrease website load times considerably, especially for mobile devices and for low bandwidth connections.
- SSH access
Templ is environmentally friendly company, and its infrastructure is 100% carbon neutral.
How to get started:
Setting up Templ.io account is very simple. You can sign up for it without providing your Credit Card or Bank details.
Sign up is 100% free for 10 days. After 10 days, you need to upgrade your plan to keep site running.
Step-1
- Go to https://templ.io/register
- Enter your Email ID, Name and password to create account
Step-2
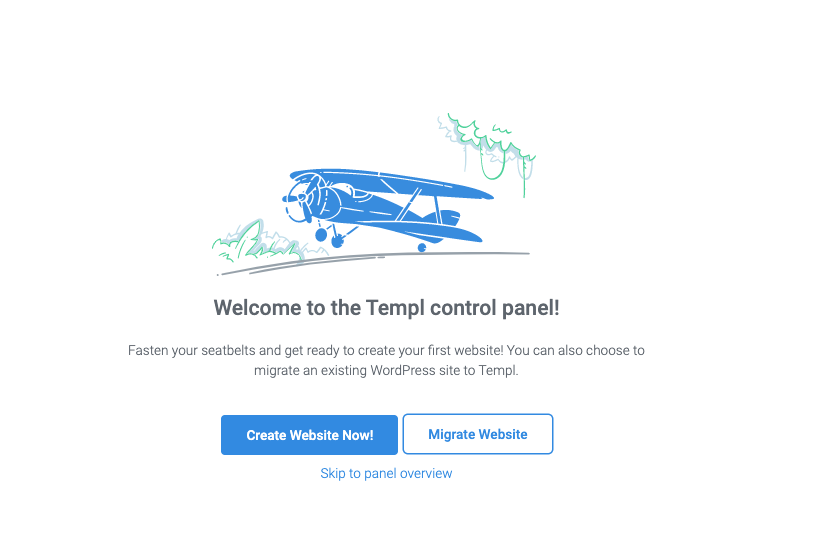
You will be prompted with two options immediately after that.
- Create Website Now!
- Migrate Website
Choose an option based on your need. For our testing, we have created new Sub Domain to use so we choose Create Website Now!
Step-3
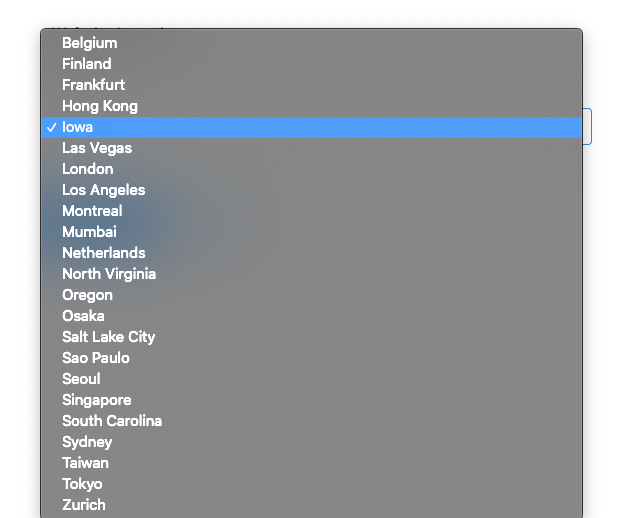
In next step, please choose the datacenter you want to select for your site. I choose Iowa as my location is near Iowa.
You have an option to choose from any of this list: Belgium, Finland, Frankfurt, Iowa, Las Vegas, London, Los Angeles, Mumbai, Oregon, Osaka, Salt Lake City and so on.
Step-4
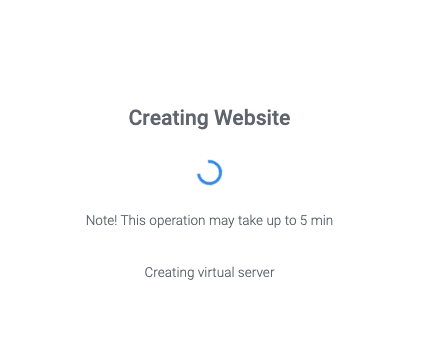
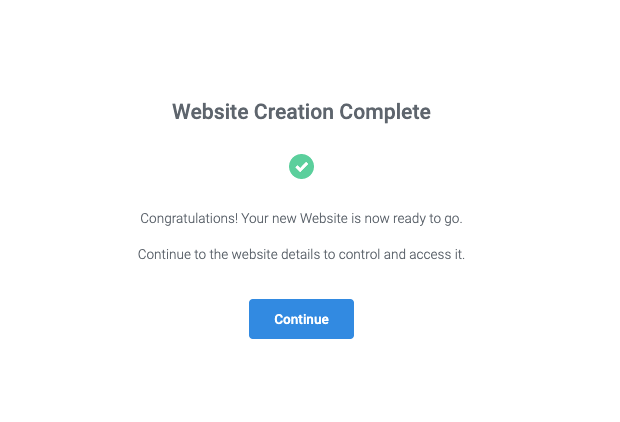
Next, system will create a new site and setup control panel for you. It may take upto 5 min to set that up. In my case, it was finished in ~3 minutes.
Creating Website:
Website Creation Complete:
Step-5
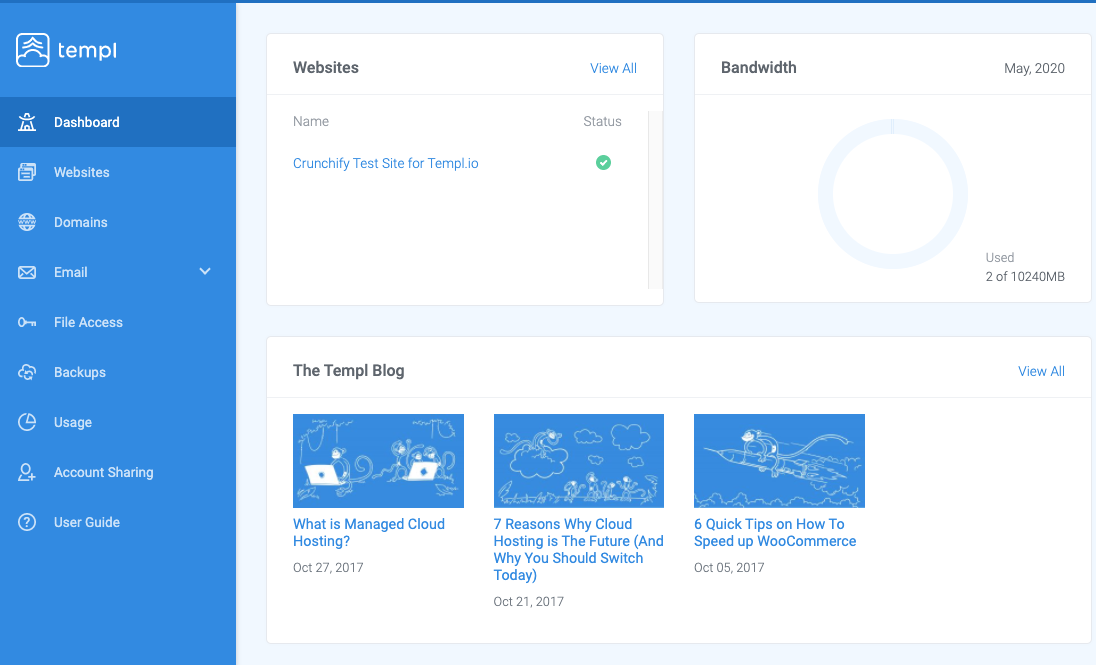
Visit https://panel.templ.io/dashboard/main to check out your Dashboard.
Here you will see your newly created sample site. As you see their Dashboard has list of below options:
- Websites
- Domains
- File Access
- Backups
- Usage
- Account Sharing
We will go over some of the options soon.
Step-6
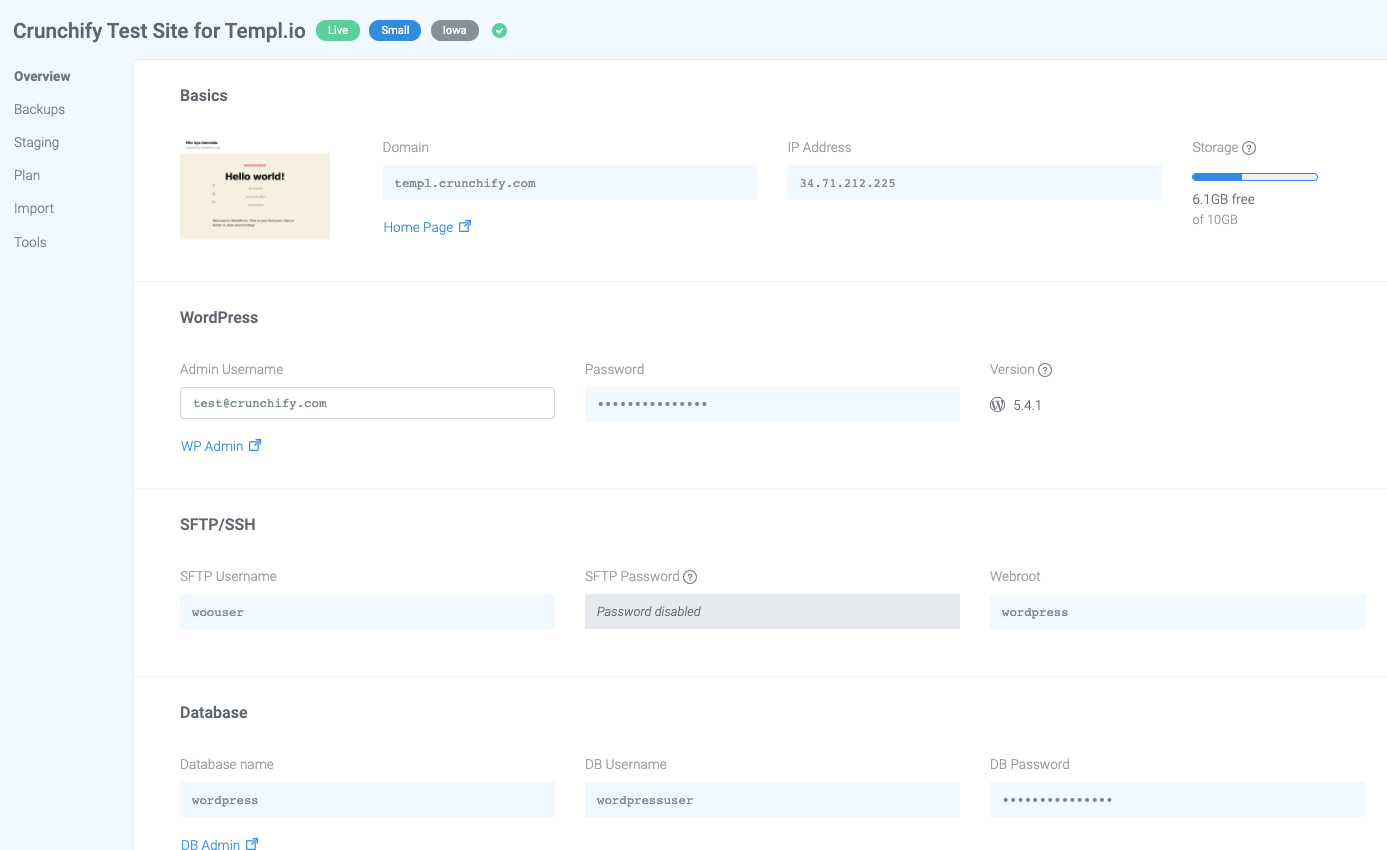
- Click on
Websitesfrom left pane - Click on
your site - You will now see all of your site settings including
Step-7
Next step is to go to Domains option from left panel.
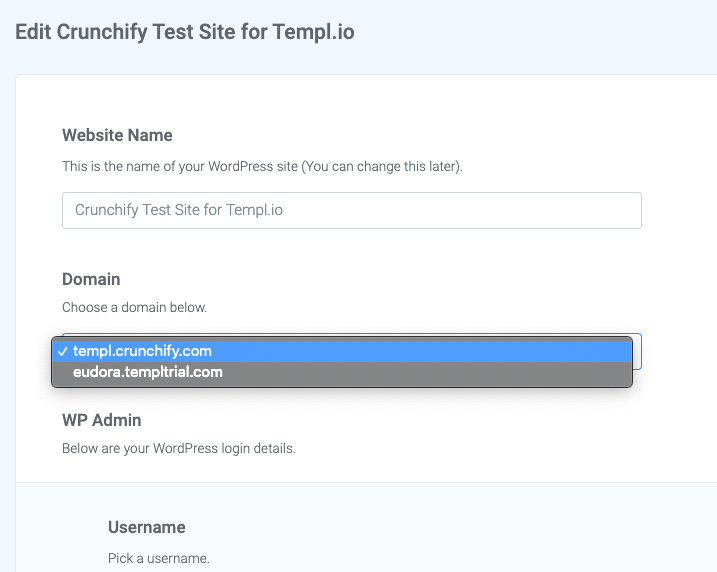
- Add your domain name. In my case, I’ve choose
templ.crunchify.com. - Go to your Domain Control panel. In my case it’s
Google Domains. - Add
A recordentry for your domain or subdomain. - Wait for 1 hr to make your changes propagate.
- From the same Domain panel,
add free SSLfor your domain.
- Once you add new domain, Go to Websites tab again and click on
Edit Website Detailsbutton at the bottom of the page.
Step-8
And that’s it. Your site should be up and running in no time. Just visit your site/domain and you should be all good.
Do I have Migration option?
Templ.io provides free migration option.
They take care of everything for you – for free – no matter which web host you are migrating from. Free for an unlimited amount of websites.
What do I do about WordPress backup?
Templ.io provides free daily backup option at no additional cost. It’s free of charge. You don’t have to pay for VaultPress or any other service in this case.
Remote backups are done automatically for all websites hosted on Templ, but can also be created manually. Remote backups are stored on a separate server and do not count towards your disk space usage.
If you perform any manual backup then that backup stored locally on the same server as the website, and will count as towards your disk space usage.
There is an option to download backup also if you would like.
How about Email Setup?
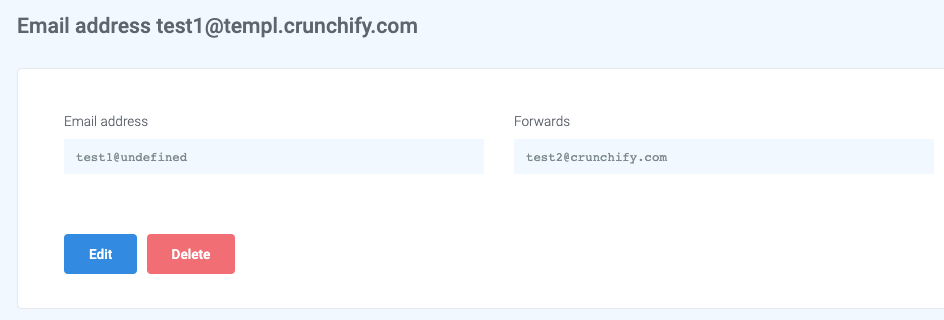
Templ.io also supports SMTP email settings. Also, there is an option to add forwarder.
It’s very handy and super useful to add multiple forwarded without any issue.
How is site performance?
We have been testing site performance since last week and we haven’t seen any issue loading site in our JMeter testing too.
We were able to hit more than 500 requests at the same time and it just worked.
Are you ready to signup? Get $50 promo.
Well, Crunchify has PROMO to get $50 discount.
All you have to do is write “
Crunchify” to their chat support, and supportrepresentative will manually add the creditto your account (this solution demands that you have upgraded your account after 10 days of free trial). Please let us know if this doesn’t work for you and we will make sure you get $50 credit.

