A favicon (short for Favorite icon), also known as a shortcut icon, Web site icon, URL icon, or bookmark icon, is a file containing one or more small icons, most commonly 512×512 pixels, associated with a particular Web site or Web page. A web designer can create such an icon and install it into a Web site (or Web page) by several means, and graphical web browsers will then make use of it.
Browsers that provide favicon support typically display a page’s favicon in the browser’s address bar and next to the page’s name in a list of bookmarks.
Prepare Your Favicon:
First, make sure you have a favicon image prepared. It’s typically a small square image in .ico, .png, or .jpg format. Name it favicon.ico for best compatibility, but WordPress can also handle other image formats.
Upload Your Favicon:
Upload your favicon to your WordPress media library. To do this, go to your WordPress dashboard and navigate to “Media” > “Add New.” Upload your favicon image there.
Get the Favicon URL:
After uploading, click on the uploaded favicon to view its details. You will see the “File URL” or “Copy URL” option. Click it to copy the URL of your favicon to the clipboard.
Add Code to Your Theme’s functions.php:
Open your theme’s functions.php file for editing. You can access this file through your WordPress dashboard under “Appearance” > “Theme Editor.” Find your theme’s functions.php file on the right sidebar and click on it.Now, add the following code to your functions.php file to insert the favicon link in the <head> section using the wp_head action hook:
function add_favicon_to_head() {
    $favicon_url = 'https://crunchify.com/favicon.ico'; // Replace with the URL of your favicon
    echo '<link rel="icon" href="' . esc_url($favicon_url) . '" type="image/x-icon" />';
}
add_action('wp_head', 'add_favicon_to_head');
Make sure to replace 'favicon_url' with the actual URL of your favicon.
Save Your Changes:
Save the changes you made to your functions.php file.
Check Your Blog:
Visit your WordPress blog‘s front end. You should now see your favicon displayed in the browser tab.
Please note that changes made to the functions.php file are theme-specific. If you switch themes, you’ll need to repeat this process for the new theme.
Use Plugin:
1) Download Crunchy Booster plugin.
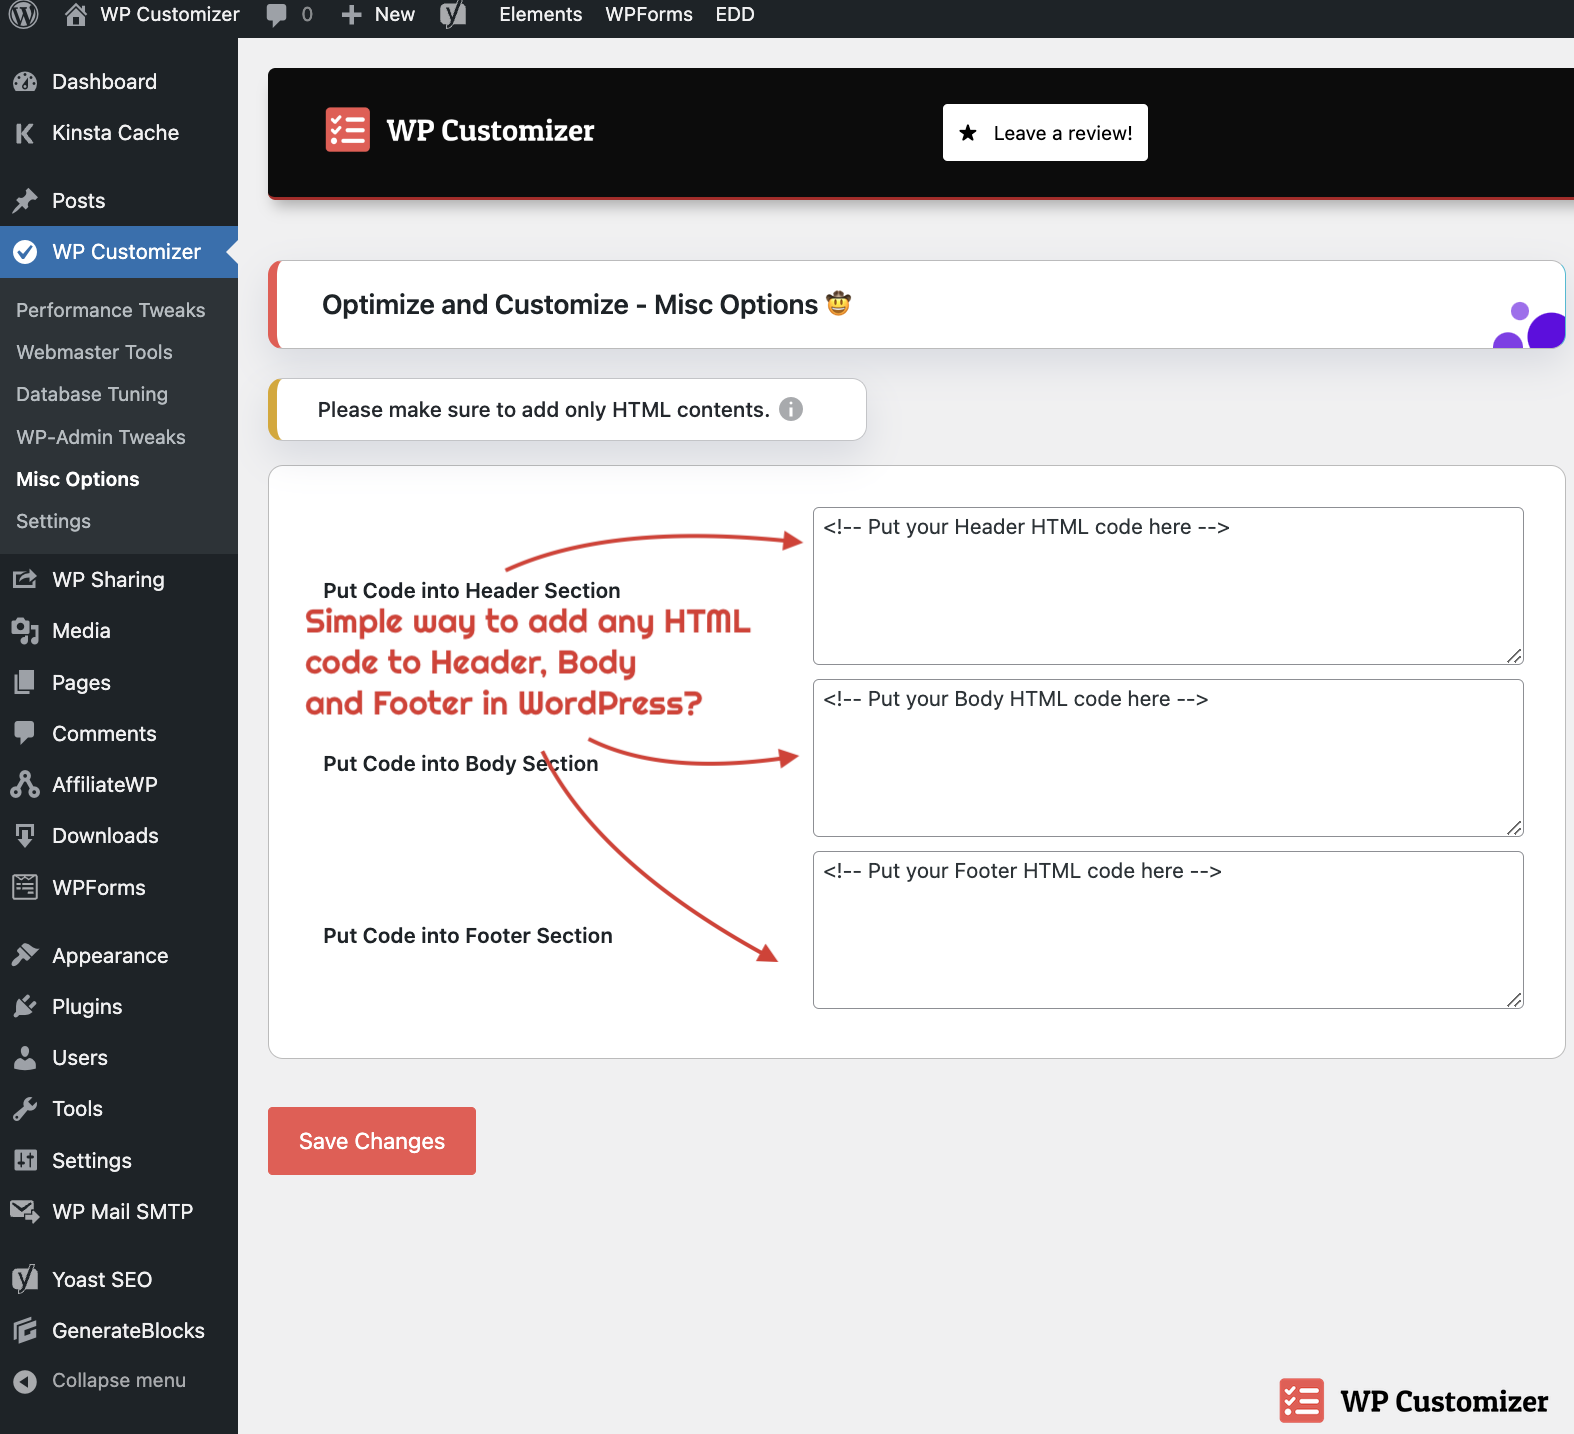
2) Put below code to Header Section. Change link pointing to your favicon icon.
<link rel="icon" type="image/x-icon" href="https://crunchify.com/favicon.ico" />
<link rel="shortcut icon" type="image/x-icon" href="https://crunchify.com/favicon.ico" />
Sample: