Over last few days I’ve enabled Jetpack WordPress plugin on few of my client sites and noticed some CSS issue immediately after that.
Jetpack is one of the best plugin out there with tens of features which improves your WordPress site’s security and speed without any charge to you.
On Crunchify, we are using Jetpack premium license as we love VaultPress backup feature.
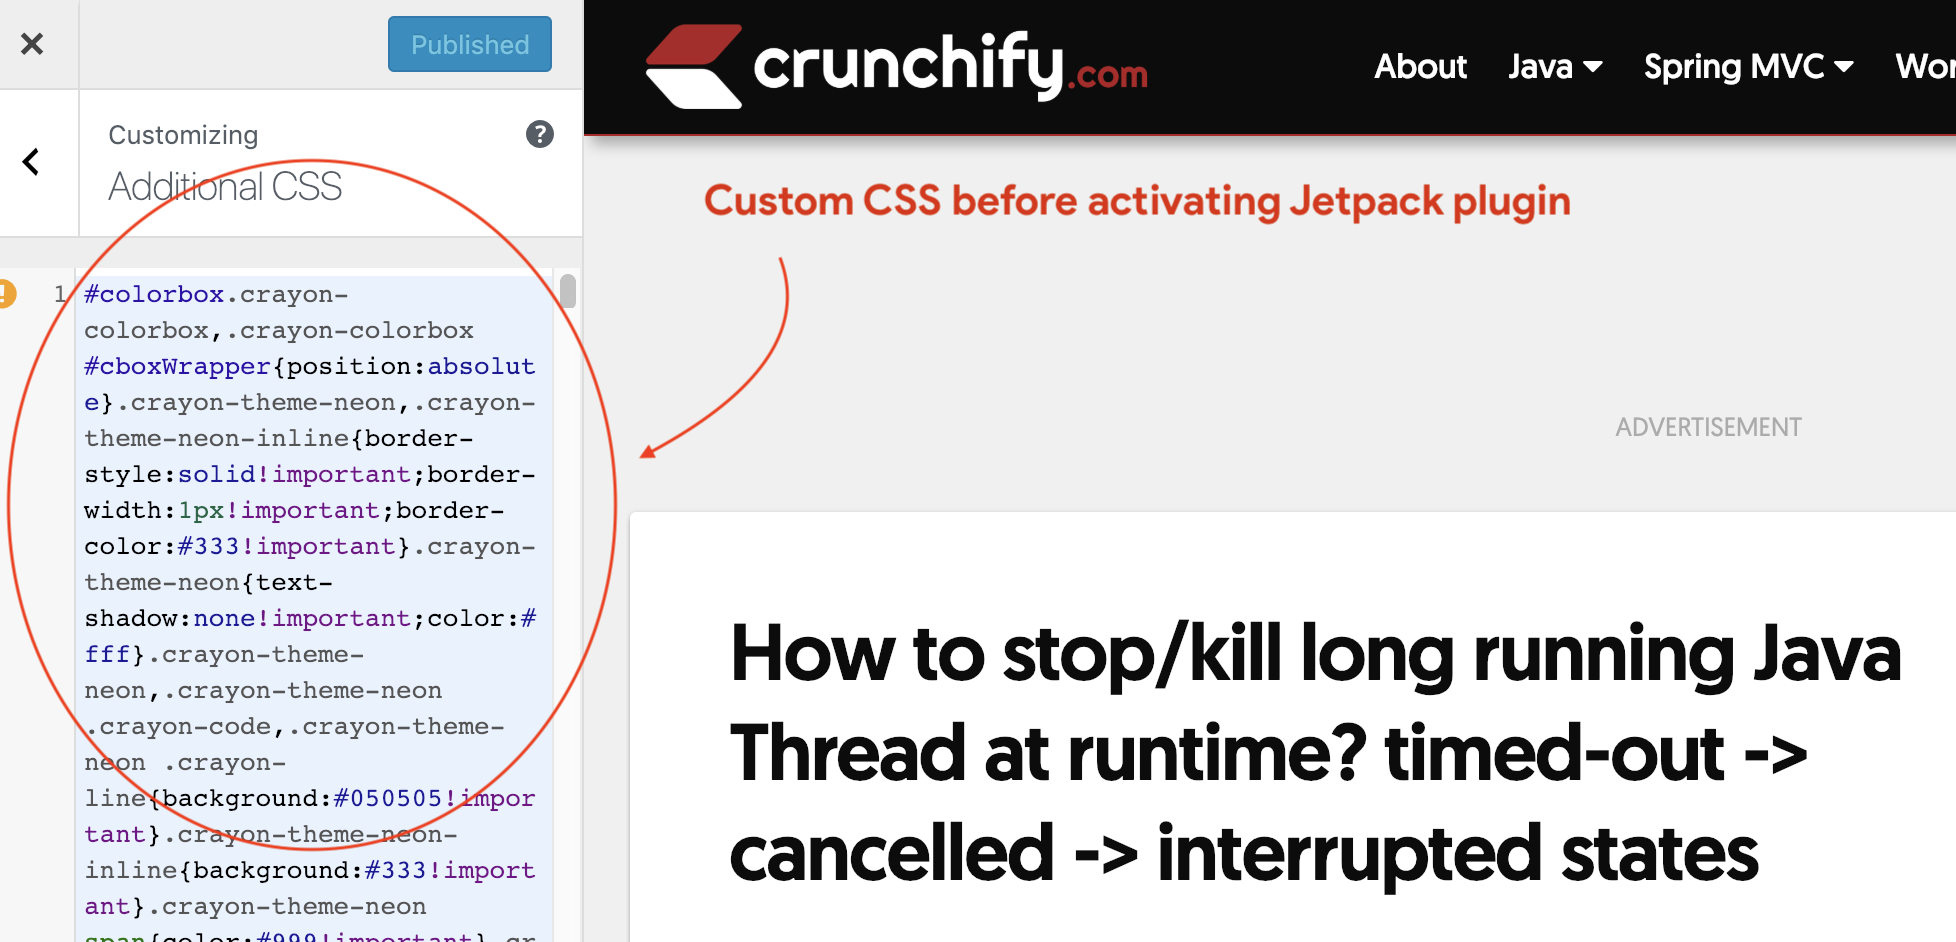
Take a look at Additional CSS section under Customize section before activating Jetpack.
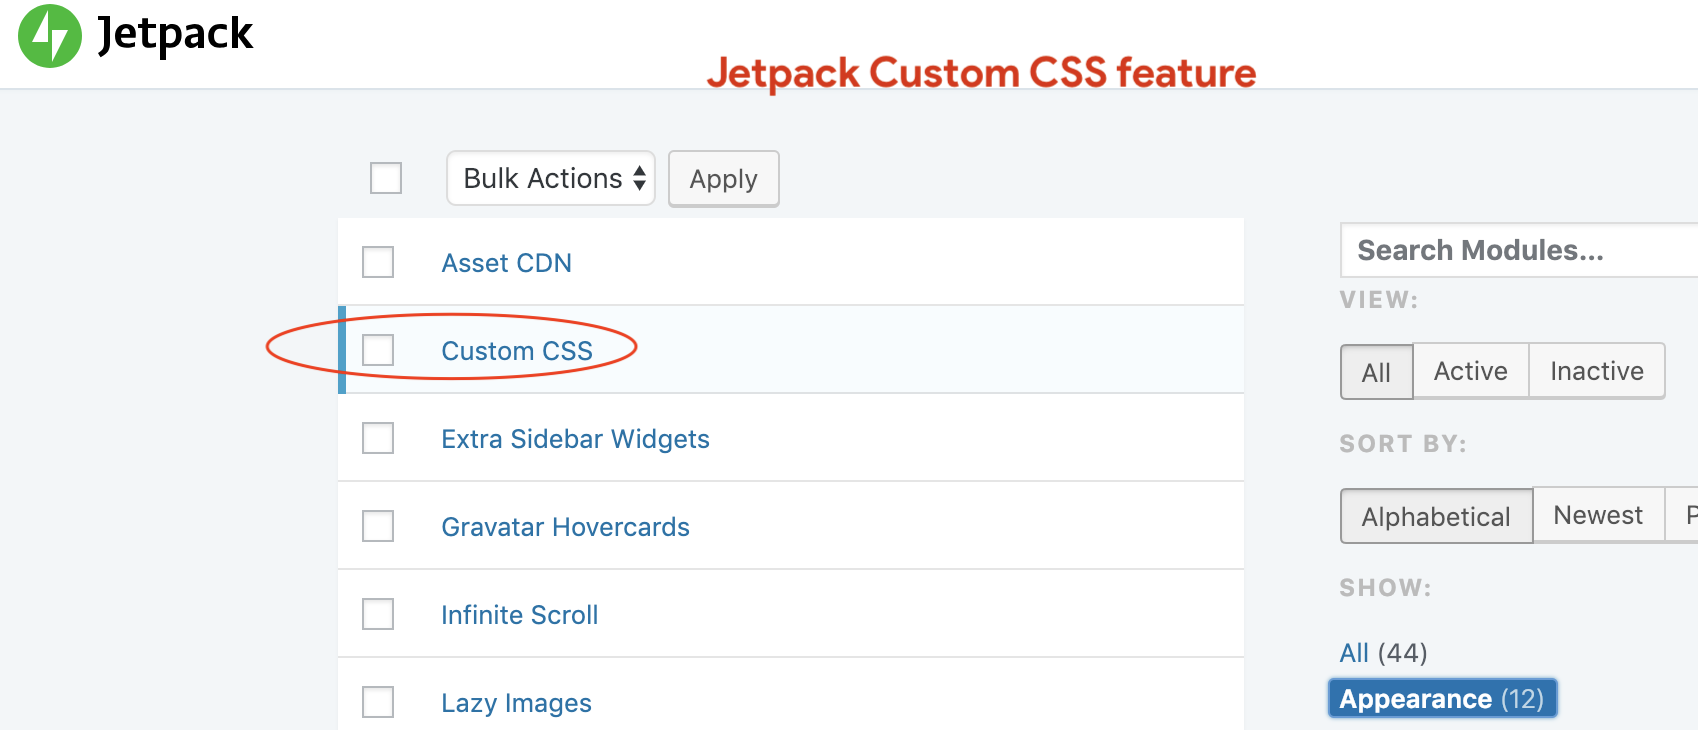
How to activate Jetpack’s Custom CSS feature?
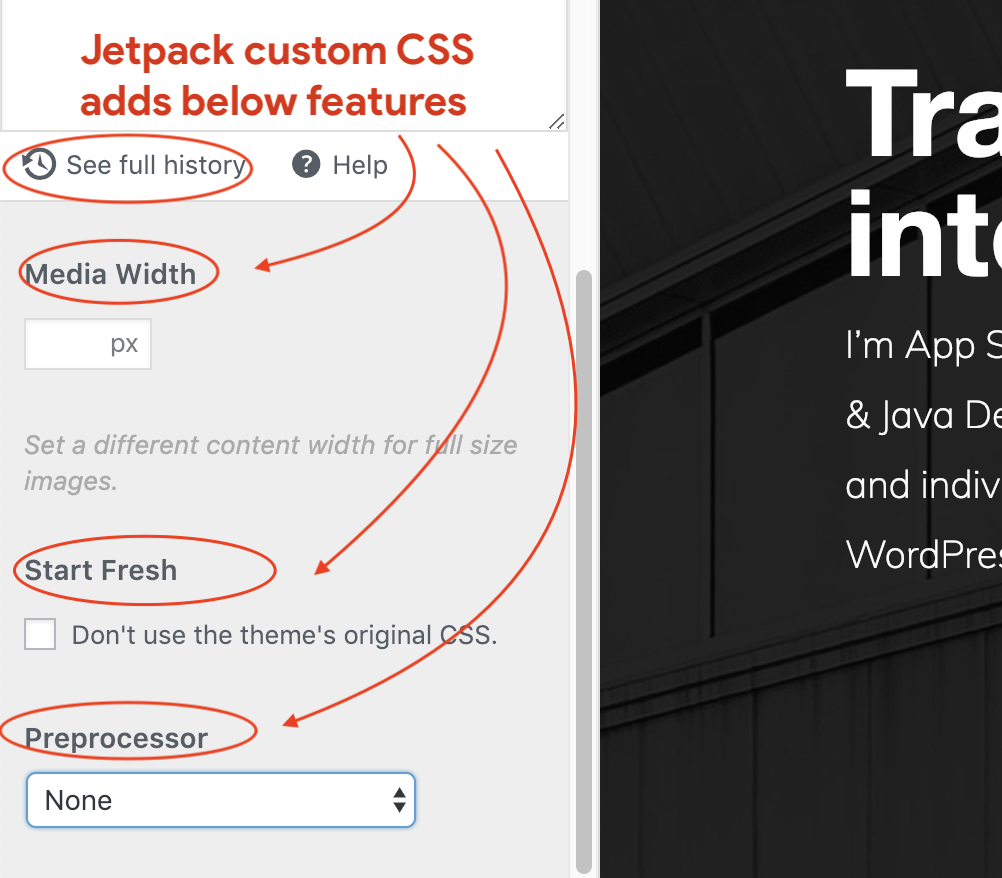
Jetpack’s Custom CSS feature adds some more functionality to Additional CSS module.


How can I reach to Additional CSS option?
- Click on Appearance
- Customize
- Additional CSS
Now let’s take a look at a problem. As you see in below image, complete custom CSS which we have implemented was there.

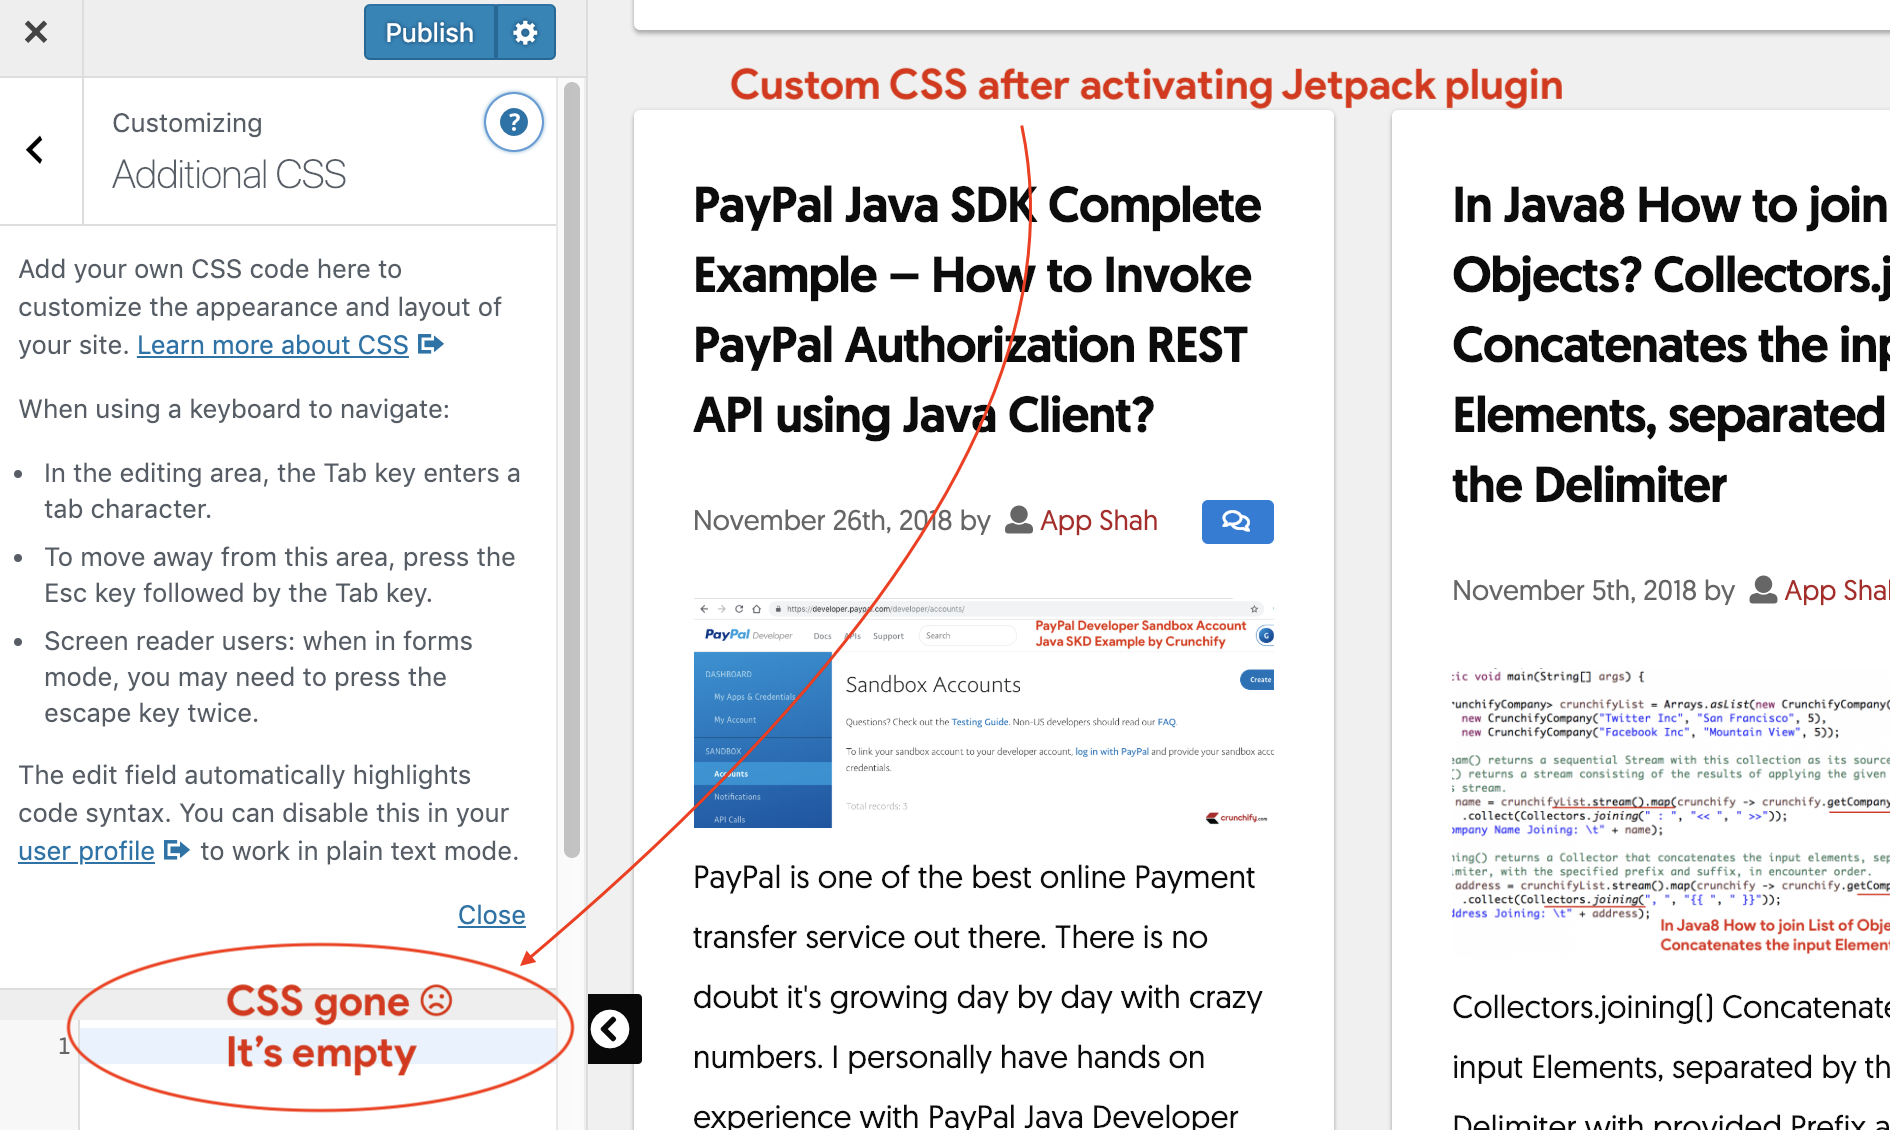
Now take a look at below screenshot.
CSS was gone. Section was empty 🙁

I noticed this few months ago on my client’s site but just ignored the behavior. I thought may be some glitch at my end.
How to avoid this situation and save additional CSS?
Option-1
Save you custom css into text file and have a backup after making changes all the time. Copy and Paste CSS back to Additional CSS section.
Option-2
Copy all additional custom CSS code to your theme’s style.css file and avoid using additional CSS. This is what I’m doing on Crunchify as of now until I find out what’s happened here.
I hope these tips will help fix this Jetpack activation and additional CSS bug.
Why is this happening?
Starting WordPress 4.7 you can add custom CSS to your own theme directly from the same customizer place. I’m sure Jetpack’s Custom CSS module is creating conflict and creating this issue.
